As I mentioned before, FreeNAS fits very nice into Microsoft Windows networks. Here is a simple “how to” tutorial on configuring CIFS share for your Microsoft Windows network.
As always, I recommend testing in virtual environment.
STEP 1.
Before configuring CIFS share, I`ll add a new disk to FreeNAS. This disk will be used for CIFS sharing.
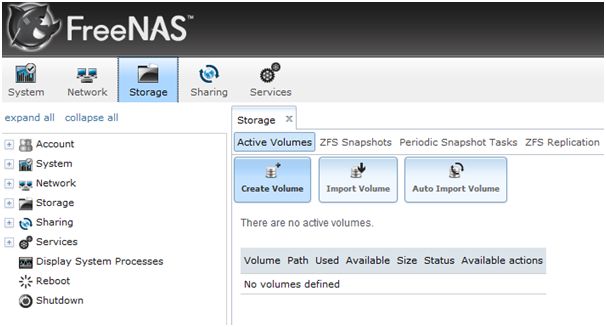
Storage | Active Volumes | Create Volume
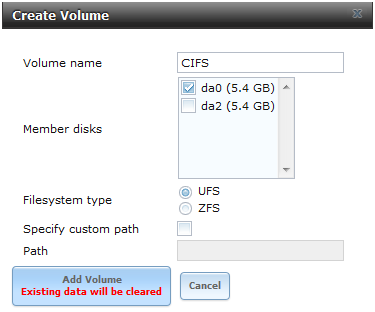
Volume name: choose as you like | Member disk: choose a disk that you want to use for CIFS share | Filesystem Type: UFS (for serious business you`ll probably want ZFS) | Add volume (be very careful when choosing disks, because when you push Add volume, all data on that disk will be erased.)
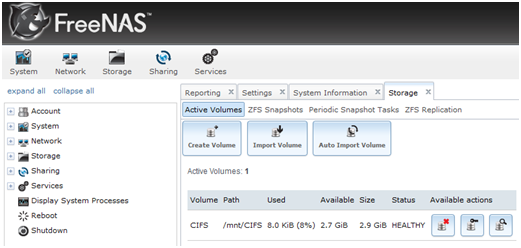
New volume is created on path /mnt/CIFS
STEP 2.
My next step will be to define CIFS share.
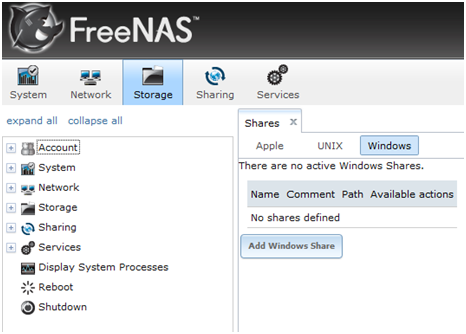
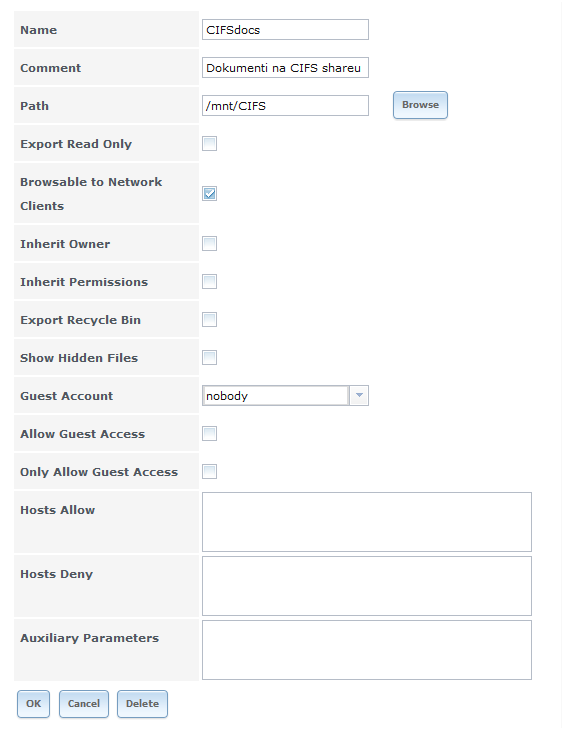
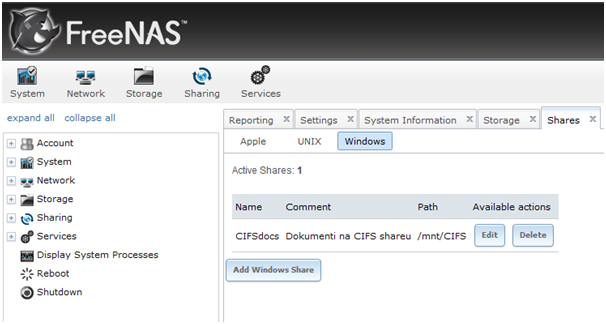
Storage | Shares | Windows | Add Windows Share
Name: choose a CIFS share name that will be visible on your network. | Comment: choose as you like | Path: Browse – choose a volume that you created for CIFS share | Leave everything else on default settings ( or change to suite your needs ) | OK
CIFS share successfully created.
STEP 3.
One of the last steps will be to configure and start CIFS service.
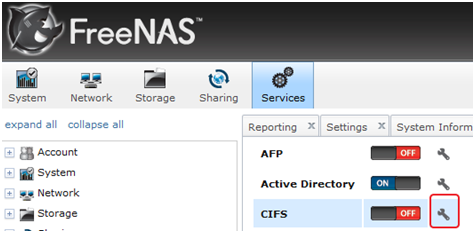
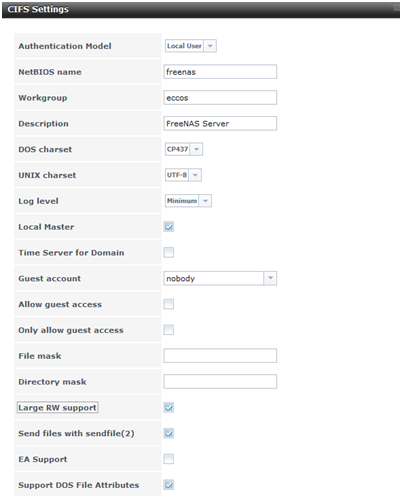
Services | CIFS | choose settings (wrench icon) next to ON/OFF switch.
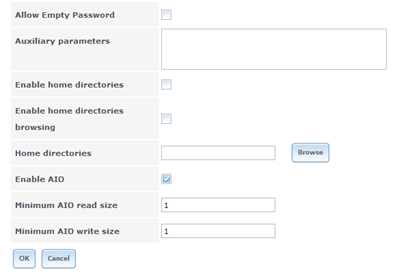
Authentication Model: Local User ( If you don`t have domain, you`ll have to define windows user accounts on FreeNAS in order to FreeNAS function properly in your workgroup ) | NetBIOS Name: your freenas installation name | Workgroup: your workgroup name | Description: choose as you like. | Leave other options on their default settings or change to suite your needs. | OK
After setting up CIFS service, start it.
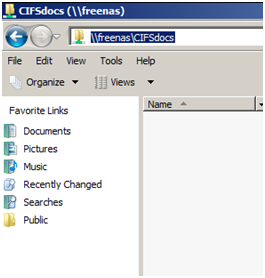
And at last, I`ll check to see if defined share works ok
Everything is OK, I can see my CIFS share.
And that’s it. CIFS share is created and you can start sharing your files on your local network.
If you want to know how to add Microsoft AD permissions to your CIFS shares please check my article here.
For detailed information about FreeNAS and its modules check FreeNAS documentation.
Also you can check my article on joining FreeNAS to Active Directory if you have Microsoft Windows AD implemented in your local network.
