Since Raspberry 5 has much faster hardware paired with 8GB of RAM (and optionally SSD drive), it can be used as virtualization platform. There are many solutions which can be configured, here we will focus on Raspberry Pi OS (which is officially supported).
Raspberry Pi can be virtualized with Proxmox (not officialy supported by Proxmox), even VMware can be started, or we can try to do it on Raspberry Pi OS. This is what we will do in this guide.
I will be using Raspberry Pi 5 with Raspberry Pi OS based on Debian 12. I have ethernet connection on my Raspberry Pi 5, through which we will create network bridge, since I need VMs on the same network with my physical machines.
Prerequisites
We will first configure bridge on our ethernet connection. You can skip this step if you don’t need network bridge!!! Virt-manager has NAT network configured by default, and that might be enough for your needs. Define how you need you VMs connected to the network or internet.
Start terminal and type in nmtui to access NetworkManager TUI.
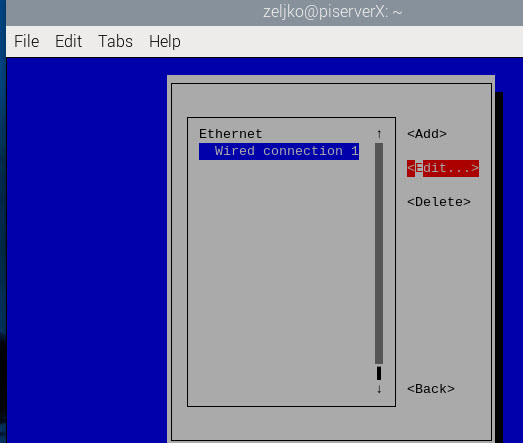
We will select Edit Connection – Select Wired Connection 1 and select Edit
We need device info. In my case device name is eth0. This is my network interface. Select cancel to go back to previous screen (we could also get this info by typing ip a in a terminal)

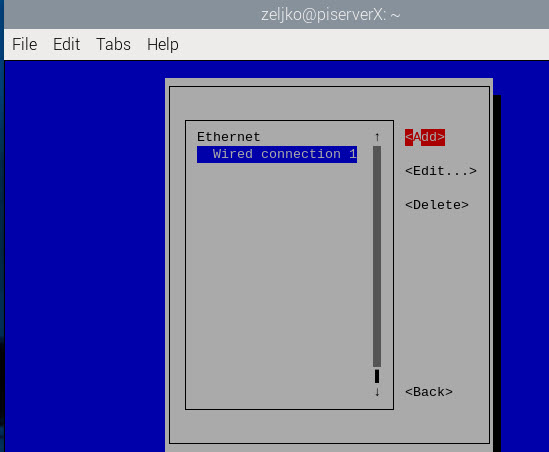
Now, click Add
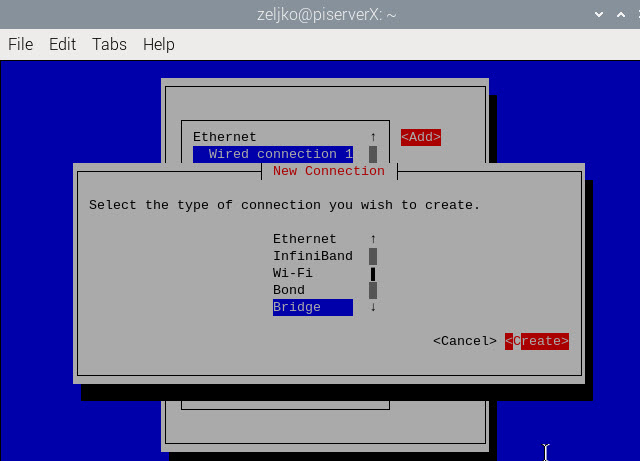
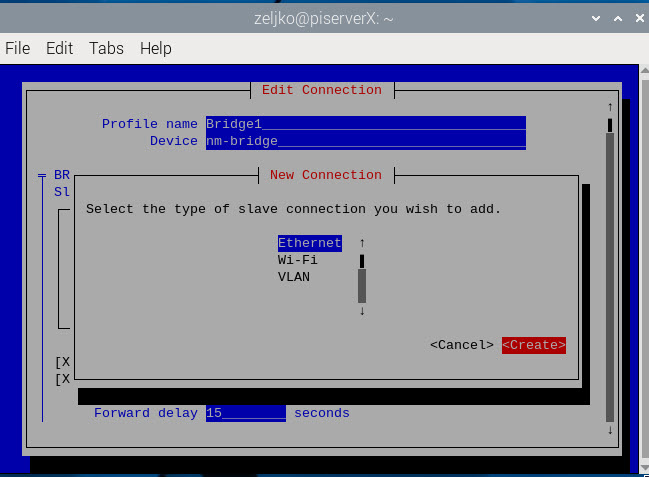
Select Bridge and click on Create
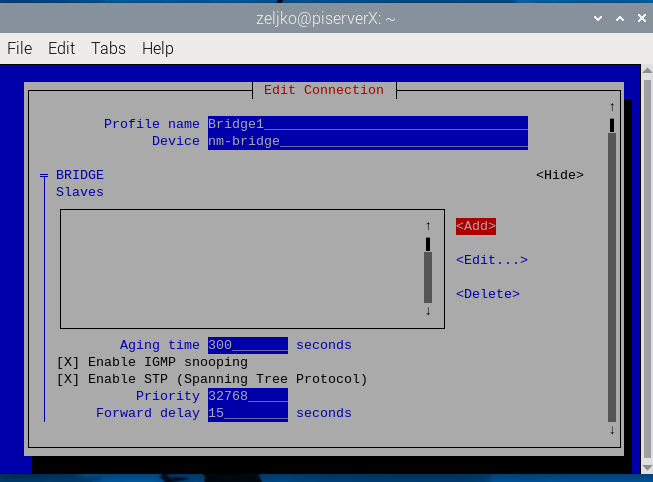
I will enter Profile name: Bridge 1, I will leave Device name as is (nm-bridge). Remember nm-bridge name, we will need it when configuring VMs network interface. Under BRIDGE – Slaves we will select Add
New screen will open. We will select ethernet – Create
Under device enter eth0 (we found this device name at the beginning of this part, enter your interface name here). Click OK
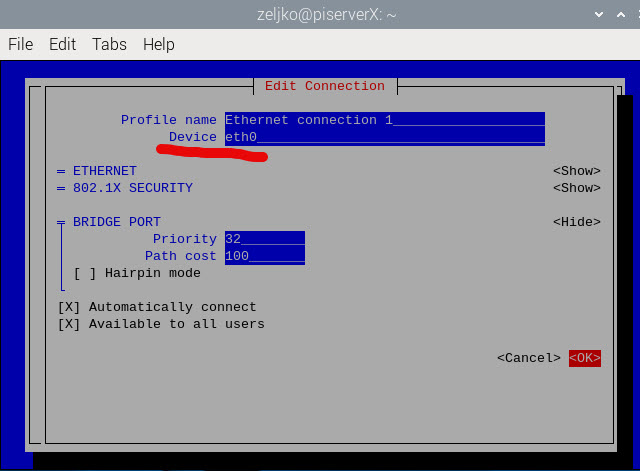
We now have bridge to our LAN network card on interface eth0 in this bridge.
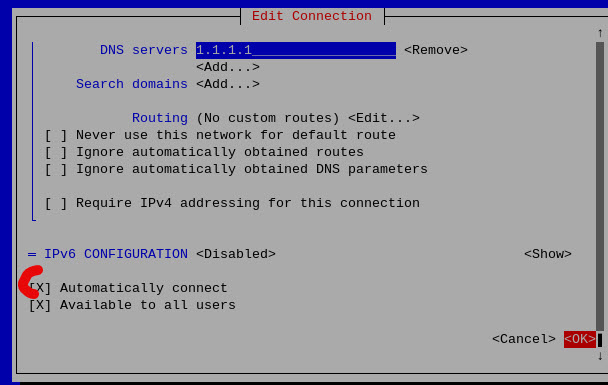
Before we close this Bridge screen, I will scroll down and set manual IPv4 address and disable IPv6. Make sure you define also subnet mask – in this screenshot should be 192.168.5.100/24!! If you are changing IP address to fixed, remember what you entered – especially if you connect remotely to your Raspberry Pi.
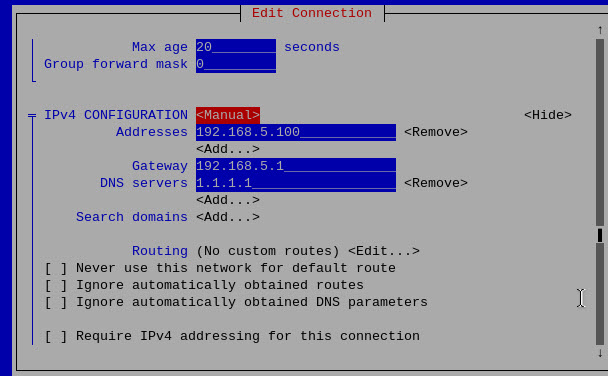
Select automatically connect. Ok
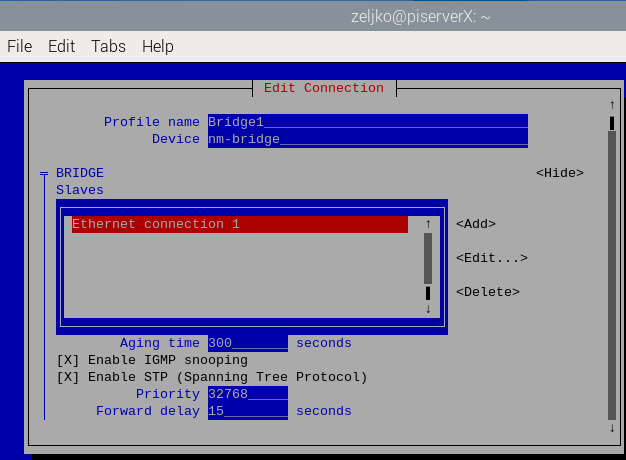
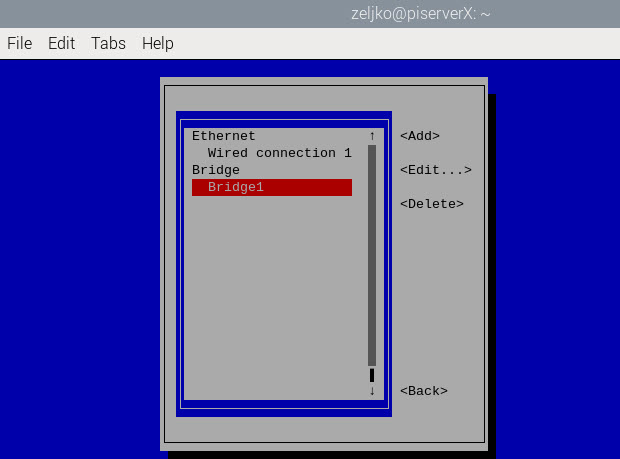
Now we have also Bridge1 defined. Close everything (Back – Quit) and reboot your machine.
After reboot, if you type ip a in terminal, you see now that we have bridge interface active.
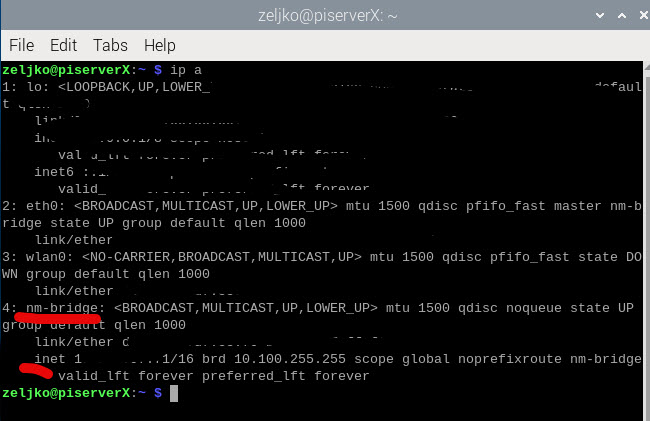
Internet is accessible, ping to network points work – we are done with creating network bridge.
Downloading Debian 12 for VMs
I will be using Debian 12 ARM64 edition for my VMs. Before we continue, let’s put Debian .ISO to download.
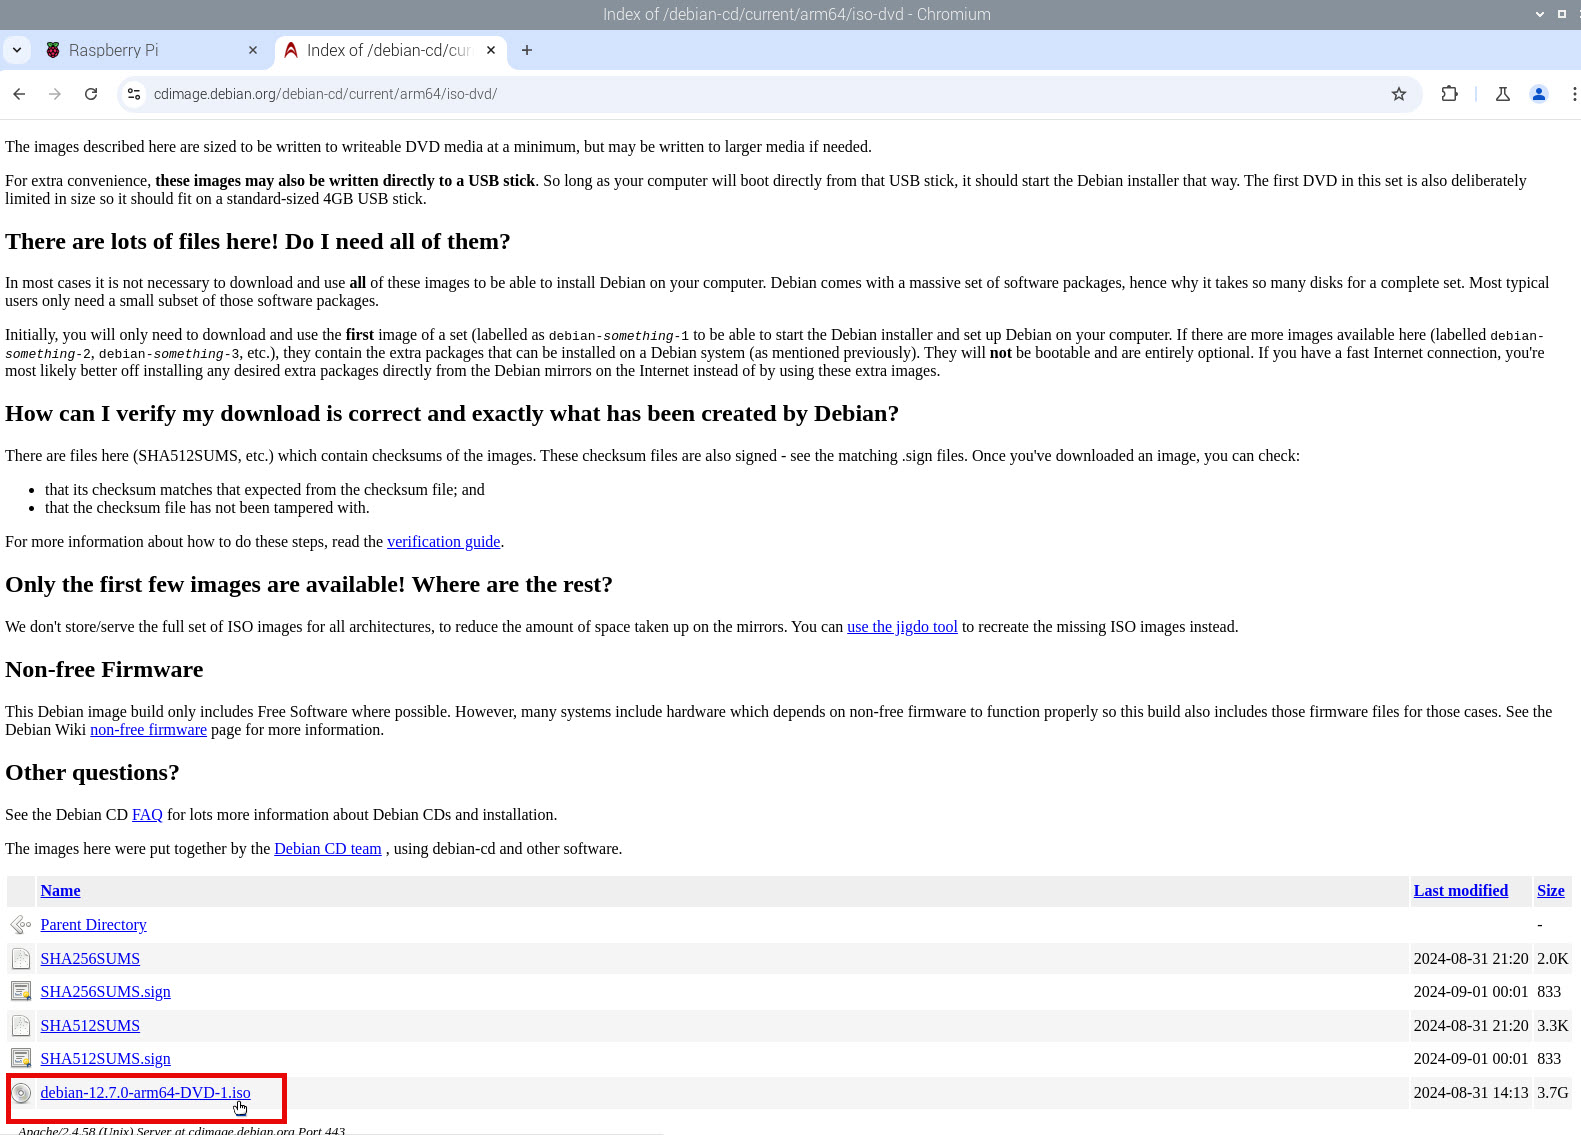
From https://cdimage.debian.org/debian-cd/current/arm64/iso-dvd/ we will be downloading “debian-12.7.0-arm64-DVD-1.iso” Which is actual version at the time of writing this.
While Debian is downloading we will go further. We’ll get back to this .ISO when we start installing our first VM.
Installing virt-manager
We need to install following components throudh terminal on our Raspberry Pi
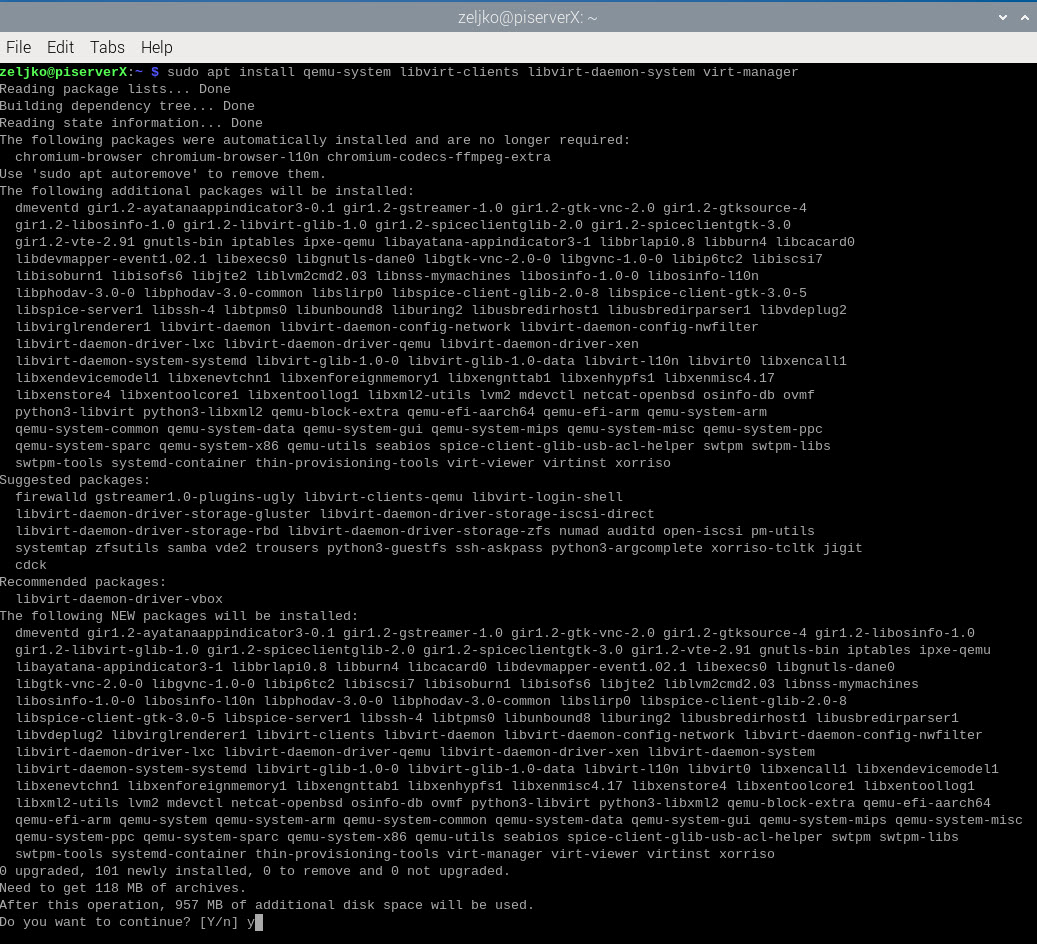
sudo apt install qemu-system libvirt-clients libvirt-daemon-system virt-managerConfirm installation with y and wait for installation to finish
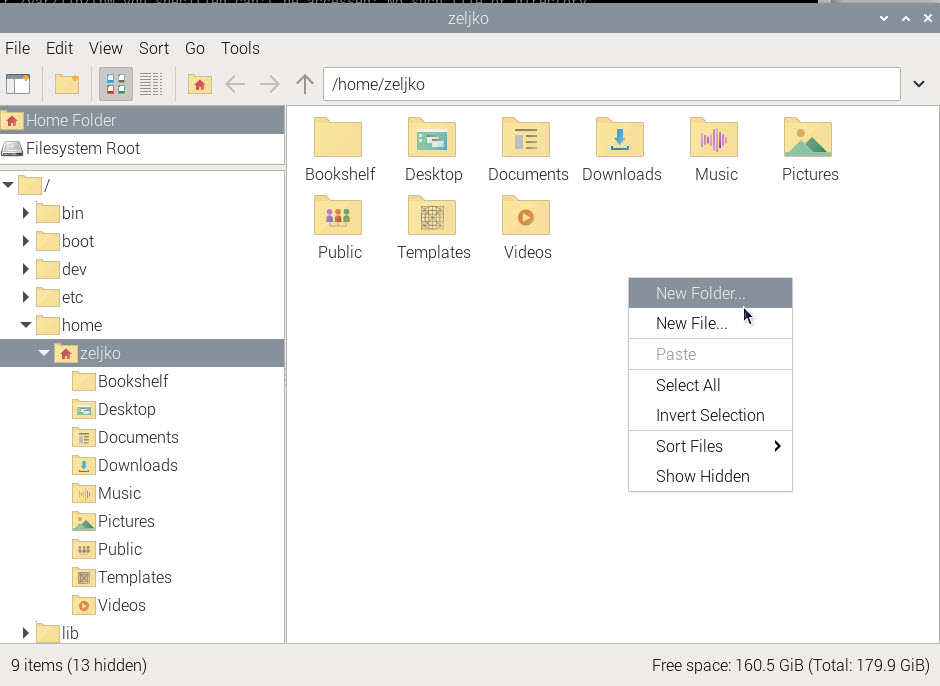
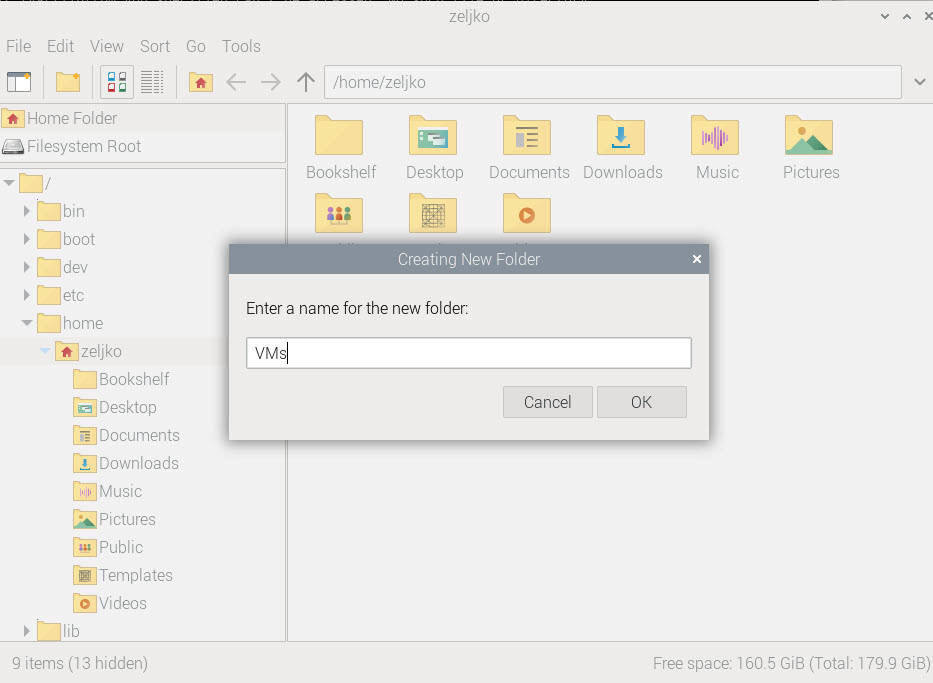
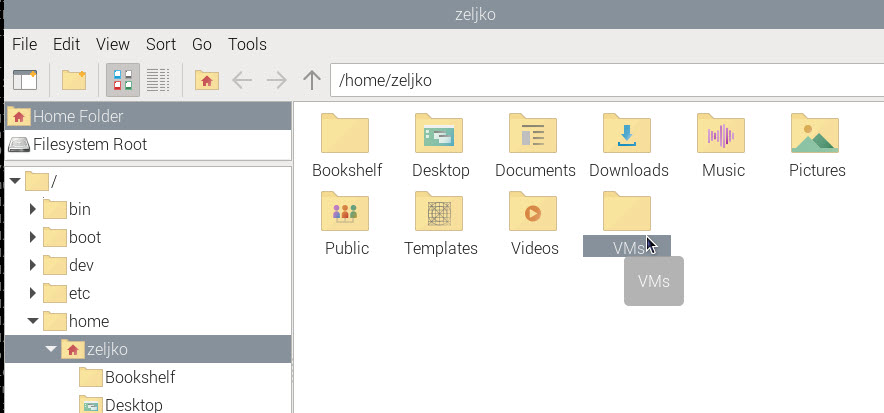
While installation is ongoing, start File Manager, go to your Home folder and create folder named VMs. This is place where we will install our VMs
Reboot Raspberry after installation of virt-manager and download of Debian ISO file is over.
Configuring Virt-manager
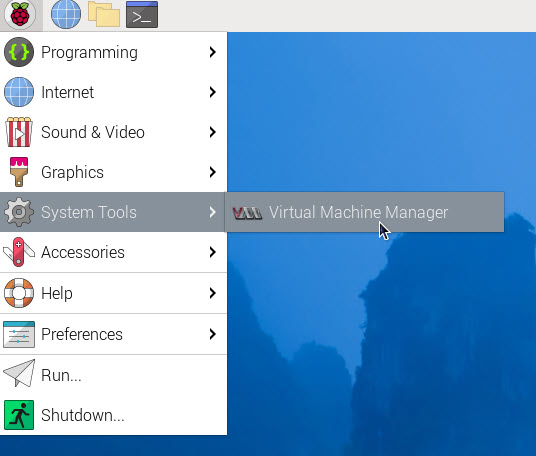
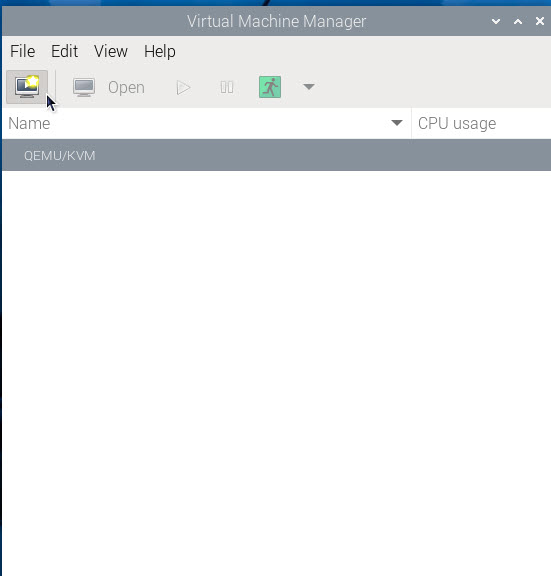
Before we create our first VM, we will configure virt-manager. Go to Raspberry icon in top left corner, click on System Tools – Virtual Machine Manager
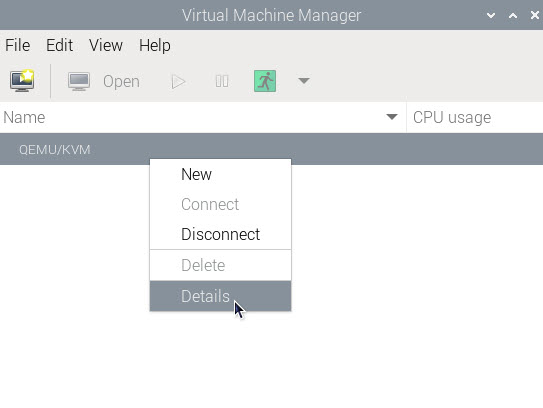
Upon startin Virtual Machine Manager you will be asked for your OS password, enter it and press Authenticate. Right click on QEMU/KVM and select Details.
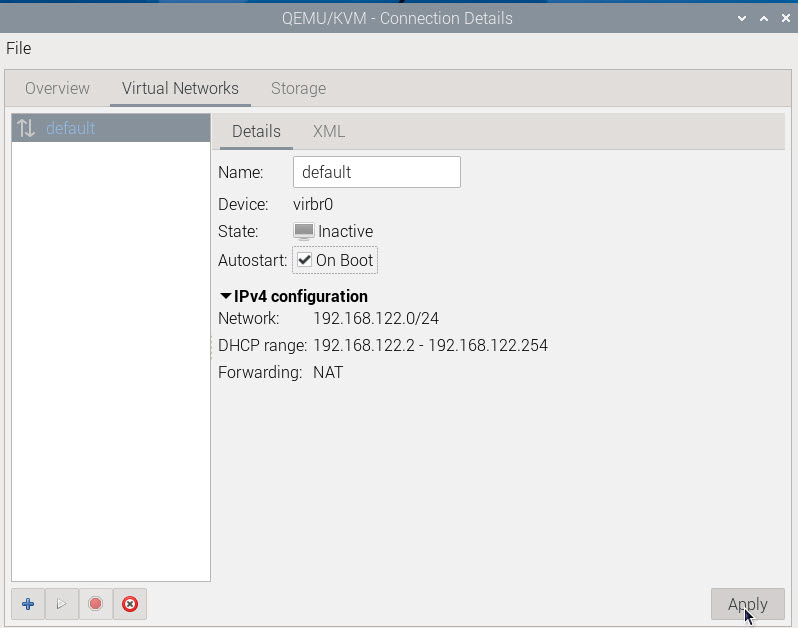
Under Virtual Networks tab, we will select Autostart and make sure On Boot is checked. Click Apply. We won’t be adding here nothing for now. Network bridge will be added later to our VM. For now, we will use default network.
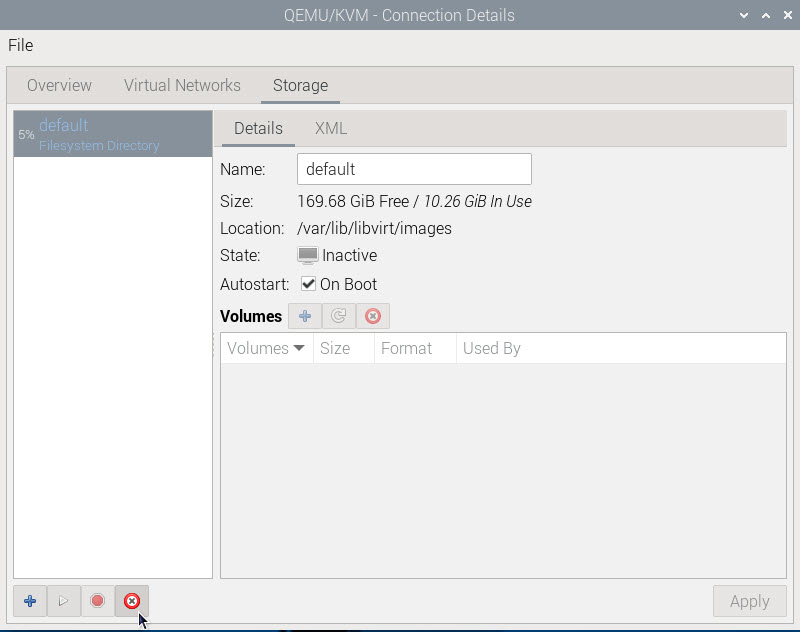
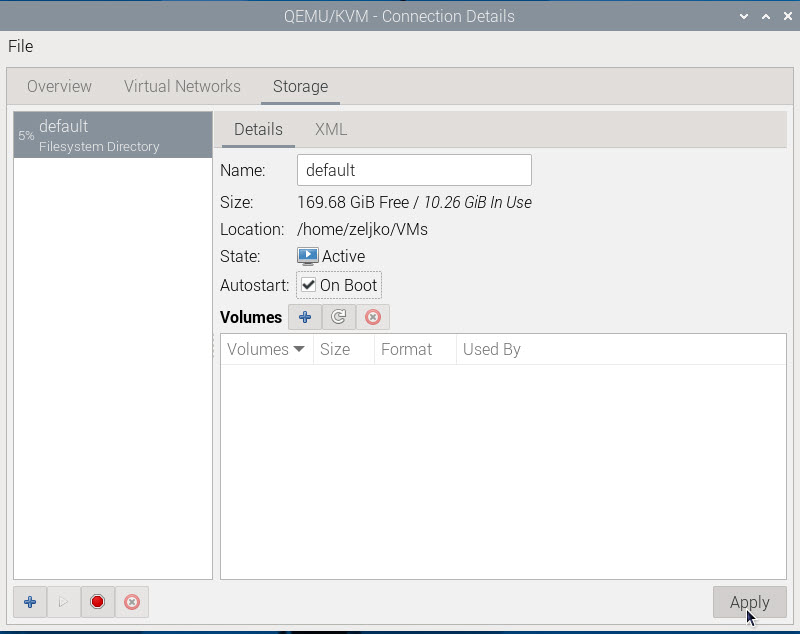
Click on Storage tab. You’ll have default sotrage. Click on stop pool button at the bottom left part of the screen while default is selected.
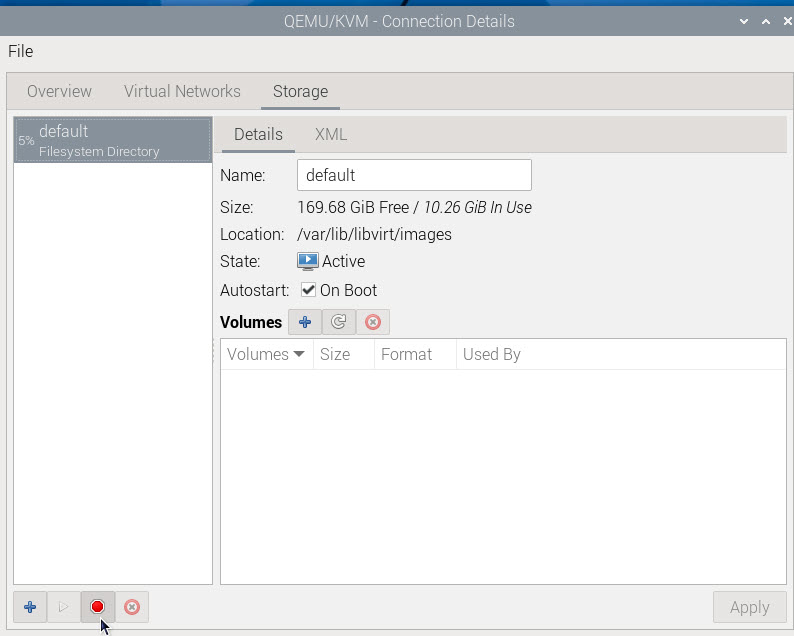
Next, click on Delete Pool to delete default pool.
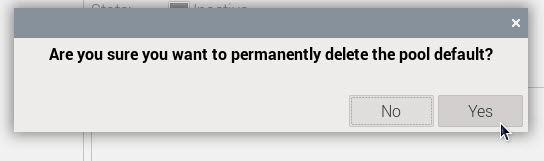
Confirm that you want to delete default pool.
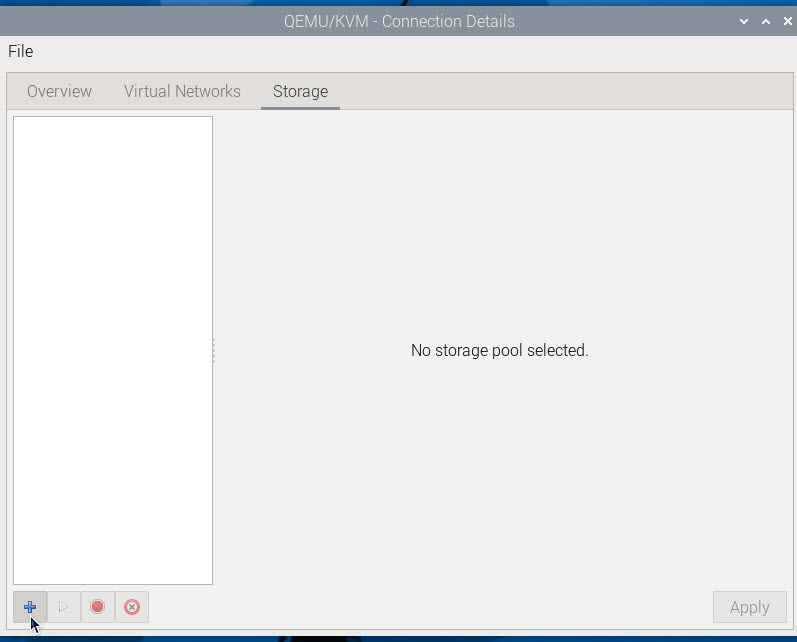
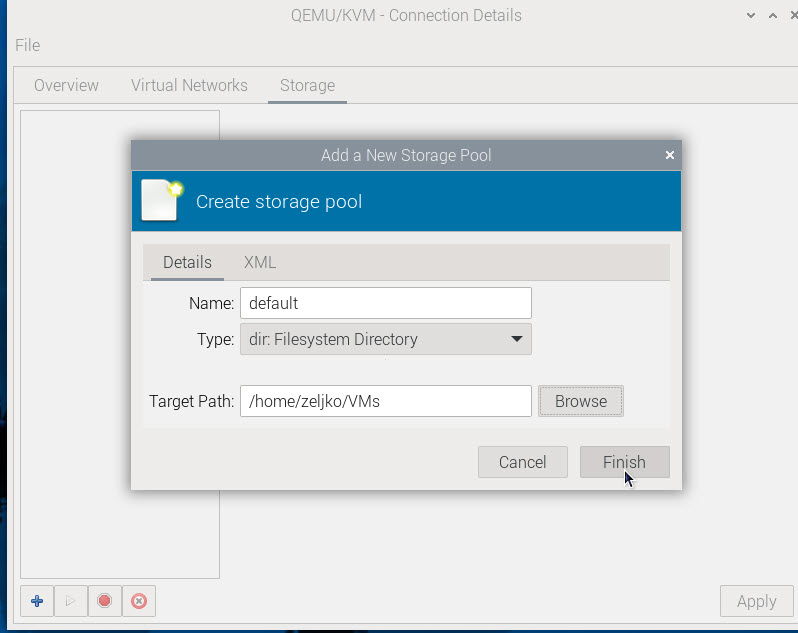
We will now click on + (Add Pool). We will create new pool, name it default and point it to VMs folder we created earlier.
Enter details as I mentioned before and press Finish
Make sure Autostart – On Boot is checked and click Apply. Reboot your Raspberry Pi before we go further.
Create new VM in virt-manager
Ok, we are at the final part – we will install Debian 12 as our VM in virt-manager on Raspberry Pi. For this guide I will do installation with GUI, since not every GUI will work on Raspberry.
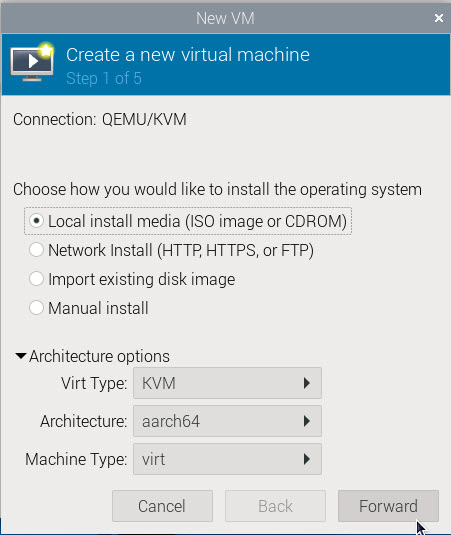
Click on Create New Virtual Machine
Select Local install Media. Under Architecture options KVM, aarch64 and virt should be selected. Forward
Browse to the location of downloaded Debian ISO. Browse local
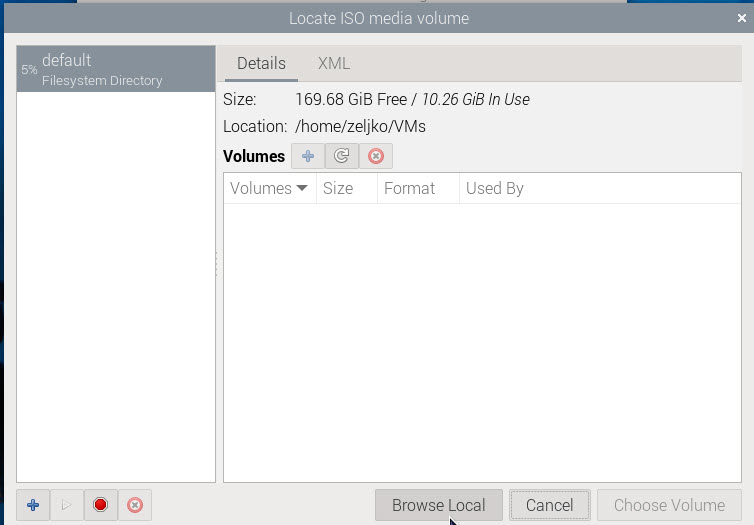
ISO location is selected. It won’t be automatically detected, so uncheck that, and type in Debian. Select Debian 11. Forward.
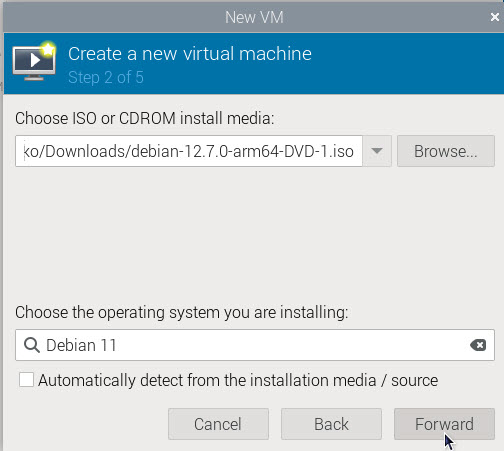
I’m warned that I don’t have rights to Downloads folder – Yes

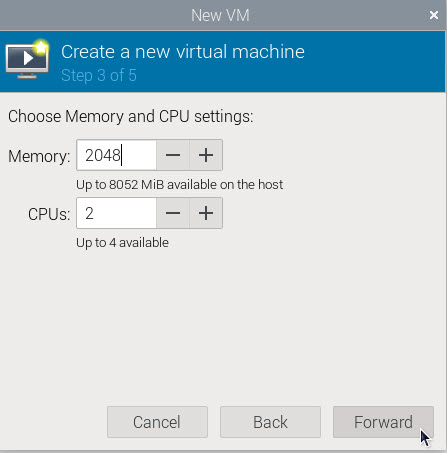
I will add 2GB of RAM and 2 cores to this VM. Forward.
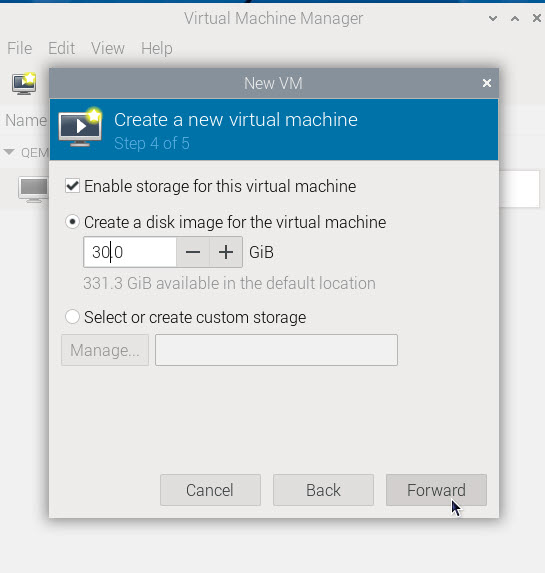
30GB of disk space will be enough. This is only for test. Forward.
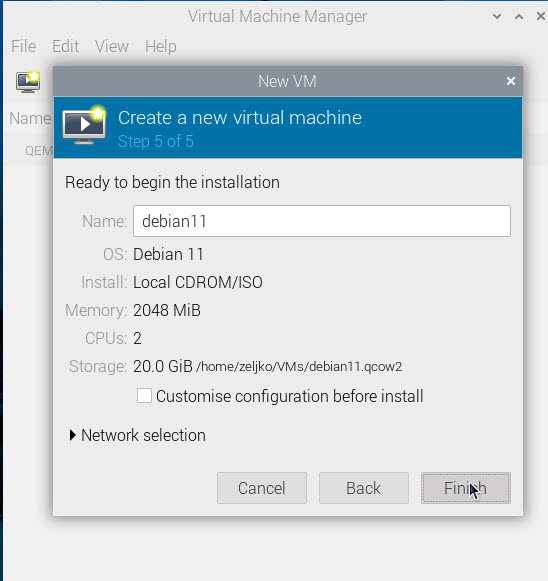
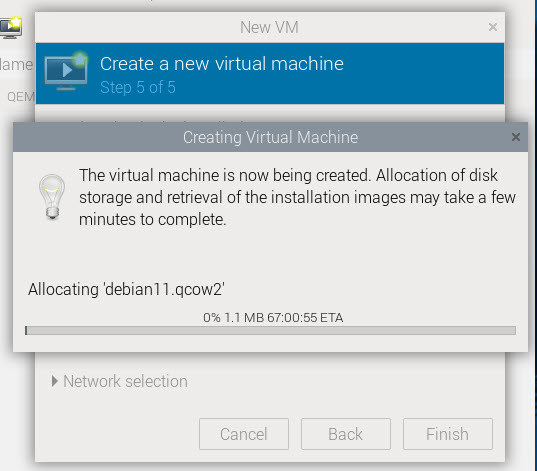
Click on Finish
Pop-up will appear. If you have very slow SD card, process will be slower.
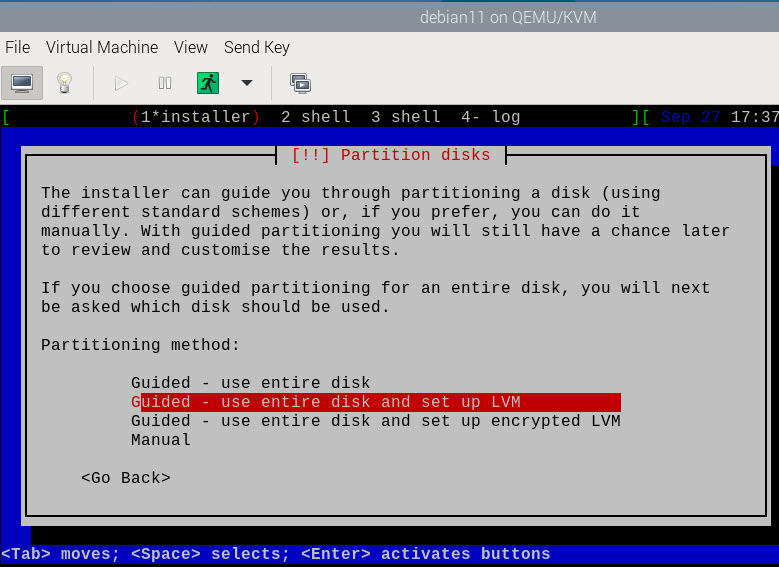
Now, new screen will appear, and we will start Installation process. We will select Install. I won’t show all the steps in creating VM. Only the steps that are very important for success will be shown. I assume you know how to enter your username, password, language, region and select partitioning of the virtual disk.

On disk step I selected entire disk and set up LVM (separate home partition is selected later in process).
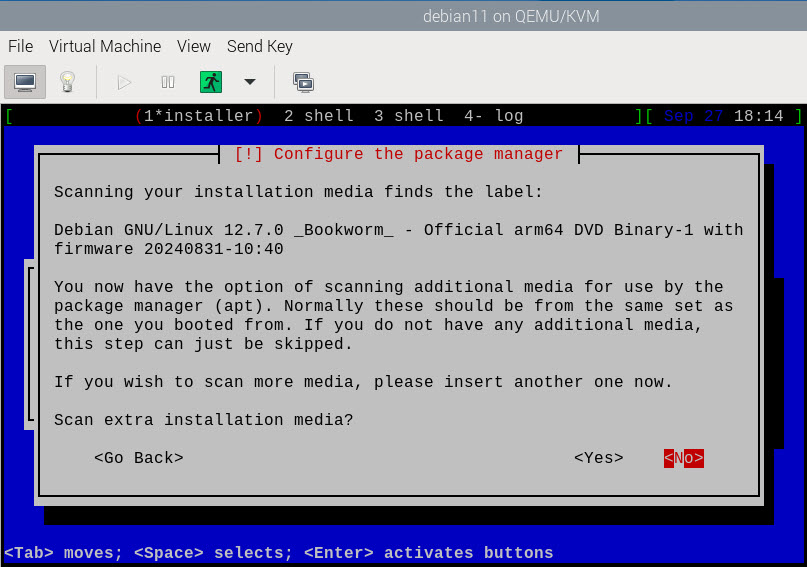
Scan extra installation media – No
Use a network mirror – Yes
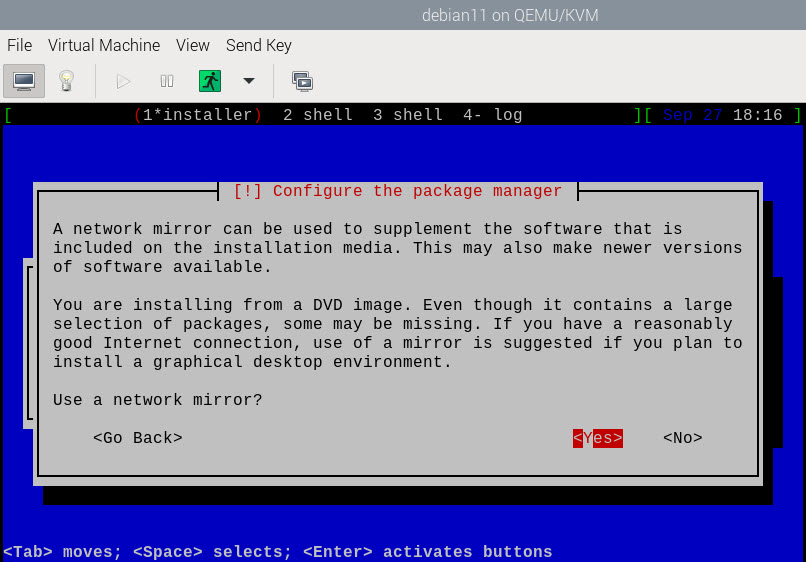
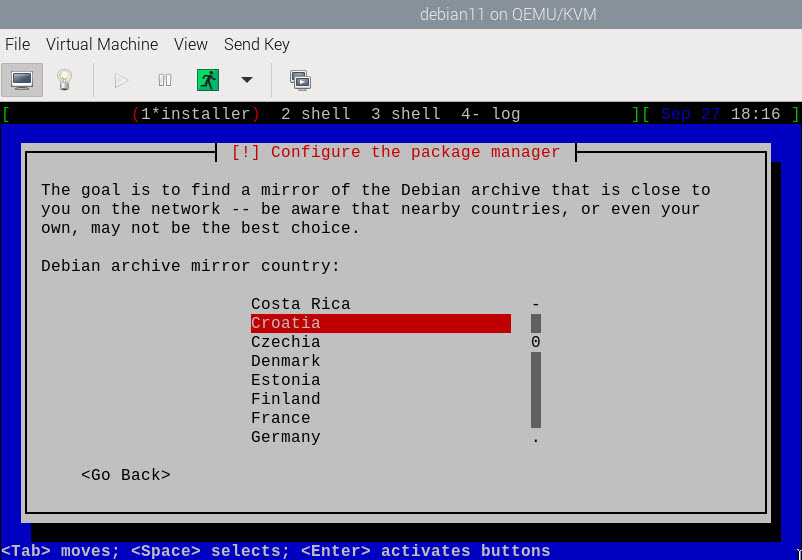
Select mirror close to you
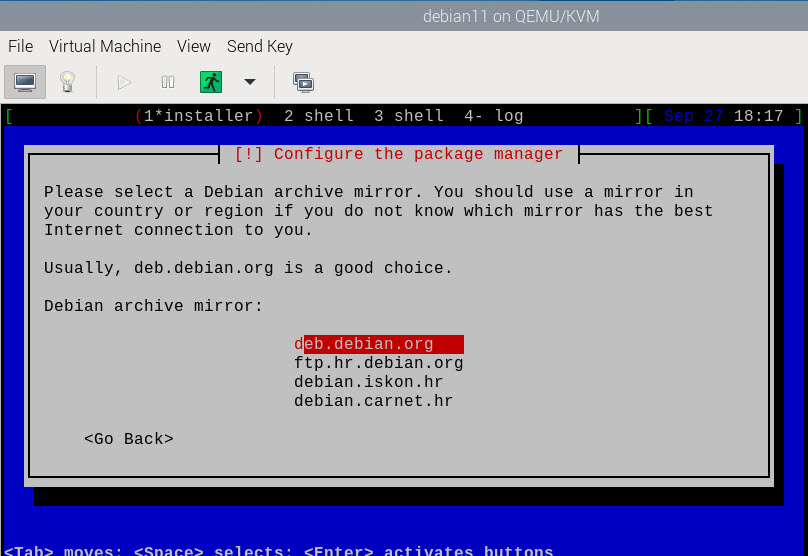
I selected deb.debian.org
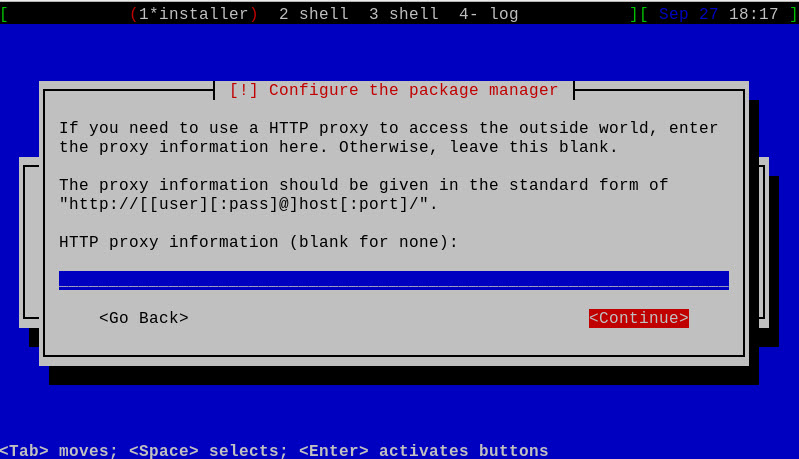
I left blank and clicked on Continue
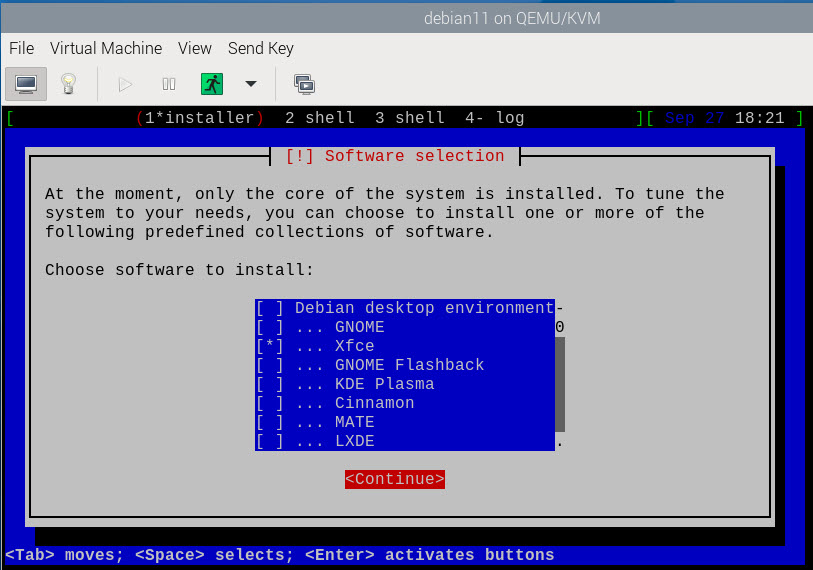
Select Xfce and select Continue. If you want GUI to work for your Debian install, this is the way to go.
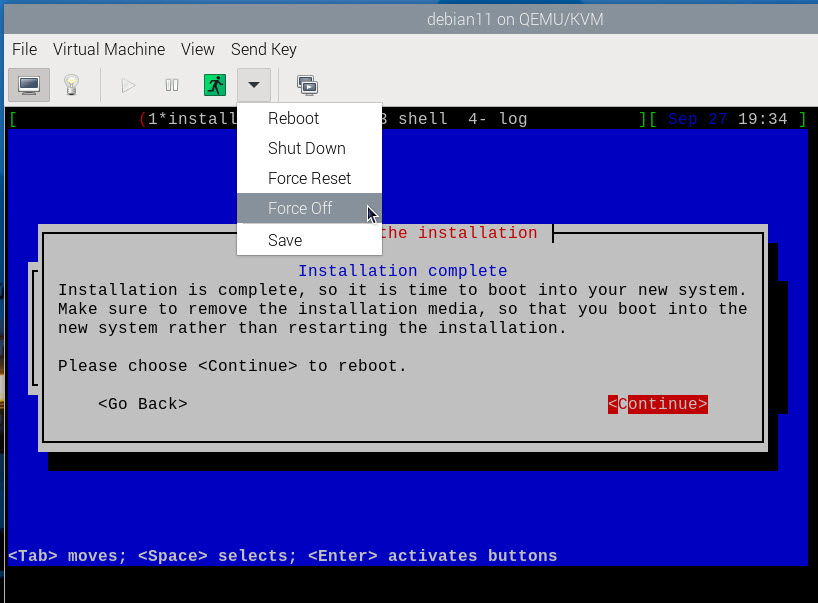
The installation will resume, and depending on the speed of your MicroSD card it may take shorter or longer time to finish. In the end, BEFORE you press Continue, press Force Off the VM. Don’t press Continue. VM will be shut down.
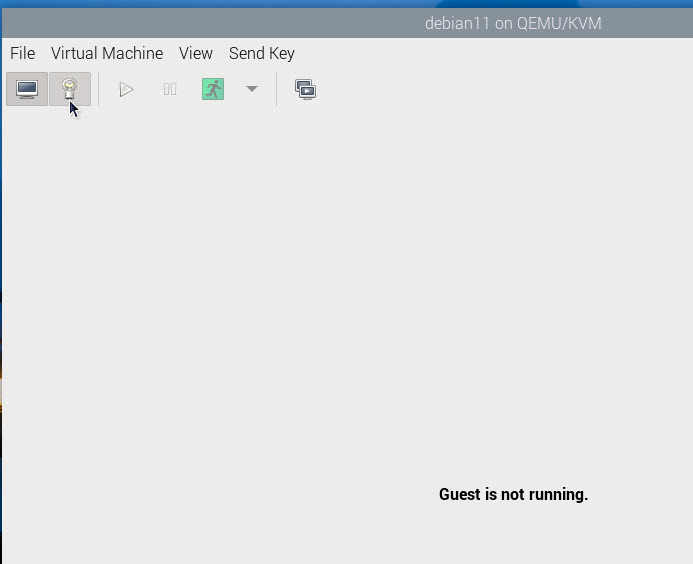
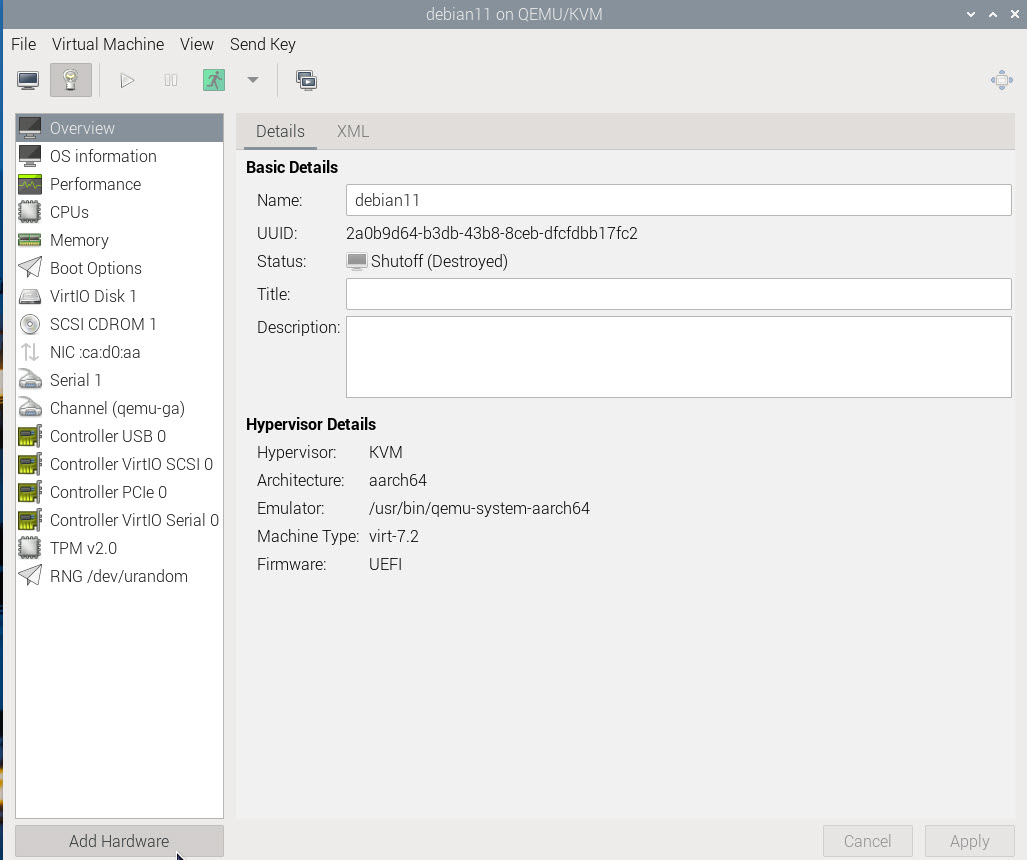
Press small light bulb after VM is off.
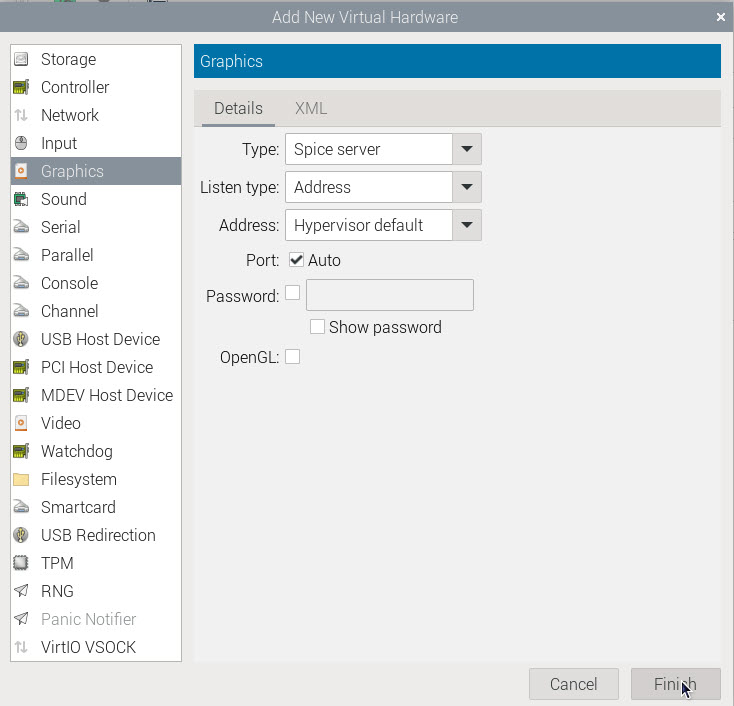
We need to add hardware. We will add following:
Graphics: Spice server
Video: Virtio (maybe already on the list after we add Spice server)
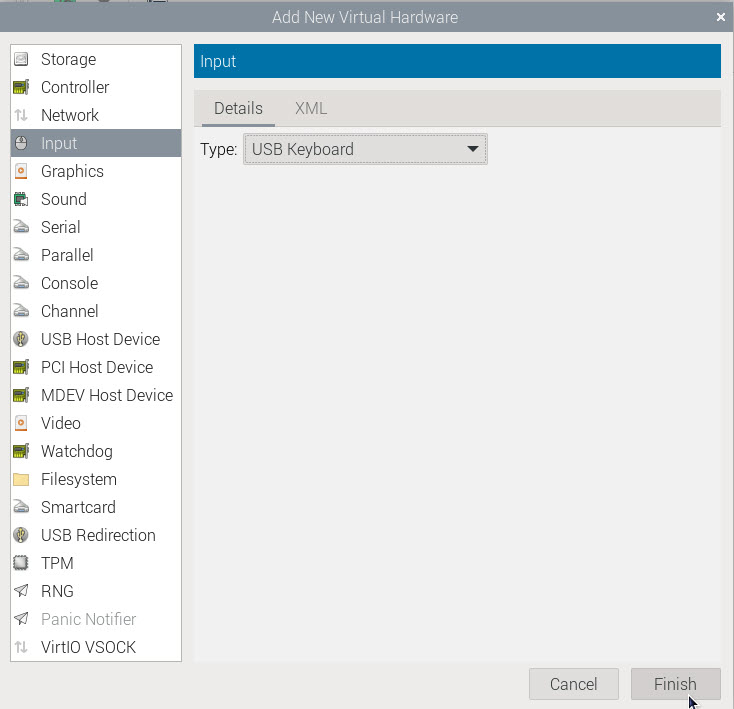
Input: Generic USB Keyboard
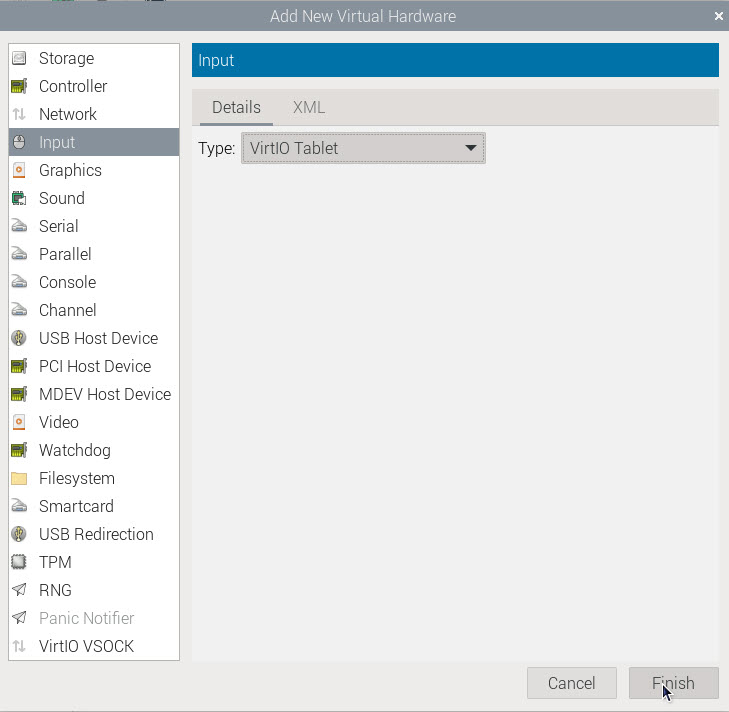
Input: Virtio Tablet (Generic USB Mouse does not work well in my case, you can try it.)
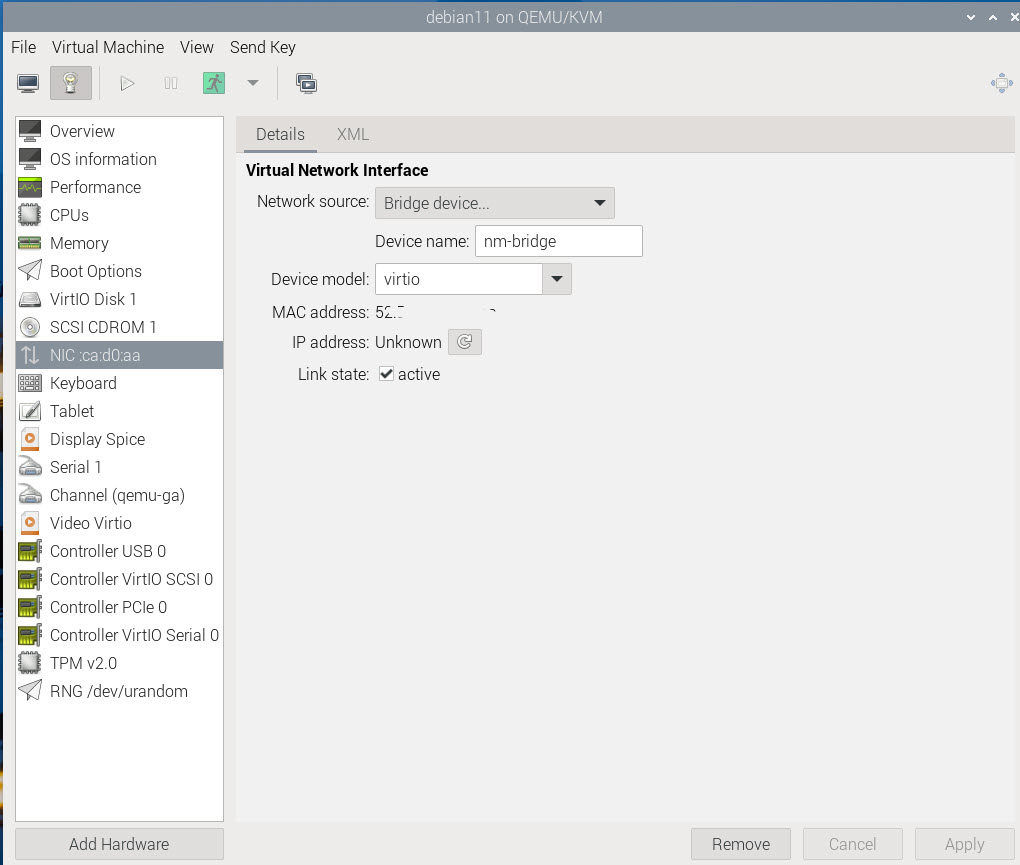
Optionally, if you want to use bridge networking, you will click on NIC, and under Netwrok source click Bridge device, and under Device name enter: nm-bridge

Optional, if you want to use bridge for networking
After we are done with adding hardware, click on little screen, and then on play button.
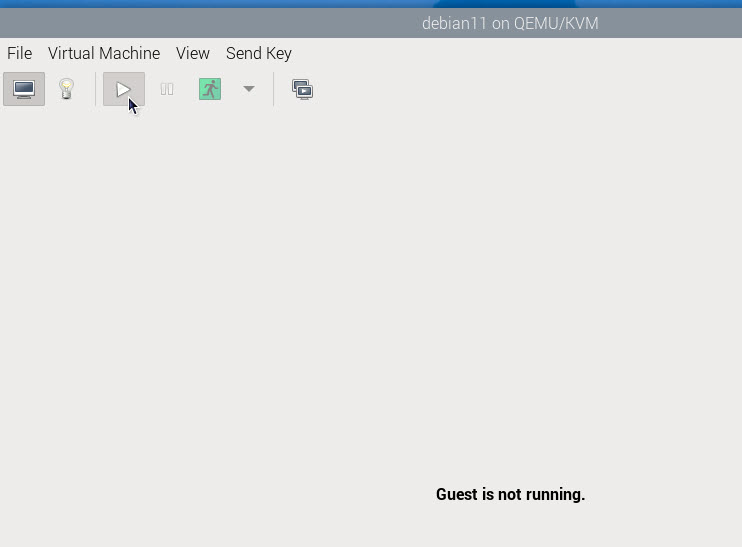
After few minutes (first boot can take longer, and ypu may see only cursor blinking on black screen) if we did everything correctly, we should be on the login screen of our VM!!!
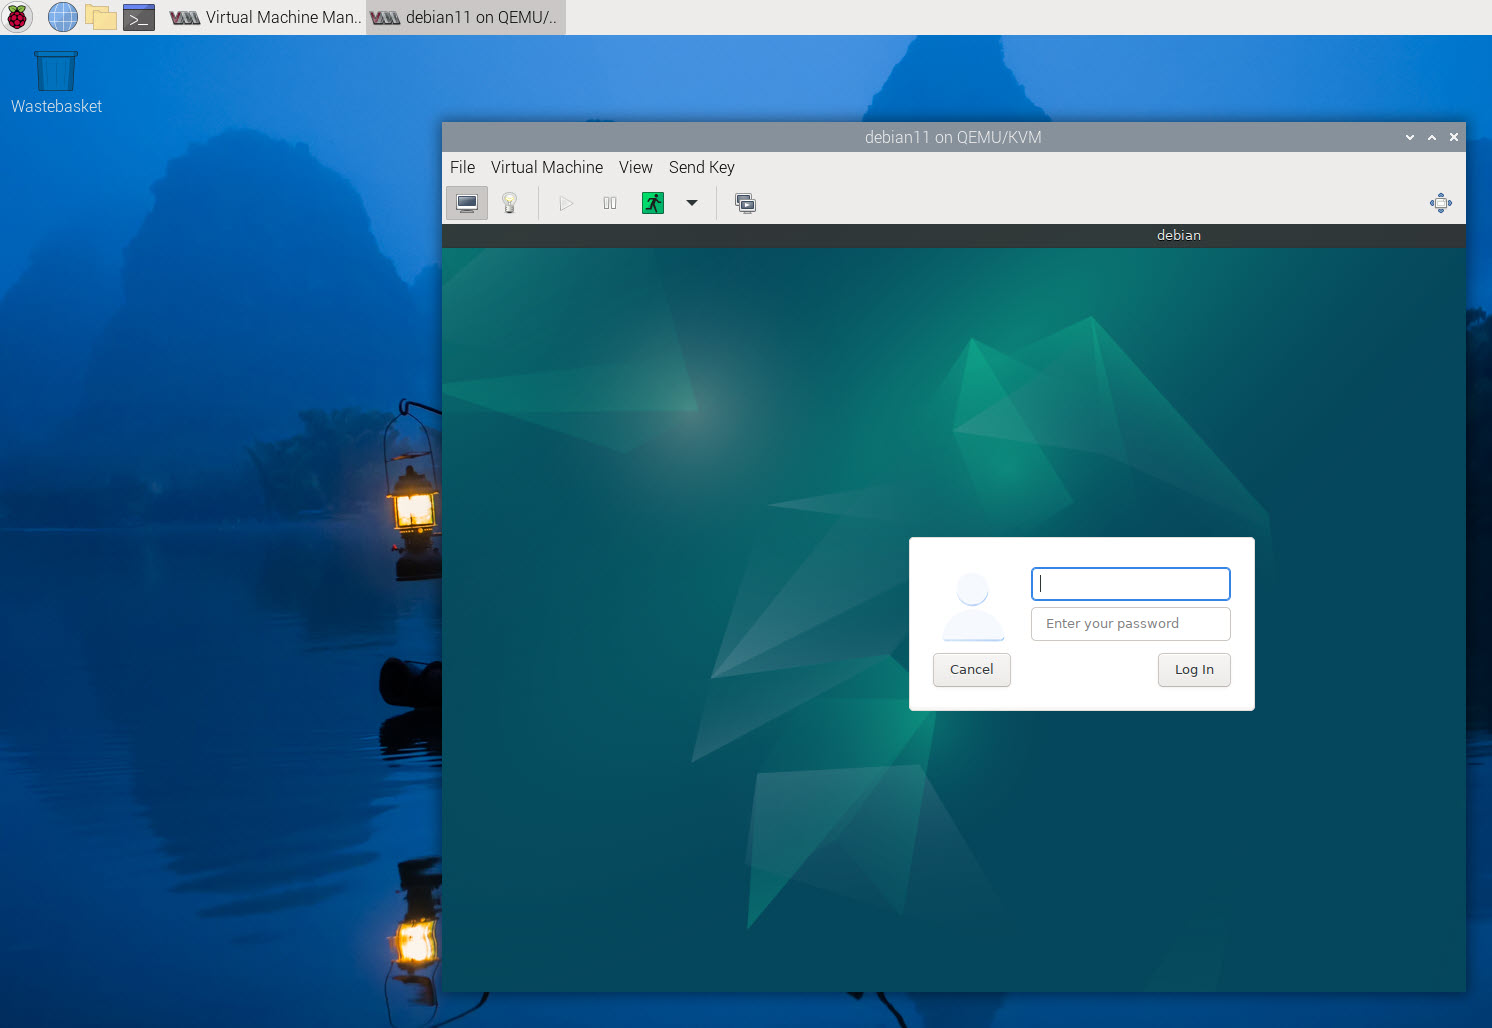
We did it. Machine works, mouse is ok, we have network access!! Process is a bit complicated, and if you miss something, machine may not boot or enter GUI.