This part will be separate and dedicated to Linux and Terminal. Because of my everyday job I find this feature extremely useful. In this part, we will go step by step on how to install WSL, and look into basic features of WSL. We will also install Hyper-V, Sandbox and have a look at Terminal.
Let’s start right away. Just to repeat once again, for fifth time – this is not typical step by step guide, this is part of my Windows 11 configuration series, which is reminder for me, and maybe can give you some ideas how to configure Windows 11, what you can use
Linux – setup WSL
Extremely useful, escpecially if you are using SSH and lot of Linux stuff.
Make sure you have virtualization features enabled in your BIOS before running this!
This method works on Windows 11 23H2 and 24H2!
WSL installation has a few steps:
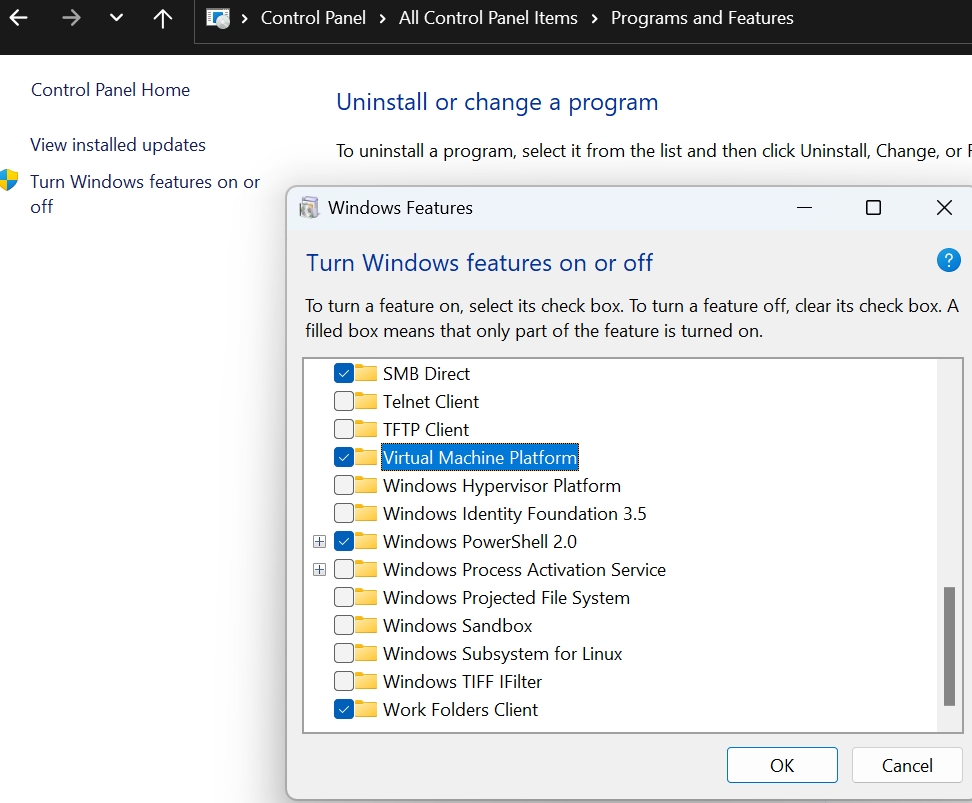
To install Windows Subsystem for Linux we need to enable feature called Virtual Machine Platform.
Virtual Machine Platform is based on Hyper-V but separate from it.
Control Panel – Programs and features – Turn Windows features on or off – enable Virtual Machine Platform – after PC reboots we can continue
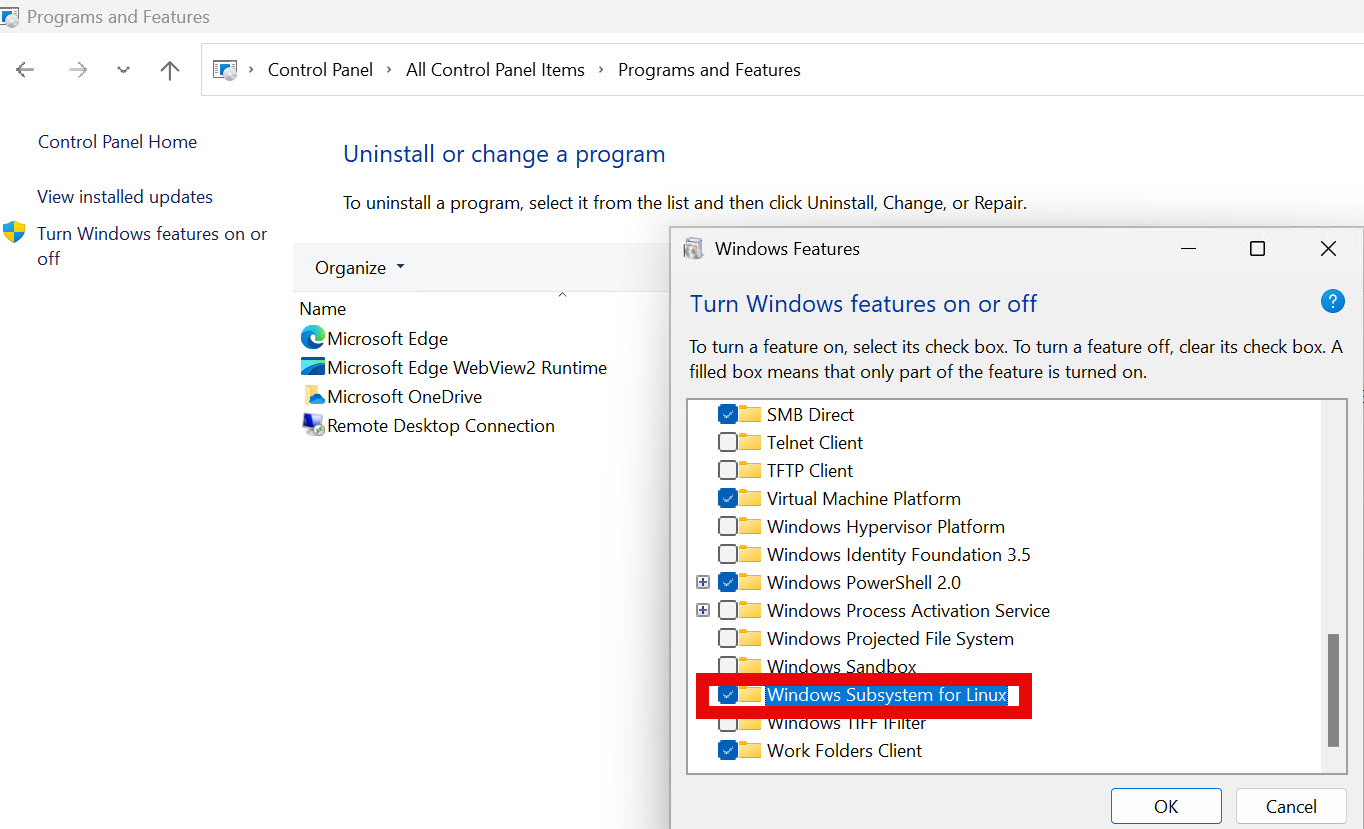
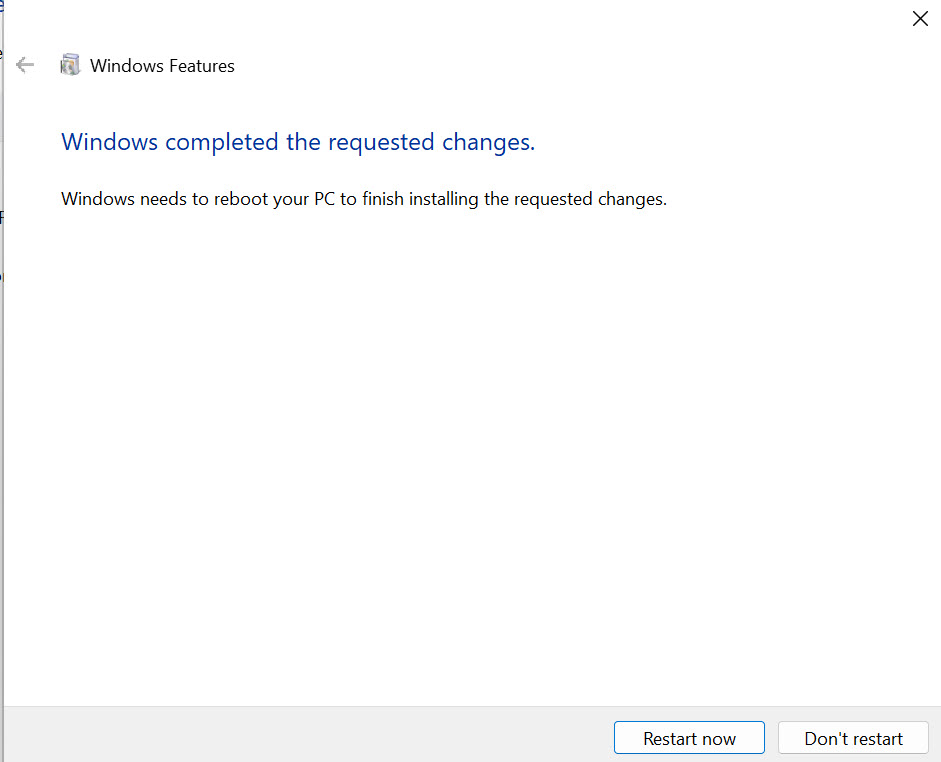
After reboot open again Control Panel – Programs and features – Turn Windows features on or off – check Windows Subsystem for Linux – OK – reboot system
After reboot, we need to go to Powershell, and install wsl through it. That process will update WSL, and install Ubuntu 24.04.1 LTS (actual at the time of writing this).
Type in search – Powershell – right click on icon and select Run as Administrator.
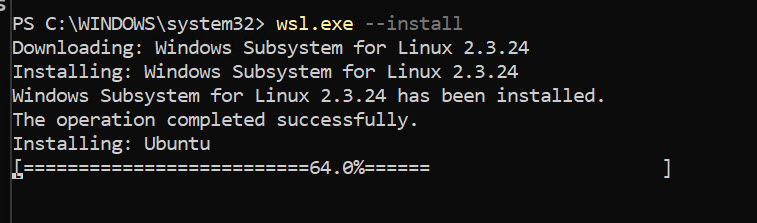
Type into powershell
wsl.exe --install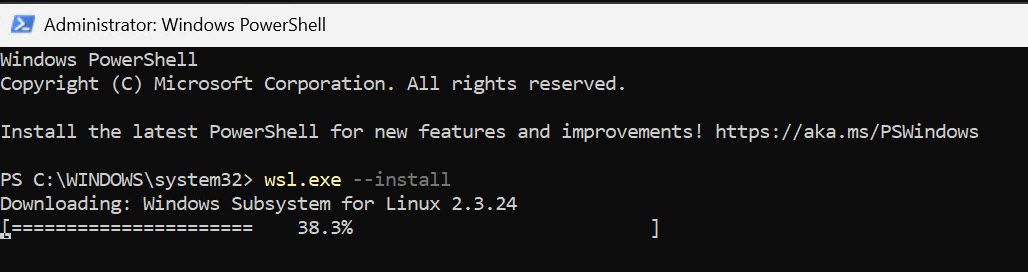
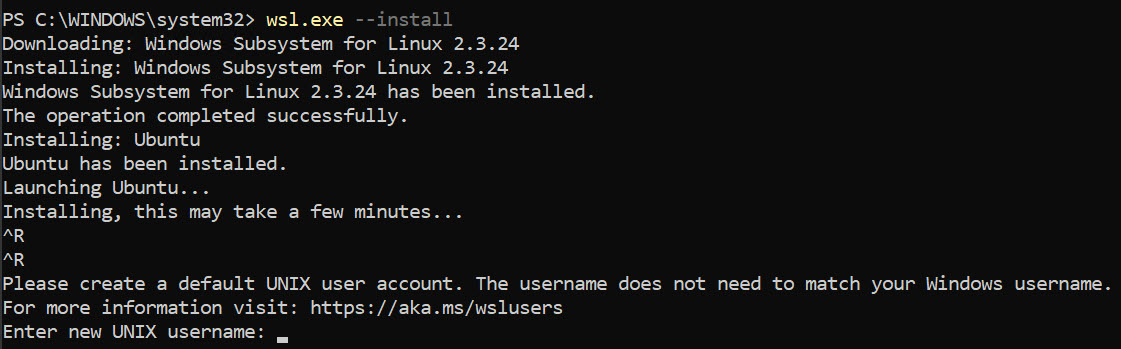
It will install WSL, and then Ubuntu…
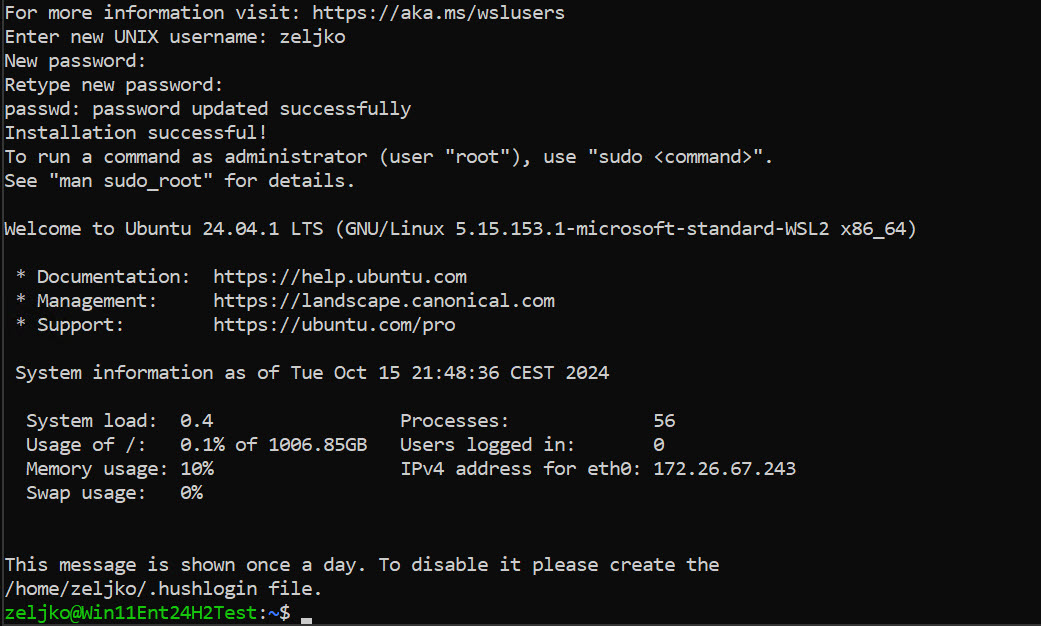
After Ubuntu is installed, You will be asked then to enter username and pass for new Linux user – after that is done you will get – Installation is successful.
You can now access Ubuntu through Terminal – new shell is available
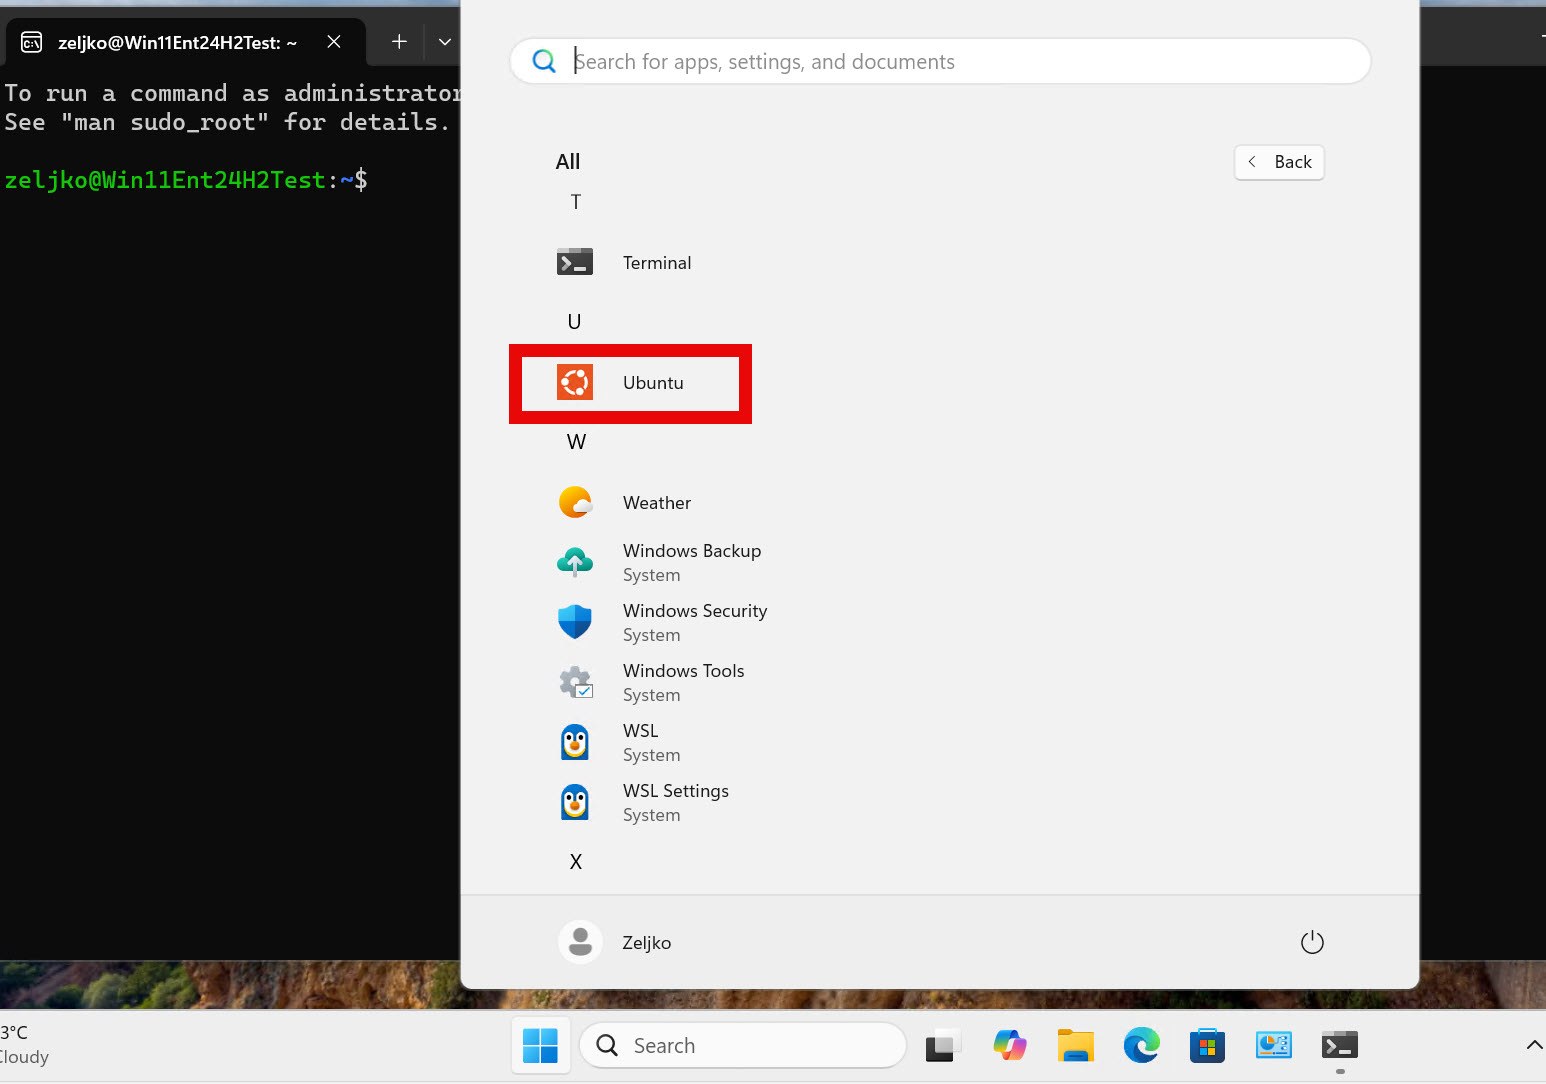
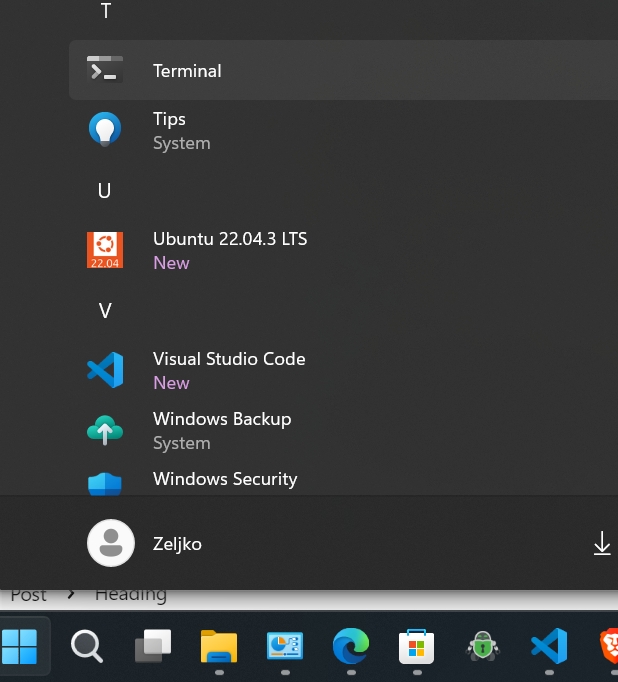
You will start Linux by going to Start – All apps – Ubuntu (I also pin it to Taskbar)
First steps after you run Linux
sudo apt update and sudo apt upgrade should be run first in Linux.
Managing WSL through Powershell
You can also manage WSL through Powershell
wsl –list -> will list installed distros
wsl –list –online -> will list distros available for installation
To install one of the listed available distros type
wsl –install Debian (for example)
To install graphical Linux app, open Linux shell and type in (I will install text editor for example)
sudo apt install gedit -y
to start app, then type
gedit
#### Accessing file system
Windows drive is mounted in /mnt/c
cd /mnt/c
ls
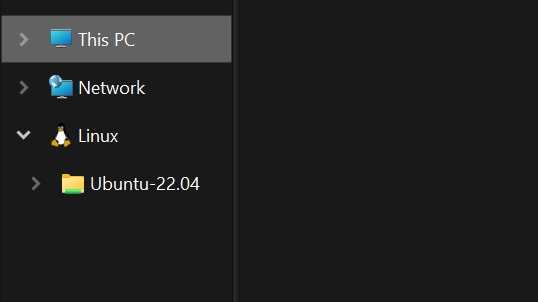
Also in Windows in File Explorer in navigation bar – Linux drive will appear. You can easily copy files and folders to Linux through Windows Explorer – recommend directory would be /home.
That is it, you now have Linux in your Windows.
While we are at the topic on VMs and adding various platform, I will add Hyper-V and Sandbox. I use exclusively Hyper-V on Windows for virtualization, and Sandbox is great feature
Hyper-V
In Windows 11 Pro (it can also be done in home, since I’m not using home edition, I won’t cover it)
Make sure you have virtualization features enabled in your BIOS before running this!
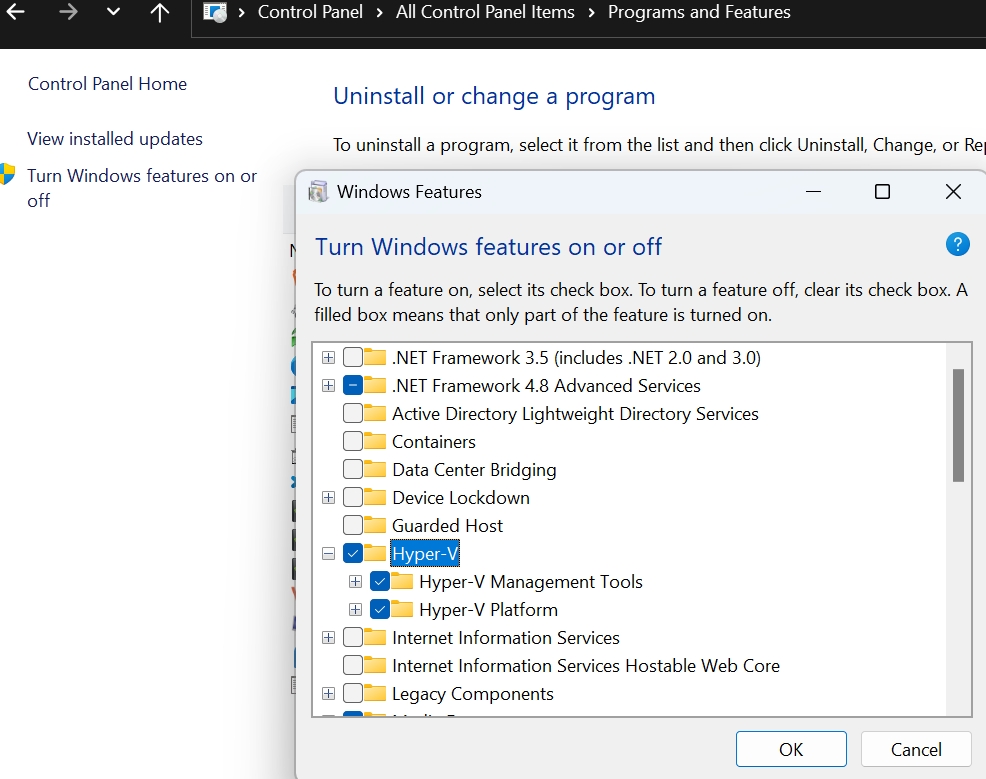
Control Panel – Programs and features – Turn Windows features on or off – select Hyper-V – ok
Windows Sandbox
Run untrusted software in an isolated/temporary environment. In Windows Sandbox nothing survives the reboot of the machine in sandbox. Great feature for security, especially browsing to untrusted sources.
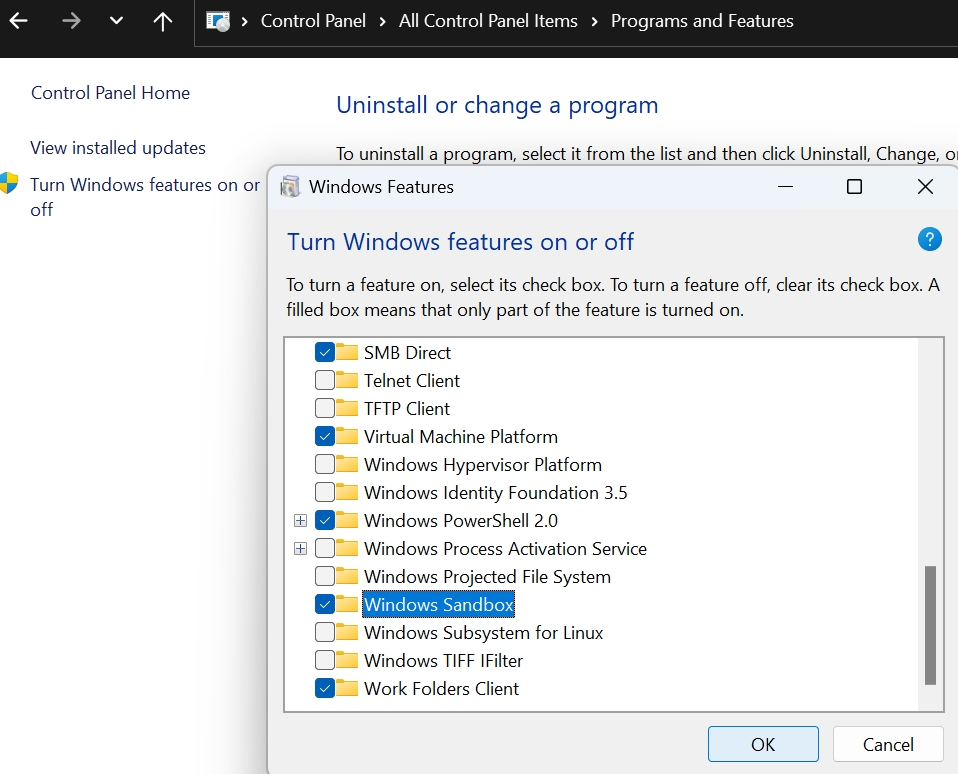
Control Panel – Programs and features – Turn Windows features on or off – Windows Sandbox
I pin both Hyper-V and Sandbox to Taskbar.
Terminal
Combines multiple shells (command prompt, powershell, Linux…).
CTRL + SHIFT + T to open new tab in Terminal
Zoom in – CTRL + Plus
Zoom out – CTRL + Minus
To return to default value – CTRL + 0
Besides + sign at the top of the Terminal window there is a little arrow/triangle pointing down – click on it to select which shell you wish to open in new tab.
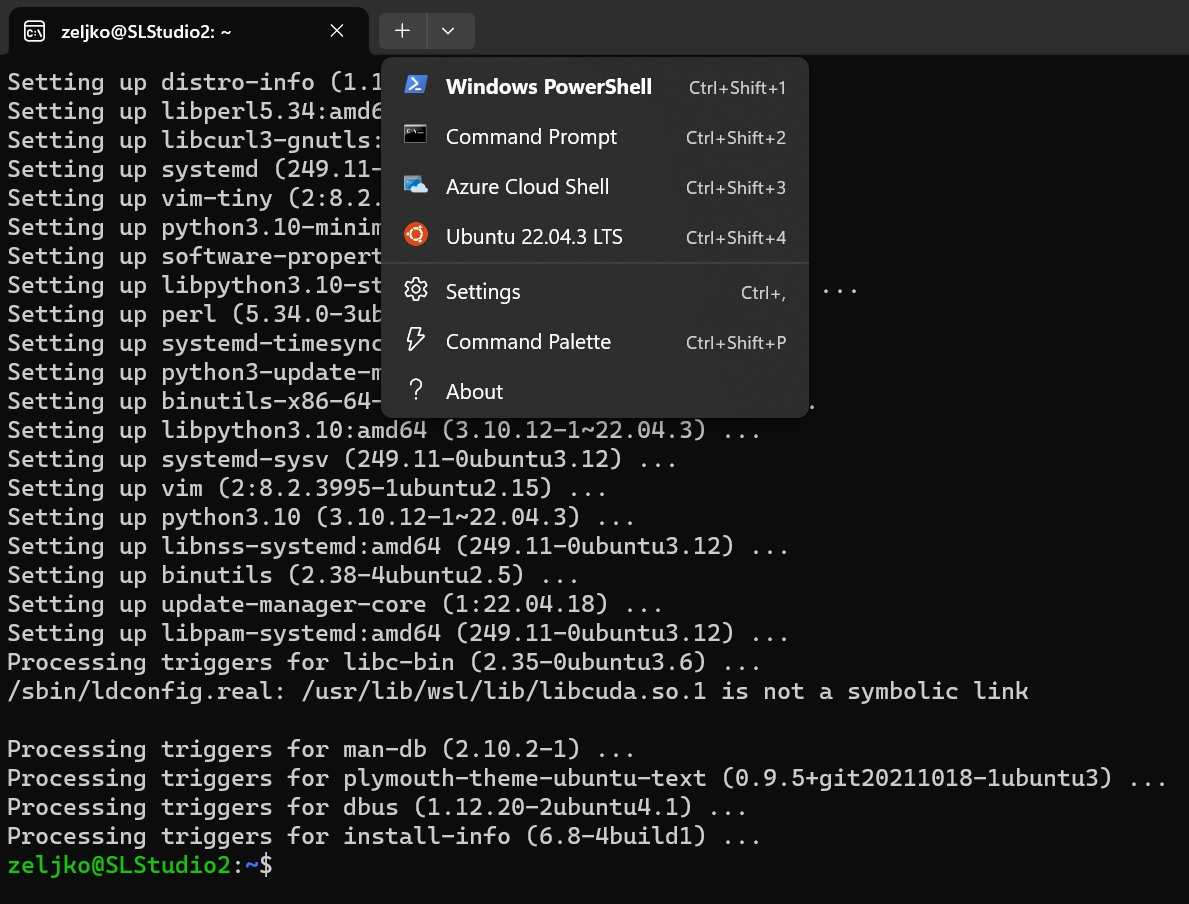
If you click on an little arrow and select Settings you will get a whole lot of settings you can set for Terminal
Command Pallete can be selected when clicking on little arrow/triangle on top of Windows Terminal – it gives us all possible commands to control Terminal. You can open it also by clicking CTRL + SHIFT + P
And that is it for this part. We are almost done with initial Windows 11 setup
Windows Configuration / Tips and Tricks – Part 1
Windows Configuration / Tips and Tricks – Part 2
Windows Configuration / Tips and Tricks – Part 3
Windows Configuration / Tips and Tricks – Part 4
Windows Configuration / Tips and Tricks – Part 5
Windows Configuration / Tips and Tricks – Part 6