It would be useful to have some Android apps on Windows in some use cases. In this part, I will show you how to install Windows Subsystem for Android on Windows 11 – it is complicated.
Just to repeat once again, for sixth time – this is not typical step by step guide, this is part of my Windows 11 configuration series, which is reminder for me, and maybe can give you some ideas how to configure Windows 11, what you can use, and maybe learn something new
Android (Amazon) Appstore
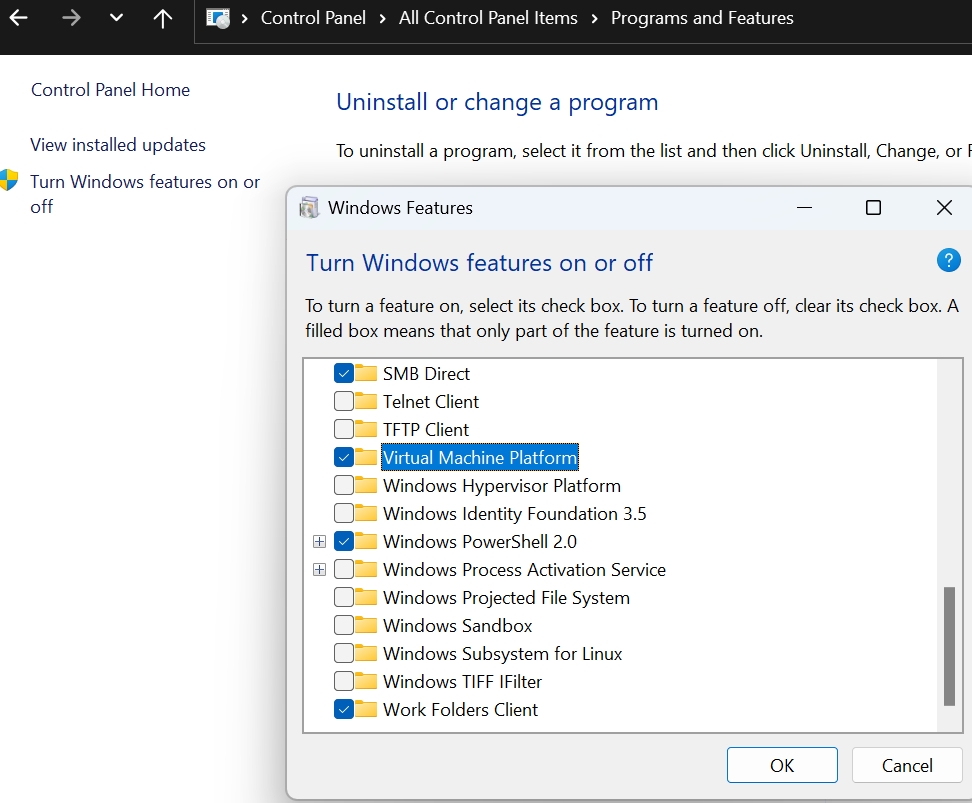
To install Windows Subsystem for Android we need to enable feature called Virtual Machine Platform.
Virtual Machine Platform is based on Hyper-V but separate from it.
Control Panel – Programs and features – Turn Windows features on or off – enable Virtual Machine Platform – after PC reboots
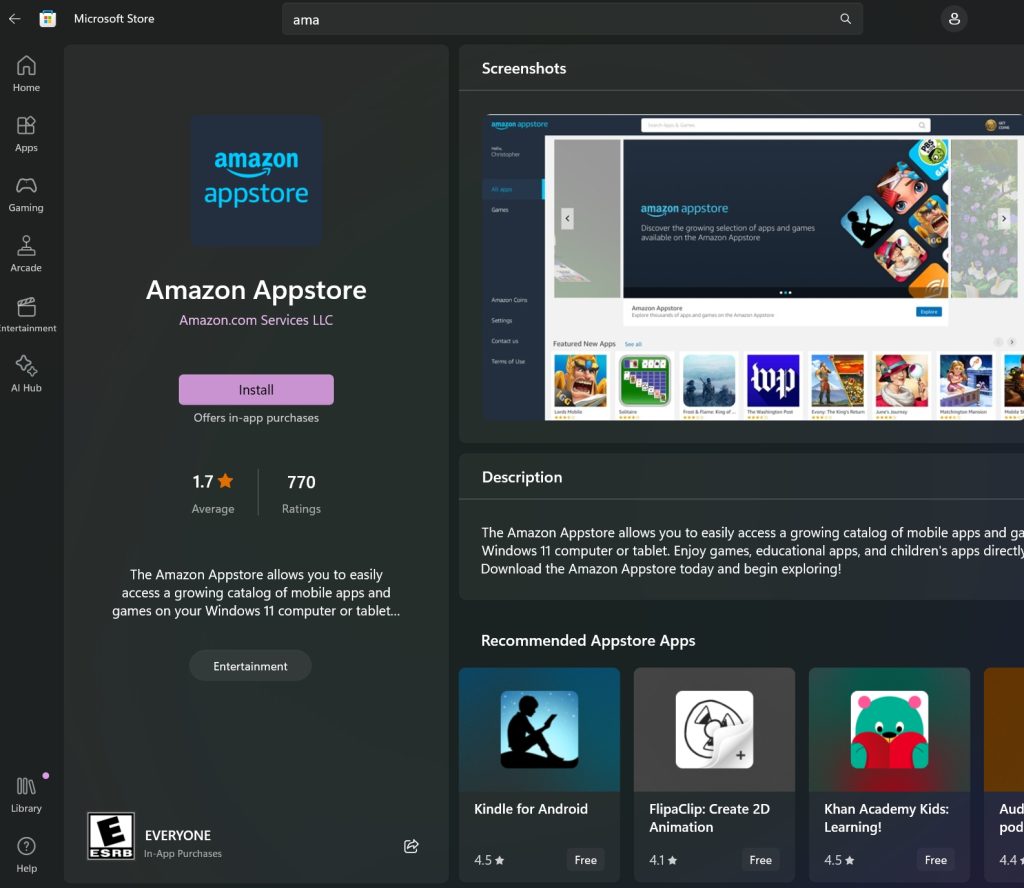
Go to Microsoft Store – search for Amazon Appstore – if it does not appear, that means that you are not in the supported region for Amazon Appstore – I’m not.
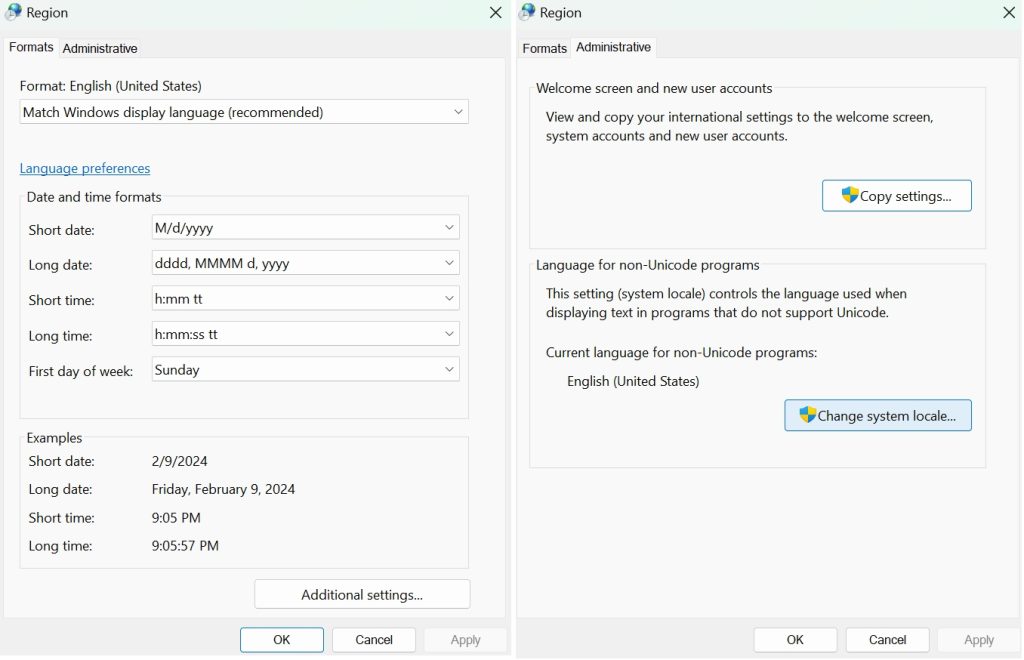
We will quickly pretend that we are in the US
Control Panel – Region – Format tab – Format: English (United States), on Administrative tab set “Change system locale…” to English (United States)
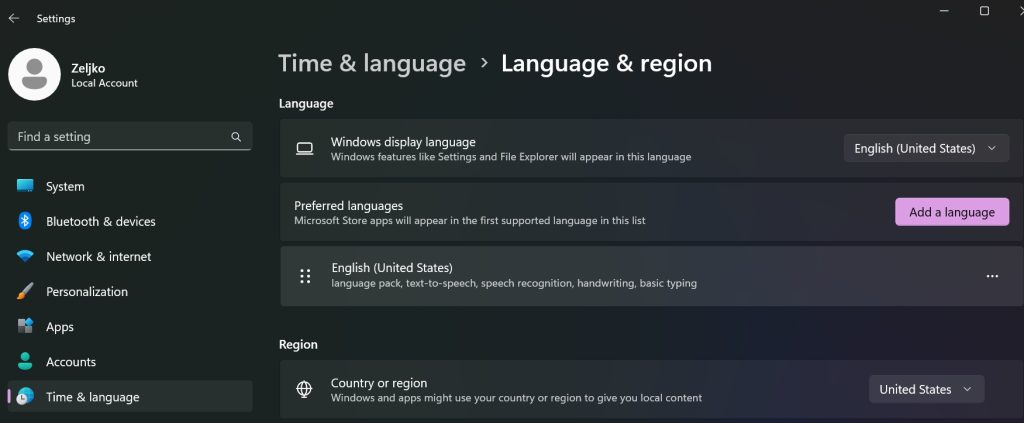
Settings – Time & language – Language & region – change country or region (under Region part of screen) to United States – everything else (Regional format and display language) should already be in English United States – Reboot
After reboot search for Amazon Appstore – it should be visible – Install – Download – this process should install Windows Subsystem for Android with Amazon Appstore. Download and start
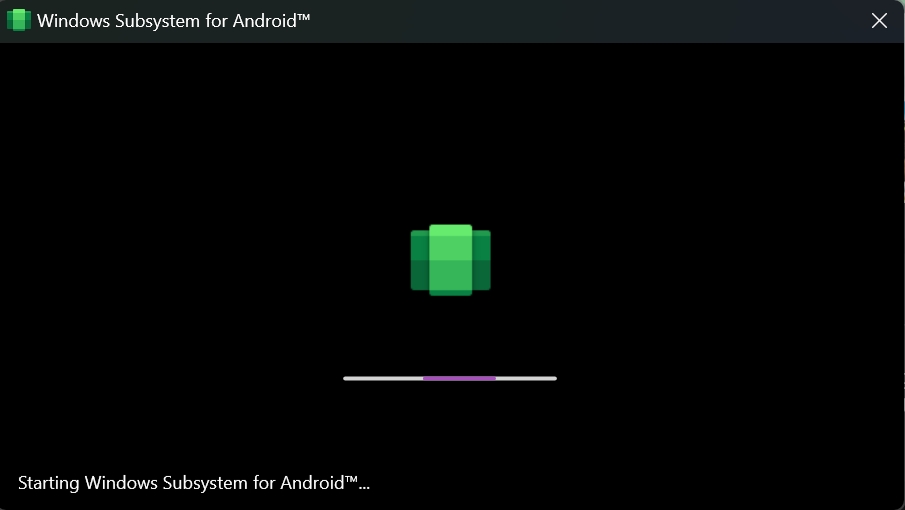
I then reverted my regional settings to Europe, and was able to login into Amazon Appstore
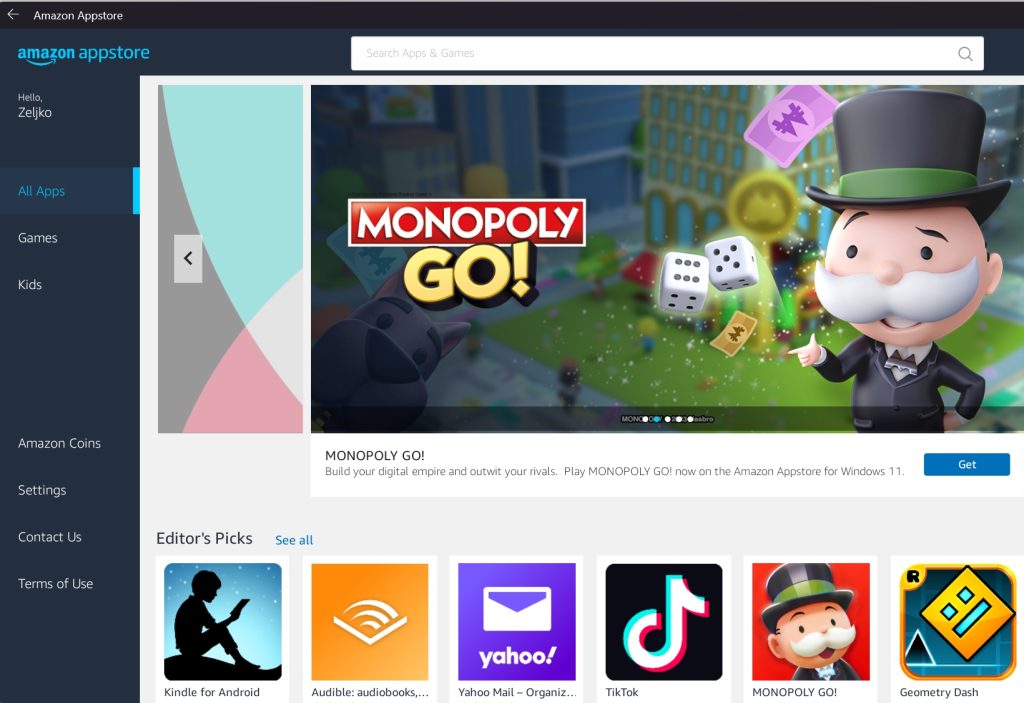
I even installed Kindle for Android – it will be visible in apps section in Start menu, and can be uninstalled by right clicking on it.
As of February 2024 – you cannot uninstall Amazon Appstore and keep Windows Subsystem for Android – it will uninstall with Amazon.
APK Sideloading
Since Amazon Appstore does not have all I want from Android apps on Windows, I will show you how to sideload Android apps on Windows 11 (be sure to download apps from secure and trusted sources!!!)
Now, we will open Windows Subsystem for Android from Start – All Apps – Windows Subsystem for Android – inside app select Advanced Settings – and turn on Developer Mode (turn it off when you are done!!) – click on Manage Developer settings (just under Developer mode) and check that USB debugging is on.
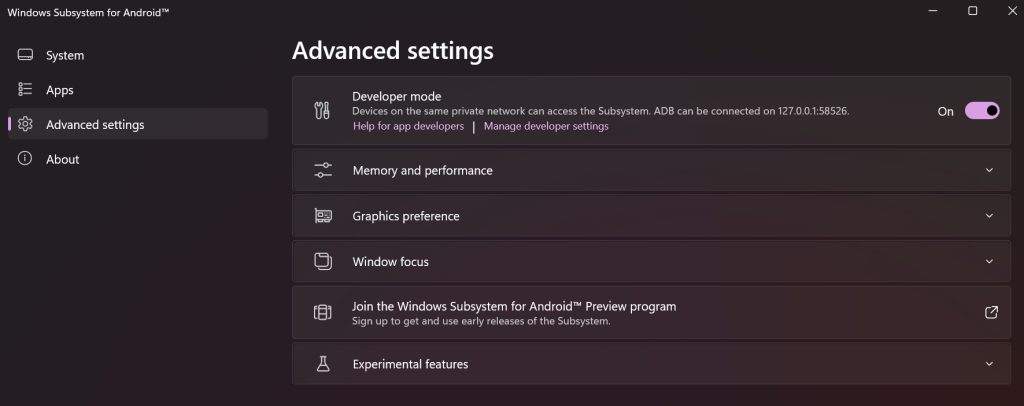
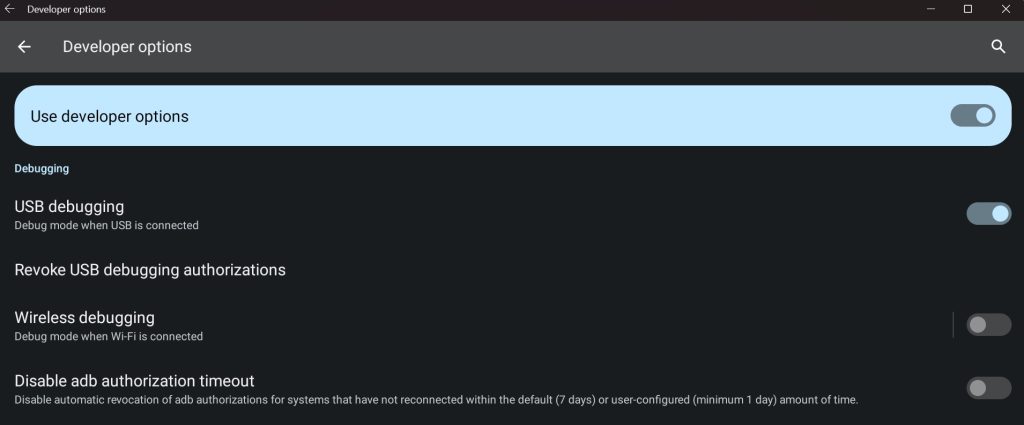
While we are in Advanced settings – under Memory and Performance set Subsystem resources as you see fit – I select Partially running and leave memory allocation at default 6GB.
Under Developer Mode it says that ADB is on 127.0.0.1:58526 port
I will now install F-Droid apk (Open Source app store for Android) Download it from f-droid.org
Download Android SDK Platform Tools – https://developer.android.com/tools/releases/platform-tools
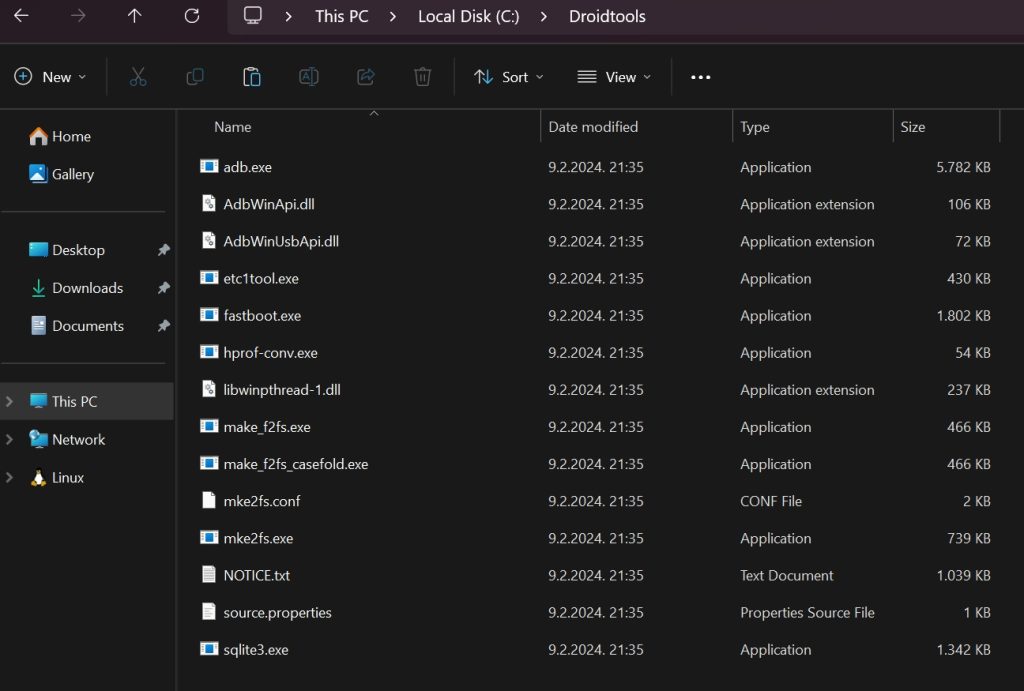
We need Windows install of ASDK Tools
I unzipped to C:\Droidtools and navigated to that folder in command prompt and started ADB from there
Start command prompt as admin
type in
adb connect 127.0.0.1:58526
(pop-up will appear on Windows with Allow ADB debugging? dialog – confirm with Allow) – be sure to get that window in the background, otherwise you’ll get failed to authenticate like I did first time on the screenshot.
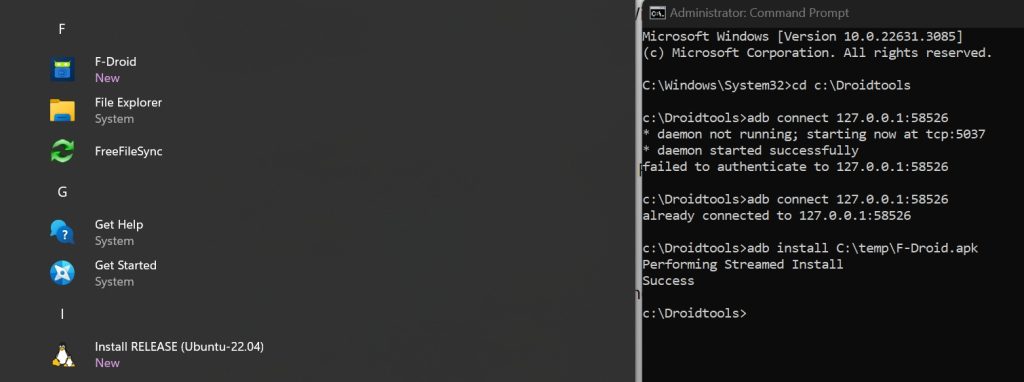
Connection should be success. Now we can install our F-Droid app
adb install “C:\temp\F-Droid.apk”
If you go to Start – All apps – F-Droid should now be there!
Process is the same for sideloading any Android app.
To uninstall – just right click on App and select Uninstall – just like you would with WIndows app.
To stop WSA – click on Windows Subsystem for Android app – System – Turn off Windows Subsystem for Android – Turn off
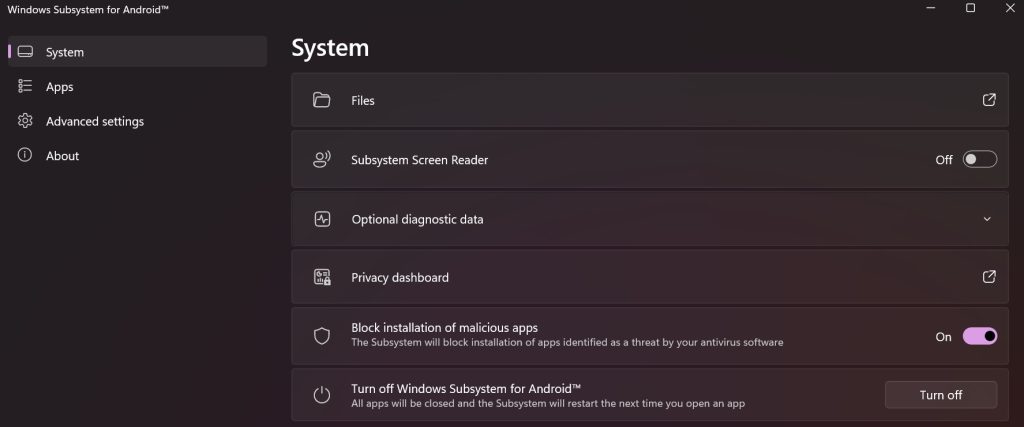
We are done with Android on Windows for now. If this was interesting, I have few more tips and settings for Windows 11.
Windows Configuration / Tips and Tricks – Part 1
Windows Configuration / Tips and Tricks – Part 2
Windows Configuration / Tips and Tricks – Part 3
Windows Configuration / Tips and Tricks – Part 4
Windows Configuration / Tips and Tricks – Part 5
Windows Configuration / Tips and Tricks – Part 6