If you wish to install something like OpenStack on Red Hat and deploy it with Director service, you will be asked for some kind of IPMI (Inteligent Platform Management Tool) so that your can control servers (bare metal) from one point, reboot and control power status of the machines you deploy to… HPE has iLO, Dell has iDRAC…
That is all well if you are deploying to bare metal, but what if you wish to control virtual machines in the same manner. You will need VirtualBMC.
Before we begin
I’m doing this on a Red Hat Server 8.2 with KVM virtualization installed. So that would be prerequisite for this to work.
Also, one HUGE prerequisite for this to work is that you perform all of the operations I will mention below as a root user!!!
Not as a local user with sudo, but login as root. Otherwise (at least it my case) it would not work.
If running service as a “regular” user my VirtualBMC service would stuck at activating…

or if I execute “vbmc list” command for example, I would get “ERROR VirtualBMC – Failed to connect to the vbmcd server on port 50891, error: Server response time out.

or I would get VirtualBMC – server PID #0 still running if I execute vbmcd command.

So, you get the idea, run this whole process as a root user! In any other case, I’m always against working as root – because security – but for this one, I just couldn’t get it going.
I will show you two scenarios, first one is installing virtualBMC on the hypervisor host and controlling VMs from the hypervisor itself. Second scenario covers virtualbmc control from VM, we will have one VM which will control (power up./down) other VMs.
Scenario I
Prerequisites
If you are not logged in as a root
su - rootFirst command we will need is
yum install libvirt-python3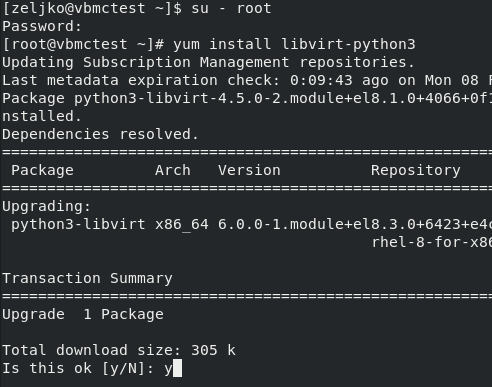
Next one we need is vitual environment for Python
dnf install -y python3-virtualenvNow, we will create virtual environment for VirtualBMC
python3 -m virtualenv --system-site-packages --download /opt/vbmc
VirtualBMC installation
Now, we will install VirtualBMC
/opt/vbmc/bin/pip install virtualbmc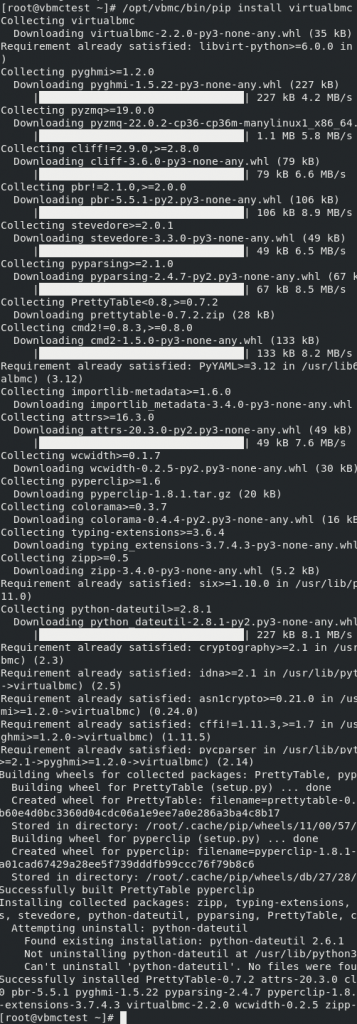
Next step would be to create system service for the vbmcd.
Let’s create the file
vi /etc/systemd/system/vbmcd.serviceEnter following into the file
[Install]
WantedBy = multi-user.target

[Service]
BlockIOAccounting = True
CPUAccounting = True
ExecReload = /bin/kill -HUP $MAINPID
ExecStart = /opt/vbmc/bin/vbmcd --foreground
Group = root
MemoryAccounting = True
PrivateDevices = False
PrivateNetwork = False
PrivateTmp = False
PrivateUsers = False
Restart = on-failure
RestartSec = 2
Slice = vbmc.slice
TasksAccounting = True
TimeoutSec = 120
Type = simple
User = root

[Unit]
After = libvirtd.service
After = syslog.target
After = network.target
Description = vbmc service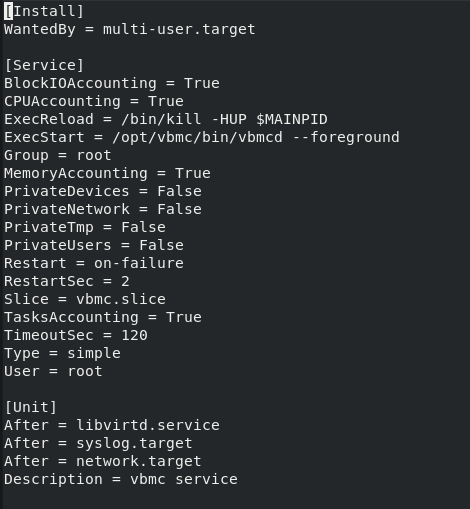
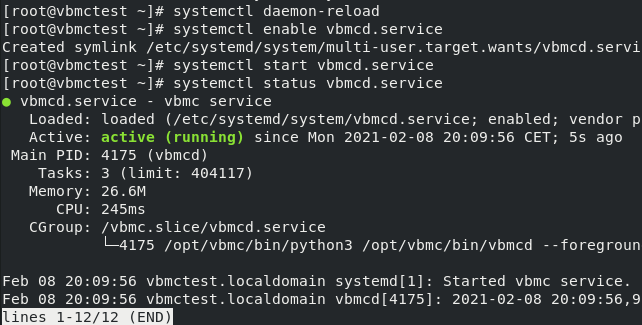
Now we will reload systemd daemon, enable service so that it starts every time system starts and in the end start it.
systemctl daemon-reload
systemctl enable vbmcd.service
systemctl start vbmcd.service
systemctl status vbmcd.service
Service is active, we are good so far.
Let’s try and list the nodes active under vbmc
/opt/vbmc/bin/vbmc listI got nothing back, and that is ok, because we still don’t have any active VMs under vbmc

Adding Virtual Machine to VirtualBMC
We need to enroll virtual machine we wish to control to vbmc.
For this purpose I created one VM called test, and we will try to power on and off that machien with the help of VirtualBMC.
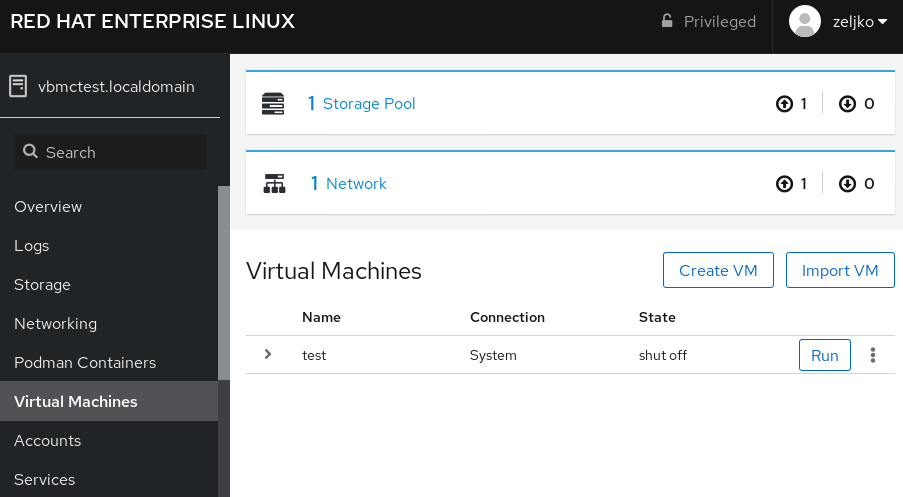
test – name of the virtual machine (enter your VM name)
6230 – port on which vbmc will listen for commands
zeljko – my username for vbmc connection, you can select anything you like for this.
pass – password for vbmc connection, again, select anything you like
/opt/vbmc/bin/vbmc add test --port 6230 --username zeljko --password pass
Wit h following command we will start test vm within vbmc
/opt/vbmc/bin/vbmc start testand let’s now execute list command
/opt/vbmc/bin/vbmc listOk, now we can see that test vm has “running” status.
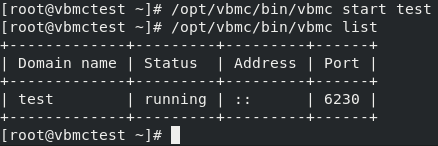
But when you look back into your KVM – virtual machine is not running? There has to be something wrong with this.
No, it is not, we just started test vm for vbmc, and it is now ready to accept commands. We will execute commands with ipmitool.
So, vbmc just prepares virtual machine for IPMI. Ipmitool executes virtual machine to running or stopped state.
Let’s now try to start our virtual machine.
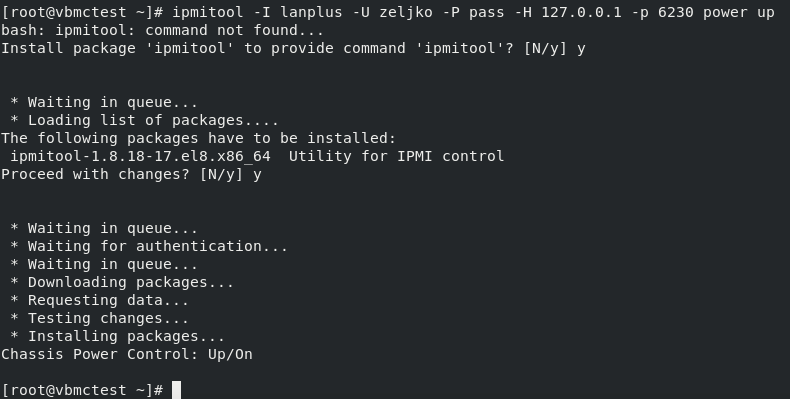
We use username (zeljko) we defined earlier on vbmc, same goes for password (pass). Host is localhost (127.0.0.1) and port is 6230 we also defined earlier in vbmc. We want to start machine so we will issue power up.
ipmitool -I lanplus -U zeljko -P pass -H 127.0.0.1 -p 6230 power upI don’t have ipmitool installed, so I will also be asked for installation.
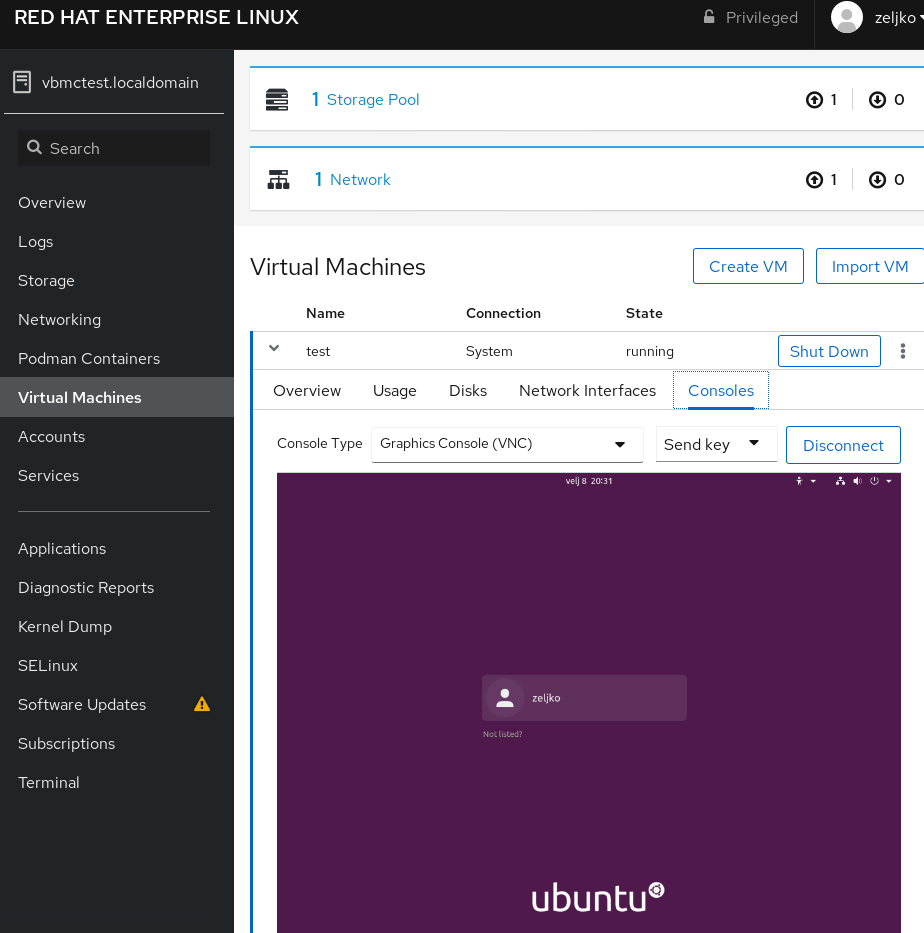
By power of magic virtual machine is now running.
If we issue
ipmitool -I lanplus -U zeljko -P pass -H 127.0.0.1 -p 6230 power downmachine will be turned off.

Ok, so we done this successfully from the KVM hypervisor itself and we can now power up and down our VMs, as if we have physical machines with IPMI.
But, what if we want to control power status of the virtual machines from another virtual machine?
Scenario II
VirtualBMC from the VM. Control your VMs from another VM.
So, we have KVM hypervisor – in my case it is called vbmctest and is located on IP address 10.0.0.9
I installed two virtual machines on that hypervisor. One is called undercloud and is located on IP address 10.0.0.101 and another one is called test, and we will use it to test VirtualBMC.
Initial setup
This time, we will not install VIrtualBMC on hypervisor itself, but instead all the steps above will be done inside undercloud VM. Again everything with root user. Follow all the steps until you get to the /opt/vbmc/bin/vbmc add part. Then make a pause.
SSH setup
It is important that you do this SSH part on the root accounts on both VM and KVM hypervisor machine!!
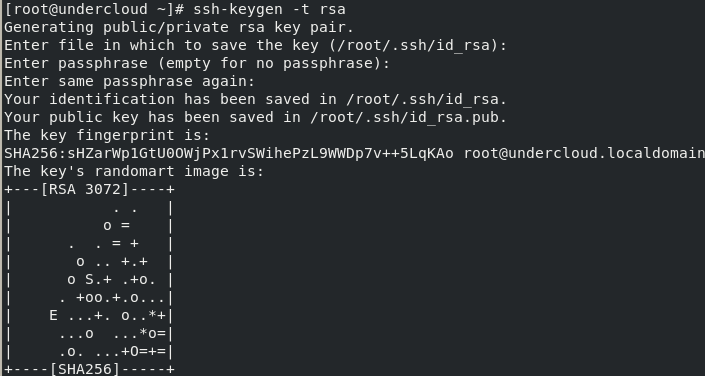
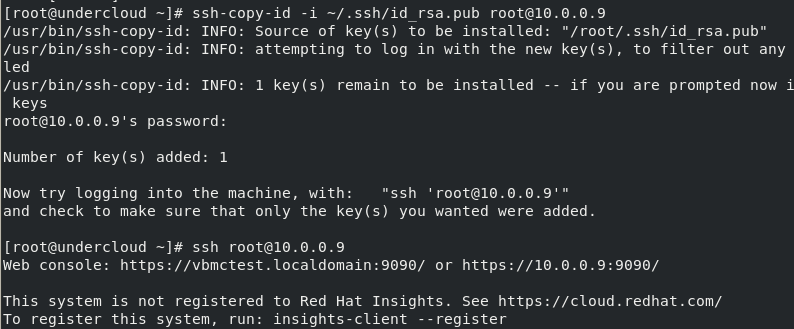
Before you get to the “vbmc add” step make sure you generate ssh keys on undercloud VM and copy them to the kvm hypervisor host (vbmctest) machine and do the setup inside sshd_config file when needed. Follow this guide if you are not sure how to do it.
Again, generate keys on the VM (undercloud) and copy public key to the KVM hypervisor (vbmctest). Make changes inside sshd_config file on KVM hypervisor.
I also do it vice versa – I generate SSH keys as root on KVM hypervisor and copy to the root account of the VM!
So that we have communication both ways via SSH.
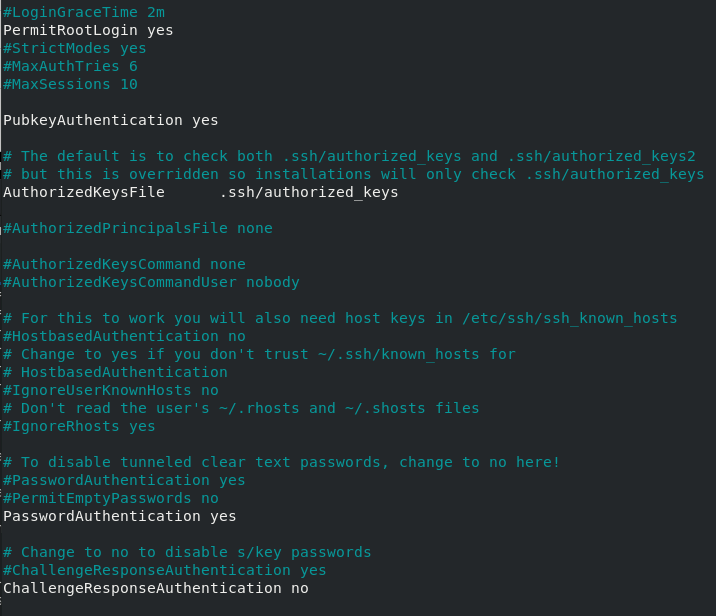
Uncomment following line inside sshd_config file (if your SSH doesn’t work without that enabled after you copied your .pub cert)
PubkeyAuthentication yesand follow rest of the guide for ssh_config file.
This is how the proccess looks like from the VM.
And settings inside sshd_config on KVM hypervisor
Set PasswordAuthentication to no only after you are sure that your certs are working.
VBMC add
Ok, after we are done with SSH, now we can go to the fun part.
When you get to the “vbmc add” step you will need to do that differently.
We will need to specify our KVM host with qemu+ssh part of the command. This is where your SSH config comes to play its part.
/opt/vbmc/bin/vbmc add test --port 6011 --username zeljko --password pass --libvirt-uri qemu+ssh://root@10.0.0.9/systemIf you done everything correctly, your command should execute well and there should be no errors.

Rest of the commands after you executed vbmc add are the same as if you would do the on the hypervisor I mentioned above.
That should be it, you should now be able to control your VMs from the VM.
Conclusion
Ok, I hope I could help, and not complicate things for you. Although VirtualBMC is simple service, I feel it is not very well described inside various documentation, so this is why I made this a little more detailed.