Exchange admin center (ECP) is by default accessible from the internet. In the wake of recent Exchange breaches (and also as a good security practice) it would be wise to shut off access to the ECP from the internet.
Before just doing this, do your research and make sure this is acceptable for your environment.
Before we begin
This works with Exchange Server 2019, I haven’t tried it on older versions, and I’m not sure that this approach works on older versions.
You need to do this on your mailbox/CAS server inside IIS.
By default ECP is available on https://mail.informaticar.net/ecp from the internet. We will try to block it.
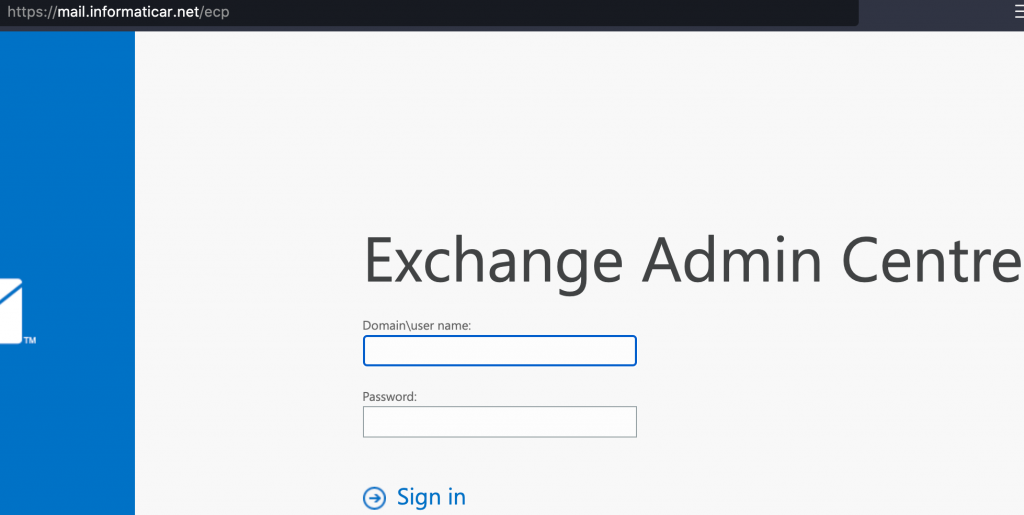
This guides assumes you have experience with Exchange and IIS and I will not be doing a step by step guide.
IIS installation
On your mailbox/CAS server open Server Manager. For IIS role (Web Server) we need to add IP and Domain Restrictions which can be found under Server Roles | Web Server (IIS) | Web Server | Security | IP and Domain Restrictions.
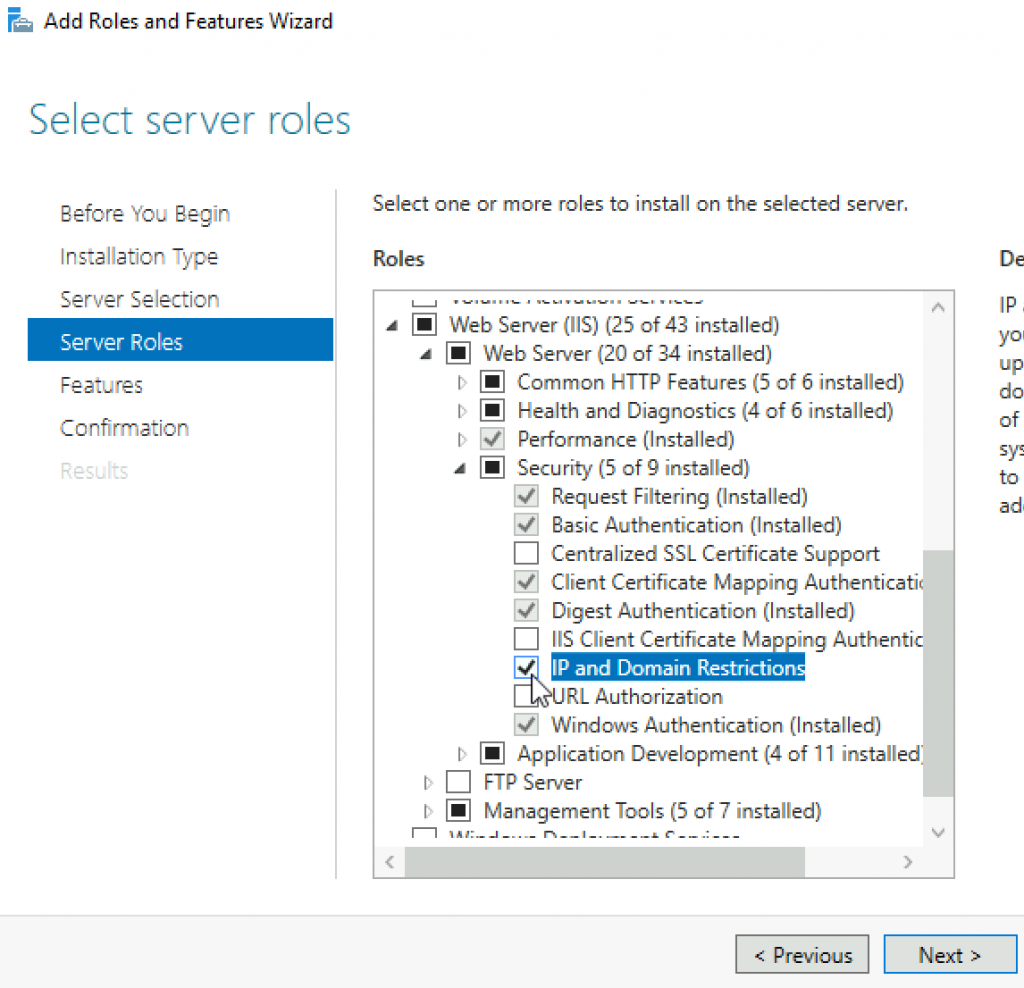
IP and Domain Restrictions configuration
If you have DAG in place, you have to do this on all nodes of the DAG!
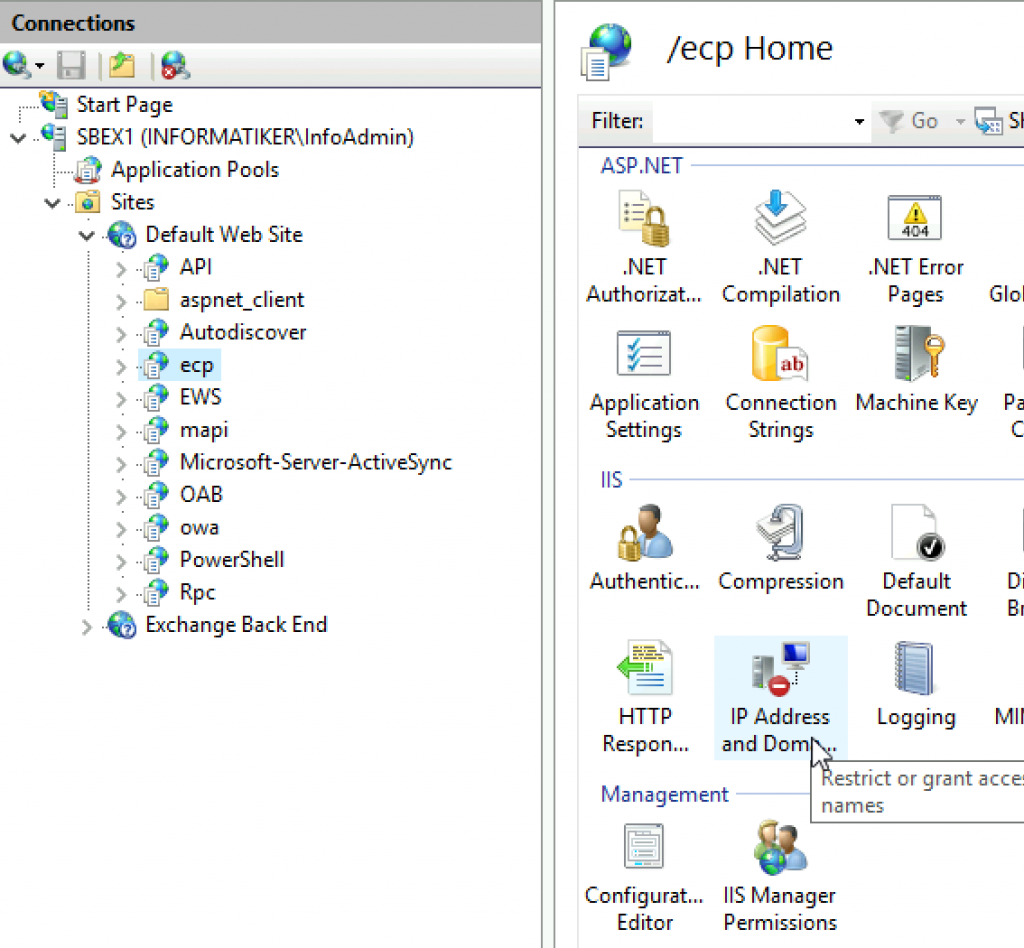
After installation is done | Open IIS Manager | under your server name expand Sites | Default Web Site | click on ecp and select IP Address and Domain Restrictions
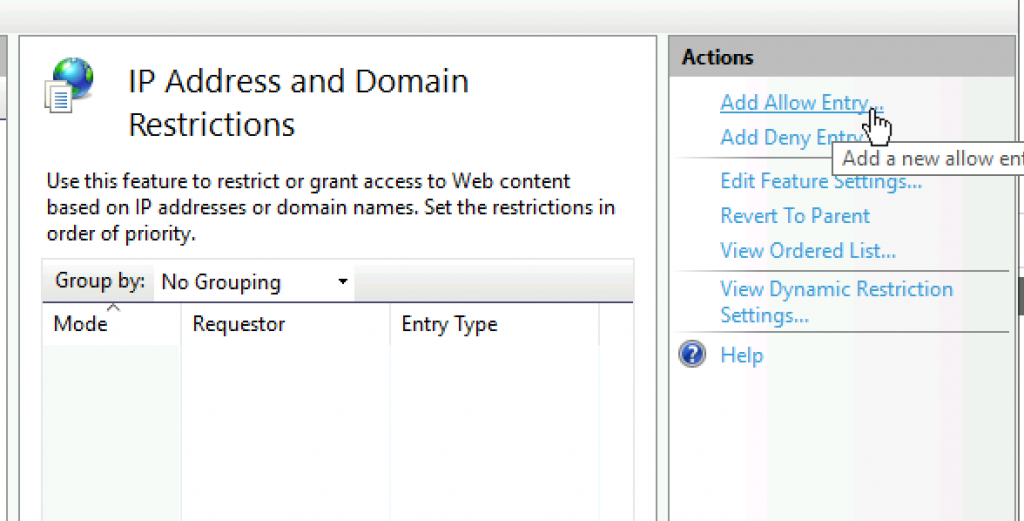
Click on Add Allow Entry…
I added my LAN IP address range and subnet mask (24bit) OK
You should enter your LAN range in here.
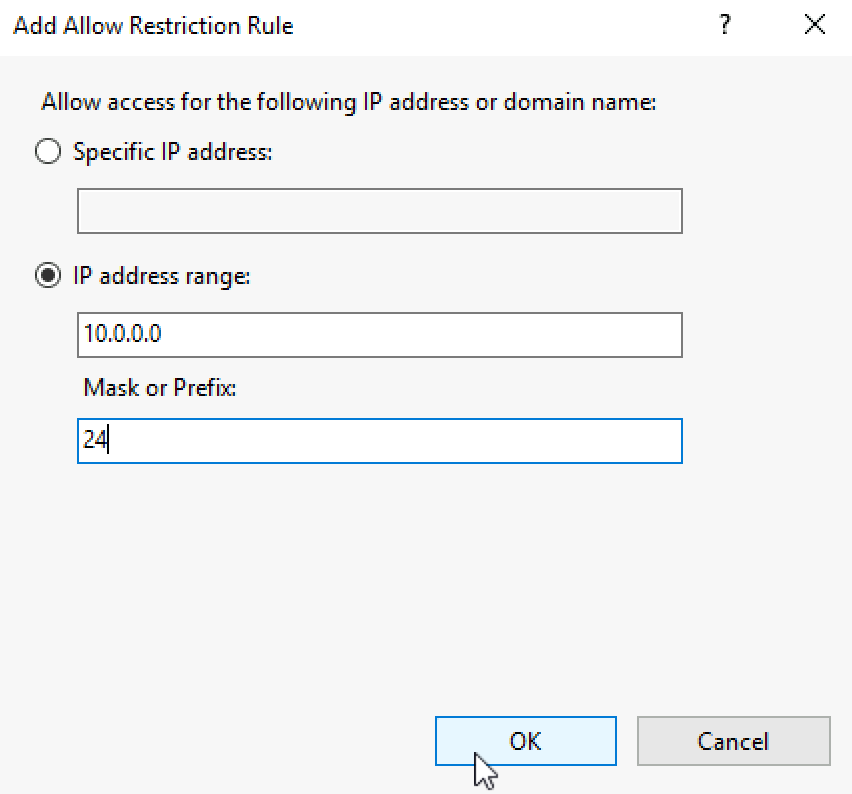
We now have local IP address range in Allow mode. I have also set localhost (127.0.0.1) to allow list
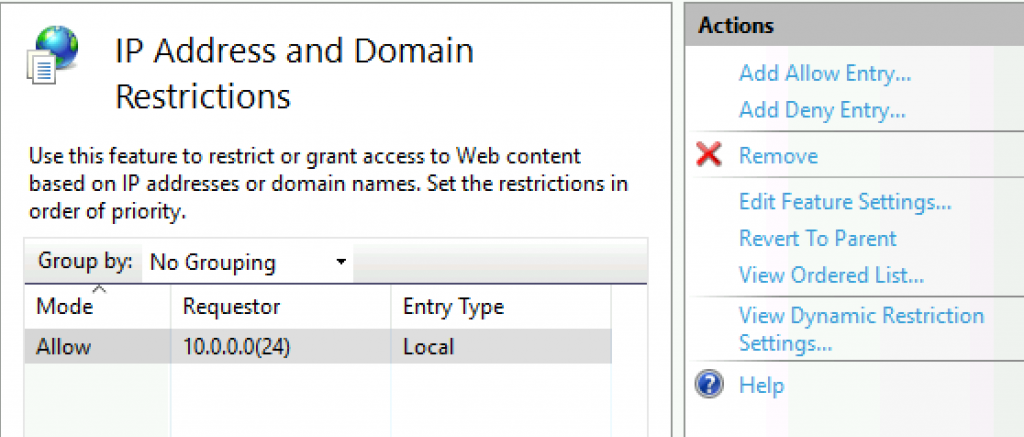
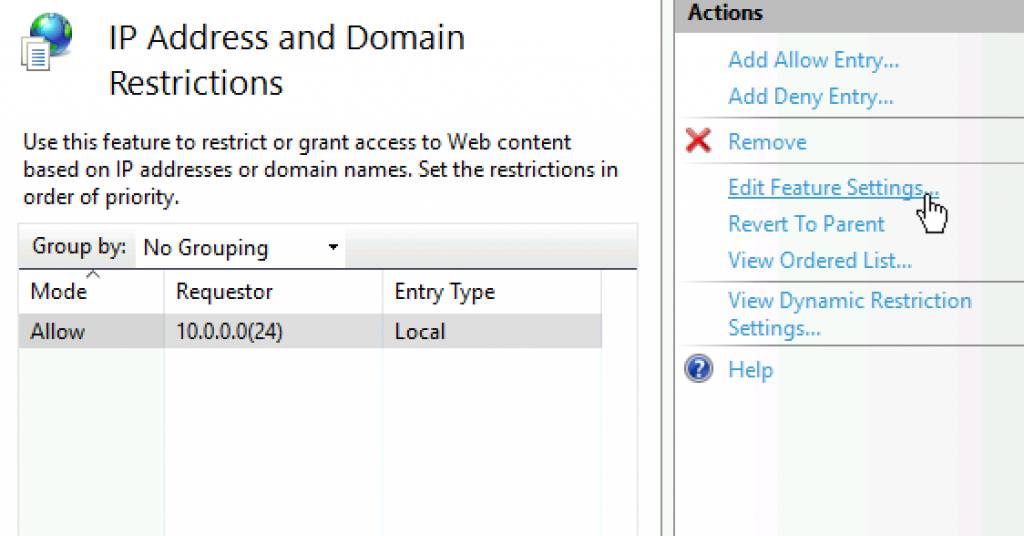
We are still staying in IP Address and Domain Restrictions – select Edit Feature Settings…
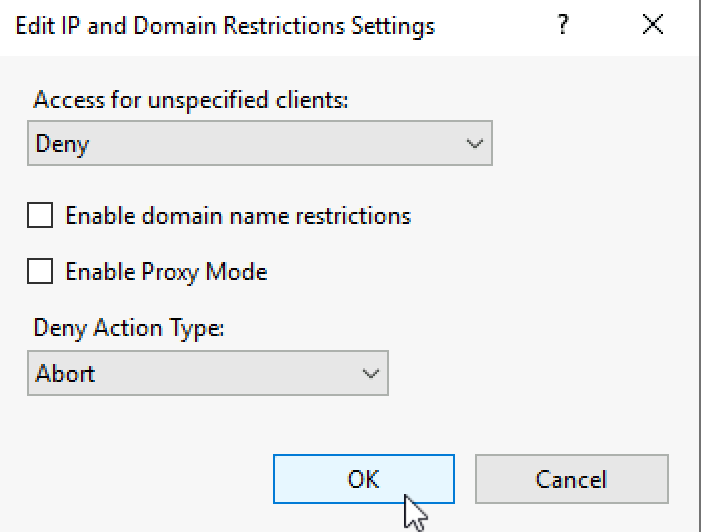
Set Access for unspecified clients to Deny, and set Abort on Deny Action Type. Ok
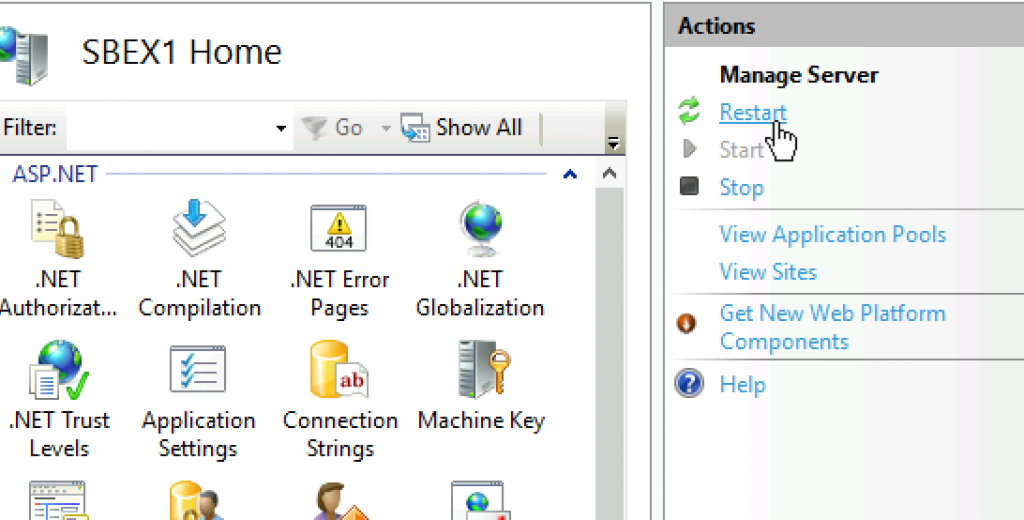
Reset IIS
I’m using ARR, so this is the message I got in my browser after I set IP restrictions in IIS

That should be it.