We will go through few basic system details after we are done installing OS on Raspberry Pi.
We did Raspberry Pi OS installation on our Raspberry Pi in this guide. Now I will go through few basic details in Raspberry Pi OS. We will bring our Raspberry Pi up to date, configure display resolution and network settings. This is done on Raspberry Pi OS based on Debian 12.
Installing OS updates
First we will bring our Raspberry Pi up to date with software updates. Chances are, you will have blue orb with arrow in it, in top right corner soon after you boot your Raspberry Pi first time (if you have network configured). Click on it, and select Show Updates…

You will see list of available updates. Click on Install
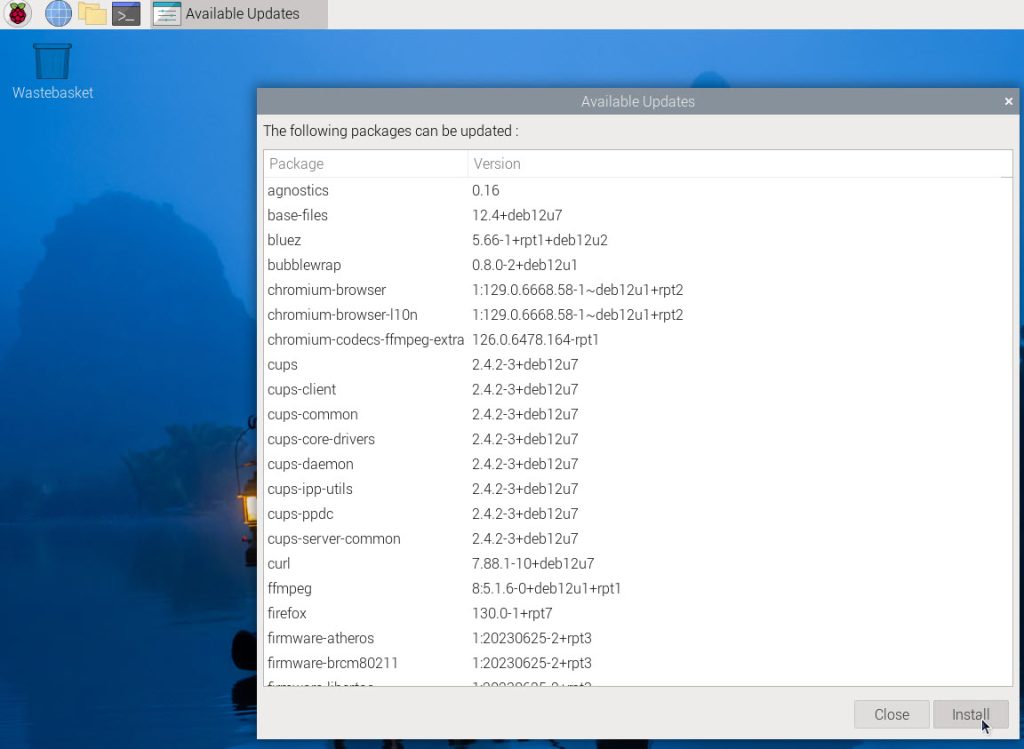
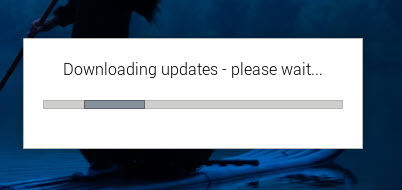
Process of downloading and installing updates will start. Depending on how many updates there are, process may take few minutes or maybe tens of minutes…
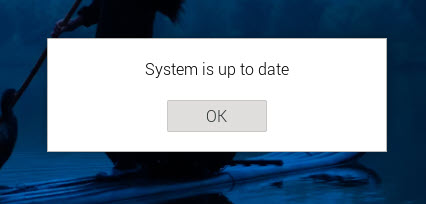
Afer everything is done, you’ll get message that – “System is up to date”. Press OK, and reboot your system for good measure.
Another way to check for updates is via Terminal (black icon on the top left part of the screen). Start one instance, and type in following to check and install updates.
sudo apt update
sudo apt upgrade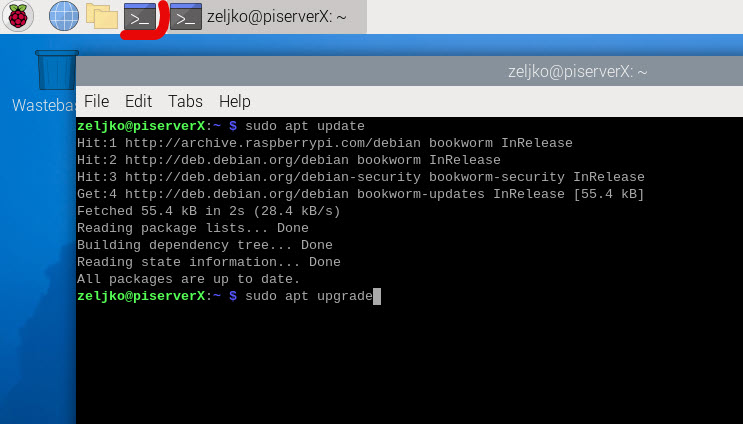
Configuring network
Right clicking on network arrows in top right corner doesn’t do anything for me, in terms of offering network settings.
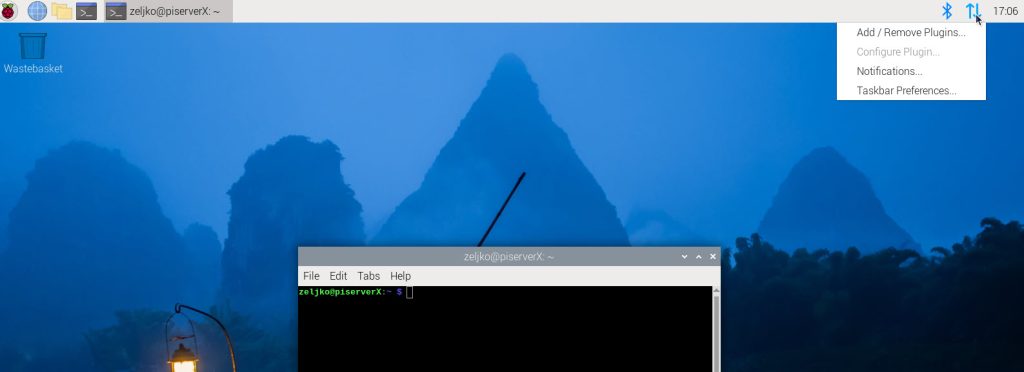
So, we will again start Terminal and type in
nmtui
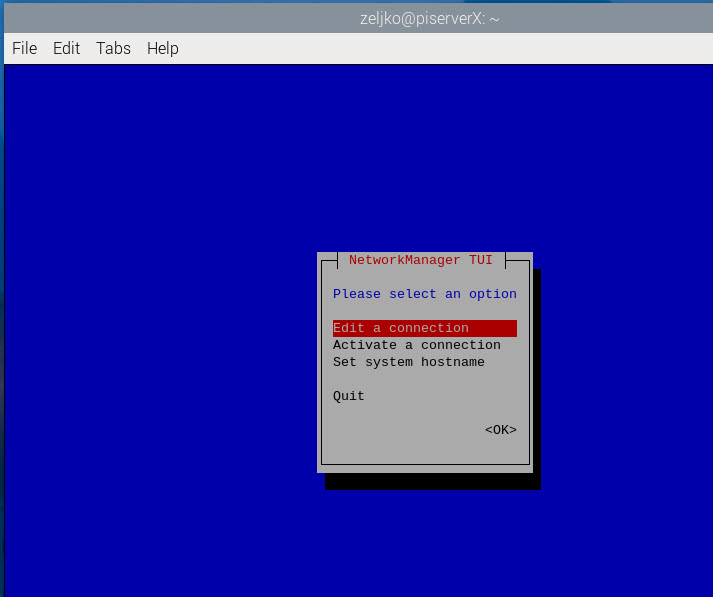
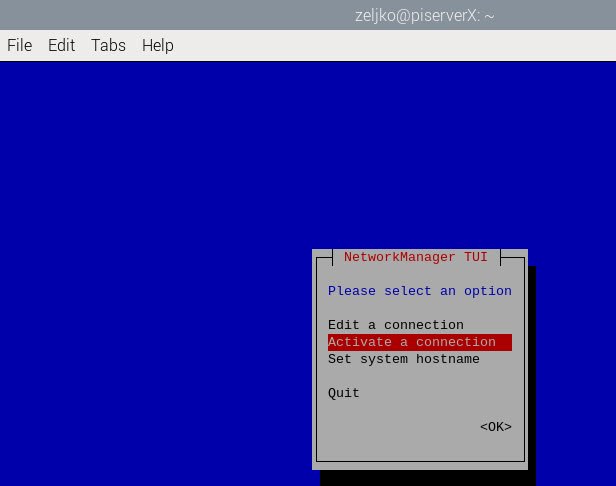
Interface will open in which you can edit, or activate connection, or change hostname. I will show where you can add a new type of connection, how to change IP settings of wired network and add new Wi-Fi network. Only in short, I assume you know how to do basic things, I’ll show only where to find these settings.
Let’s select “Edit a connection”
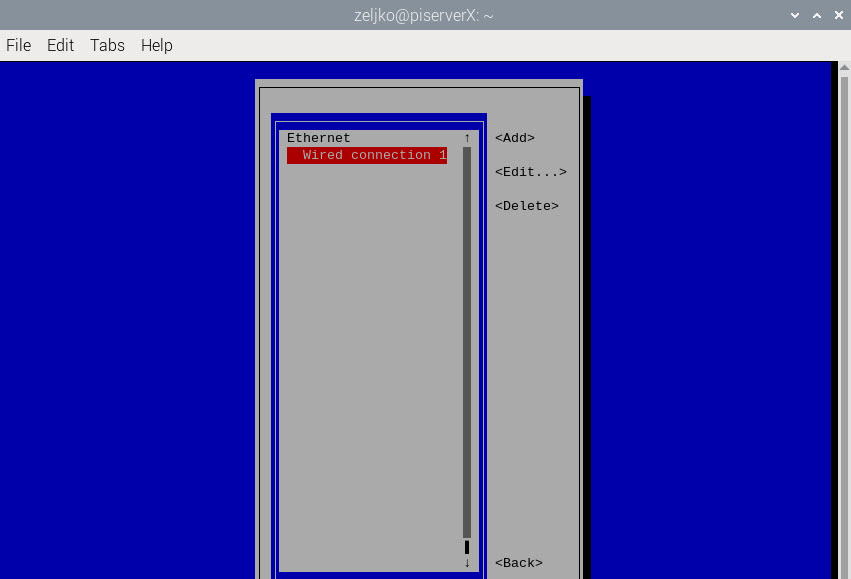
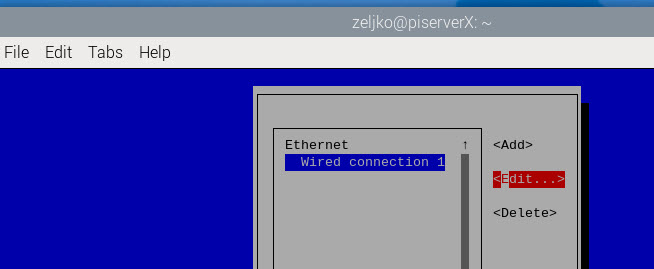
I can see my wired connection is listed. Let’s check what can Add button do…
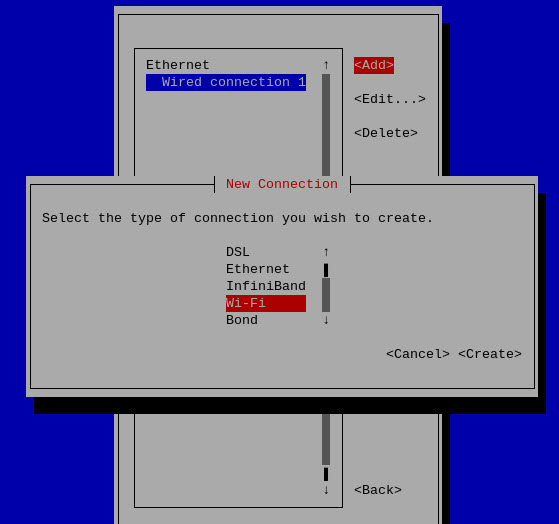
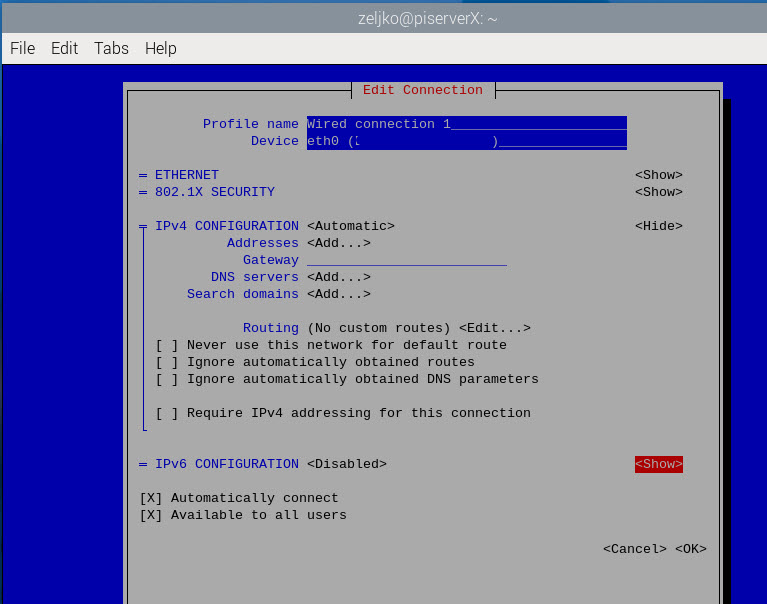
After we pressed Add button, we can select what type of connection we wish to create. You can do all kind of connections here. We won’t go through this menu now. Let’s get back and select Wired connection 1 and press Edit
Here you can set static IPs, change network properties…
But what about adding new Wi-Fi network? Let’s get back to main screen, and select Activate a connection
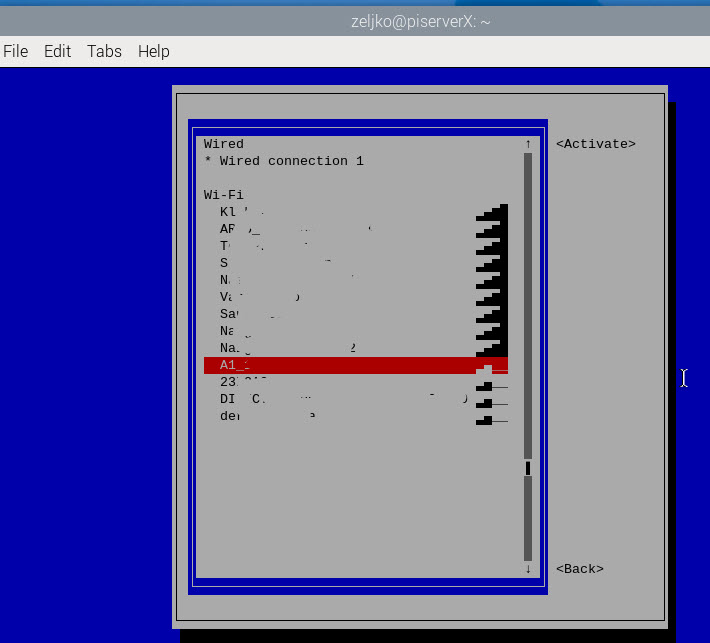
Select your Wi-Fi network, and type in your Wi-Fi network password. Activate it, and reboot Raspberry Pi for good measure.
After you are done with your setup, rebbot your Raspberry Pi for settings to take effect.
Change screen resolution
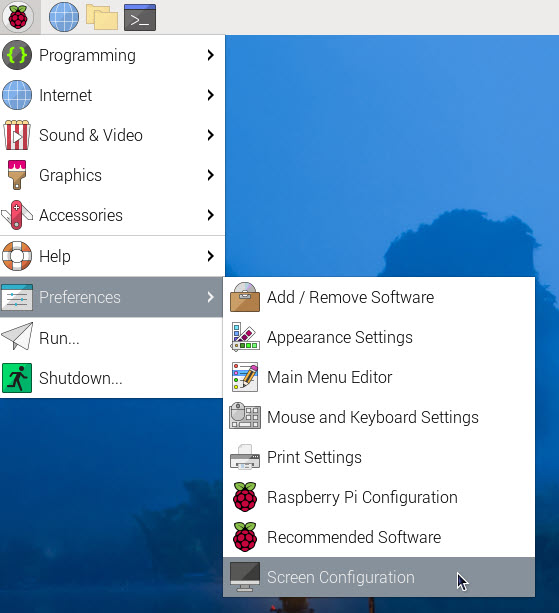
Click on little Raspberry in top left corner – navigate to Preferences – Screen Configuration
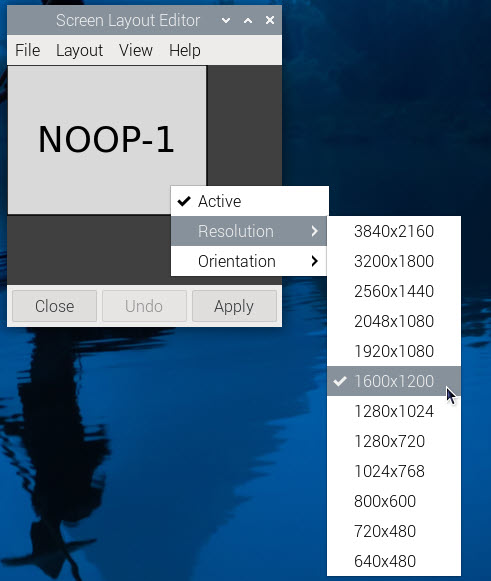
Right click somewhere in “Screen Layout Editor” and select Resolution, and click on resolution you wish to use. Apply – confirm resolution if everything is ok.
How to connect remotely to Raspberry Pi?
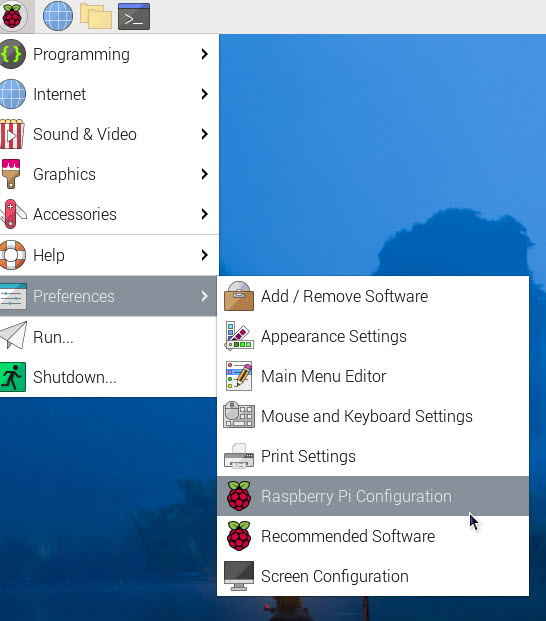
Click on little Raspberry in top left corner – navigate to Preferences – Raspberry Pi Configuration
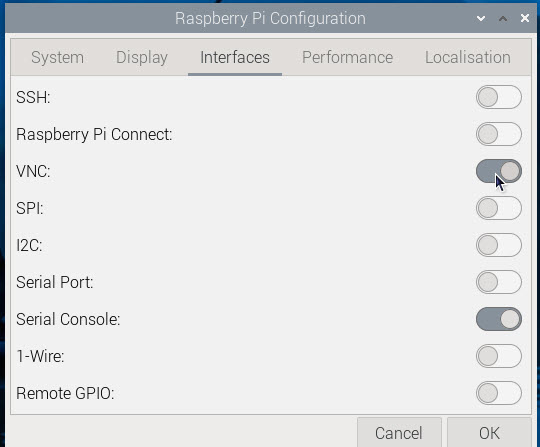
Click on Interfaces tab. Here you can enable SSH:, Raspberry Pi Connect (Raspberry official solution for remote access to Raspberry Pi), VNC, and many more…
As you can see I selected VNC. VNC is not secure, and you should not use it remotely!! You can only use it via SSH or some other secure method. I use it for local network access, and for services I really don’t care much about. Have this warning in mind.
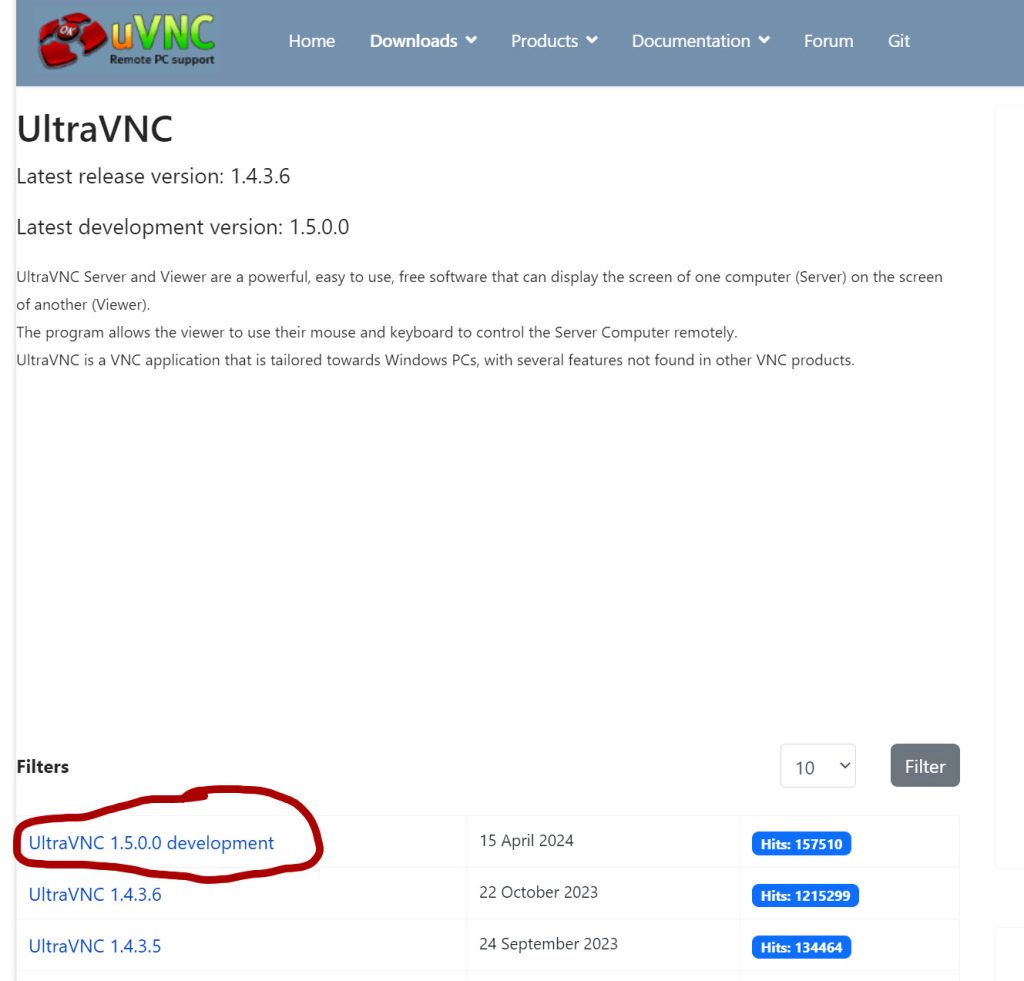
VNC won’t work with every VNC software offered. It works with RealVNC out of the box. I use UltraVNC, but at the time of writing this, VNC connection works to Raspberry Pi works only with version 1.5.0.0 which is development version. https://uvnc.com/downloads/ultravnc.html
Other and older versions of UltraVNC won’t work. To access you Raspberry Pi you will need to know its local IP address (can be found from terminal by typing in ip a – mine is 192.168.1.100) and VNC port (usually 5900). So, to connect you will need to type in 192.168.1.100:5900 into ultravnc. After that you’ll be asked for your username and password you defined while installing Raspberry Pi OS.
Conclusion
I went through settings which were troubling me the most when I started with Raspberry Pi, since it serves as mini network server, to which I need remote access. You can go through Raspberry Pi Configuration to change few more things like password, name of the computer, default browser and so on… Here I went through things which were not obvious to me from first sight.