You got yourself shiny new Raspberry Pi, but what now? How can you install something on it? What can you install on it? We will go through the whole process in this guide.
For this guide, I’ll be using Raspberry Pi 5. Principle of installation should be the same for all the Raspbeeries from model Zero to Five.
We won’t be doing anything spectacular in this guide. We’ll use tools provided by Raspberry Pi foundation with OS provided by them – Raspberry Pi OS. With the Raspberry Pi imager you can select other OSes, to install, but we will go this time with the official one.
So, if you are looking for novel methods to install something else – this won’t be it.
For this guide I’ll be using Raspberry Pi 5 (8GB model) with 200GB MicroSD card (SDXC I, U3 v30) and we’ll be installing Raspberry Pi OS.
I’ll be using laptop with Windows 11 installed and MicroSD card reader to prepare Raspberry Pi OS for Raspberry Pi 5.
Raspberry Pi 5 can also handle NVMe SSD drives. But, we’ll be going with MicroSD card. If you wish to knw which MicroSD card is the best,
I found this handy guide with good explanation on MicroSD card speeds – it is for Steam Deck, but it is applicable all around – https://www.deckguy.eu/what-microsd-to-use-with-steam-deck/
Preparing MicroSD card
As I already mentioned, for this guide, I’ll be using Windows 11 PC, with MicroSD card reader, in which I already inserted MicroSD card I intend to use with Raspberry Pi. Be sure that MicroSD card you plan to use is empty, and you made backup of the data if you have something on it.
We’ll be using Raspberry Pi Imager which can be download here – https://downloads.raspberrypi.org/imager/imager_latest.exe
I’ll download Windows version.
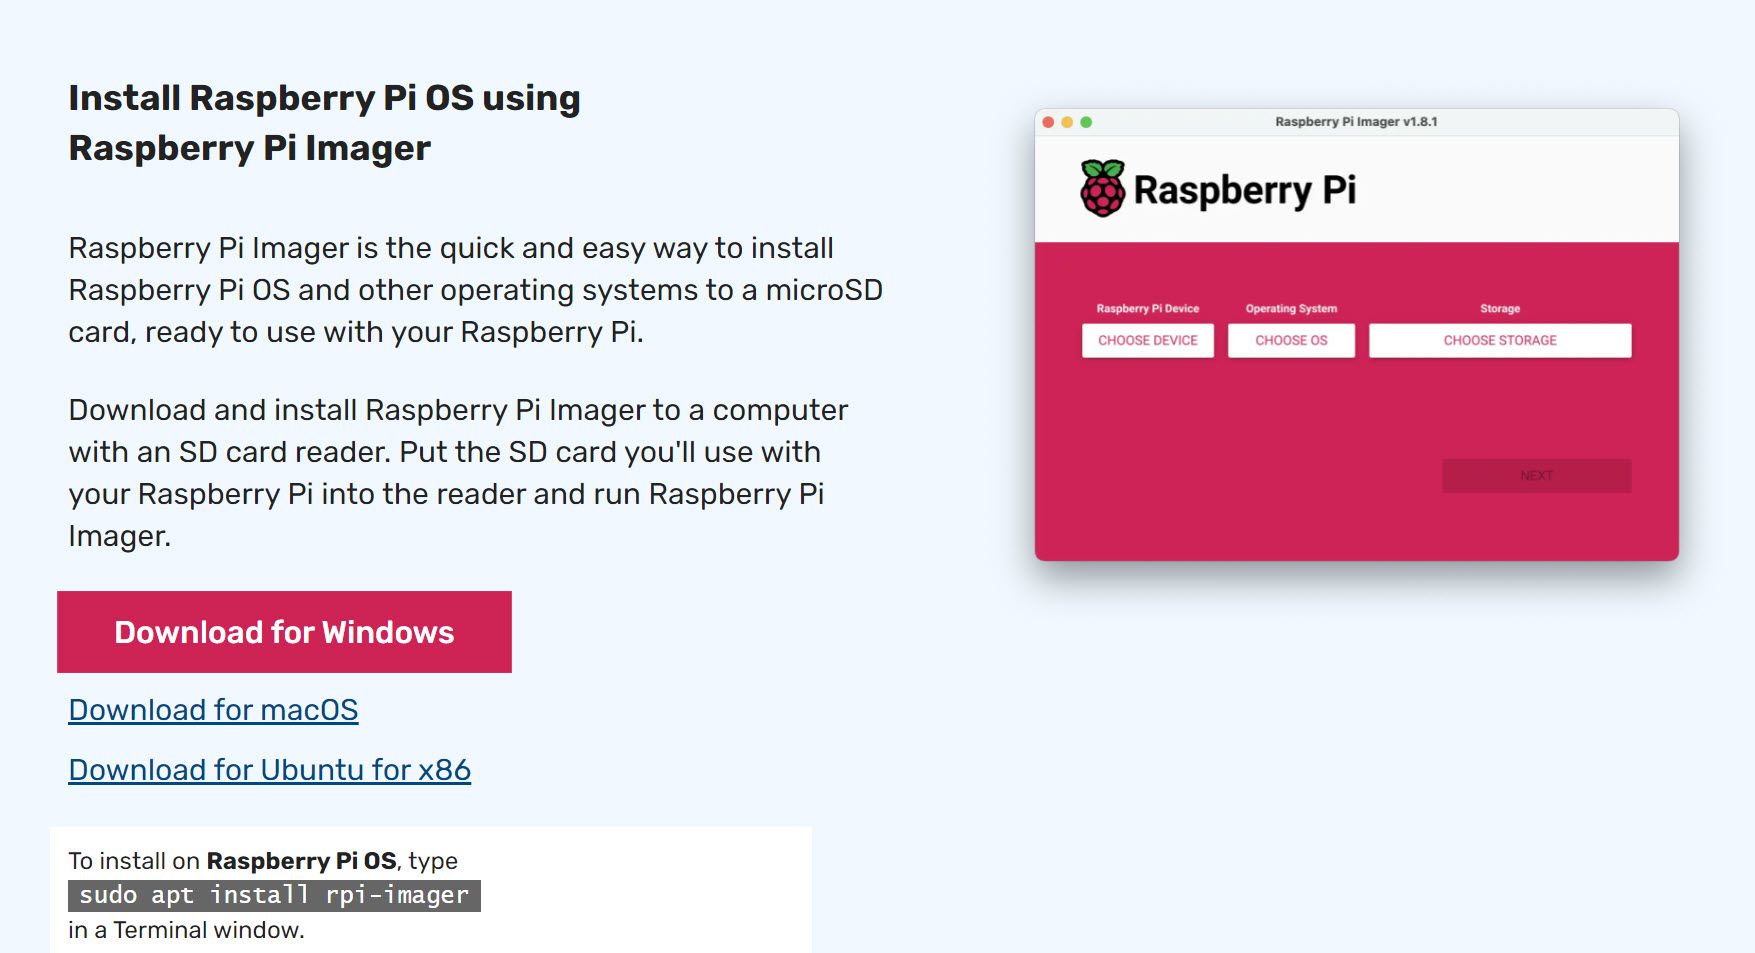
After you downloaded Imager, install it, and start application.
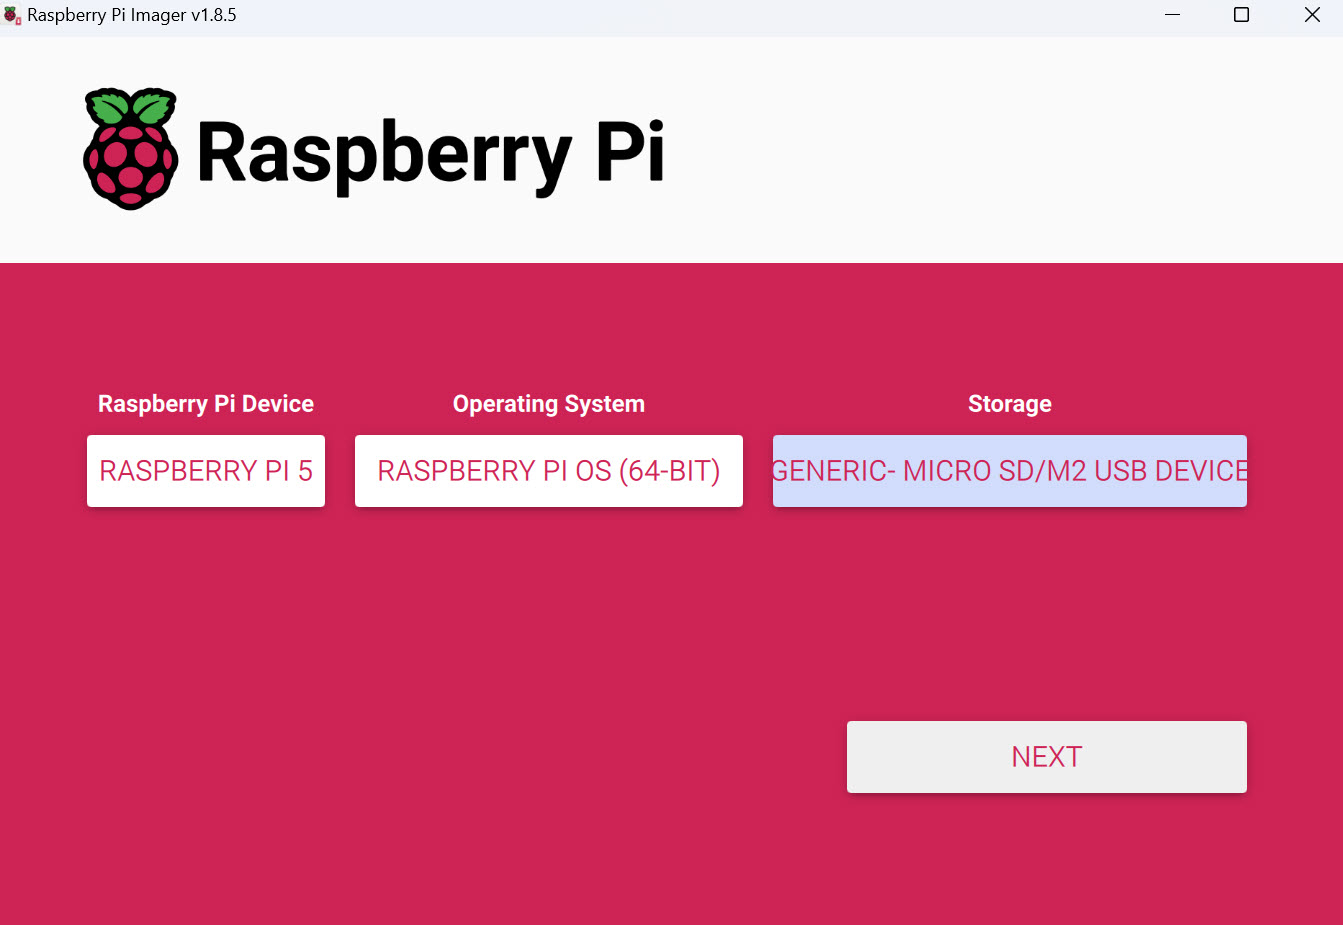
This is how main screen looks like.
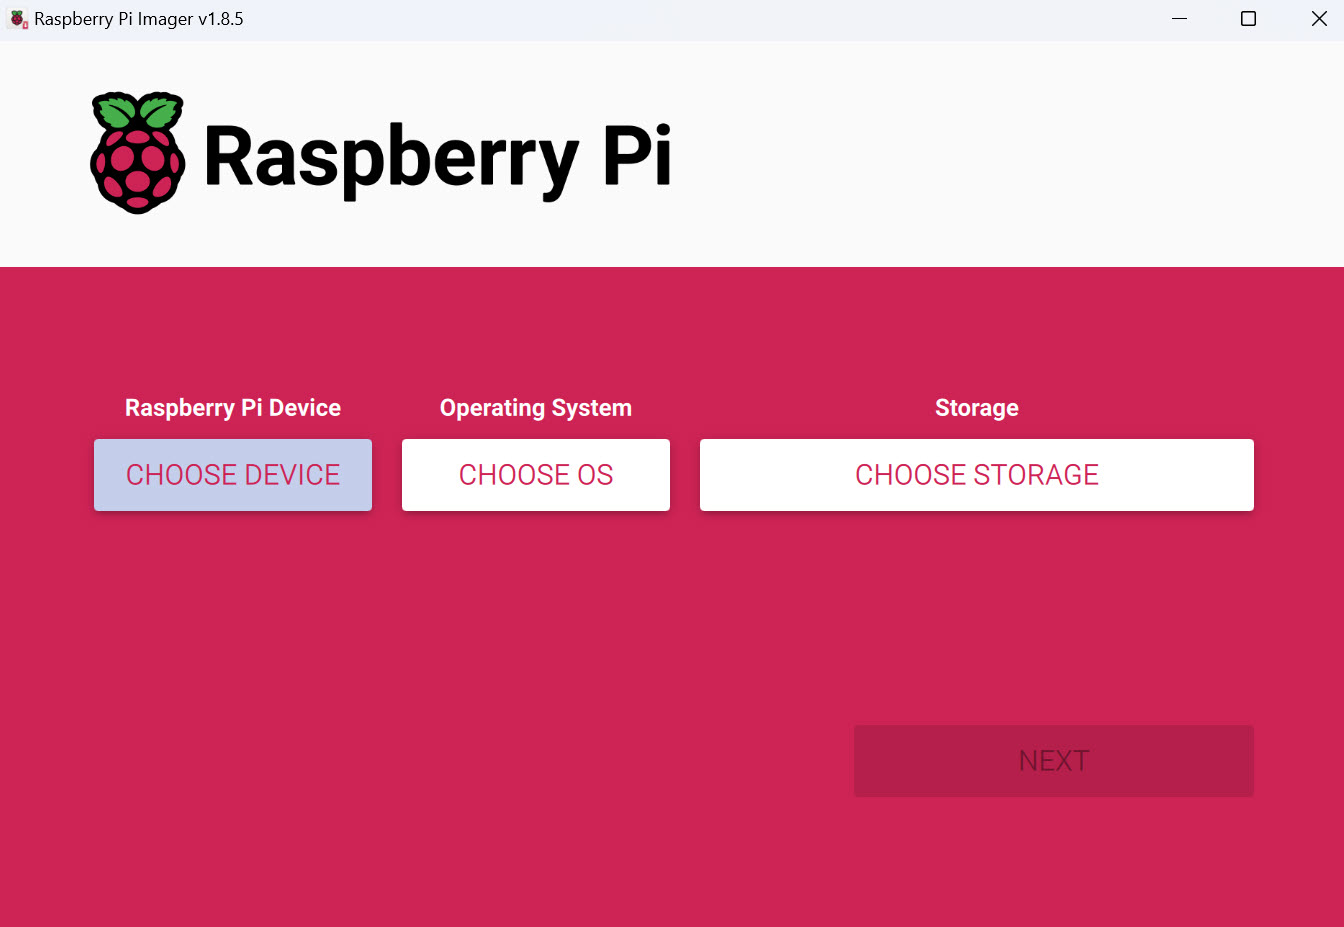
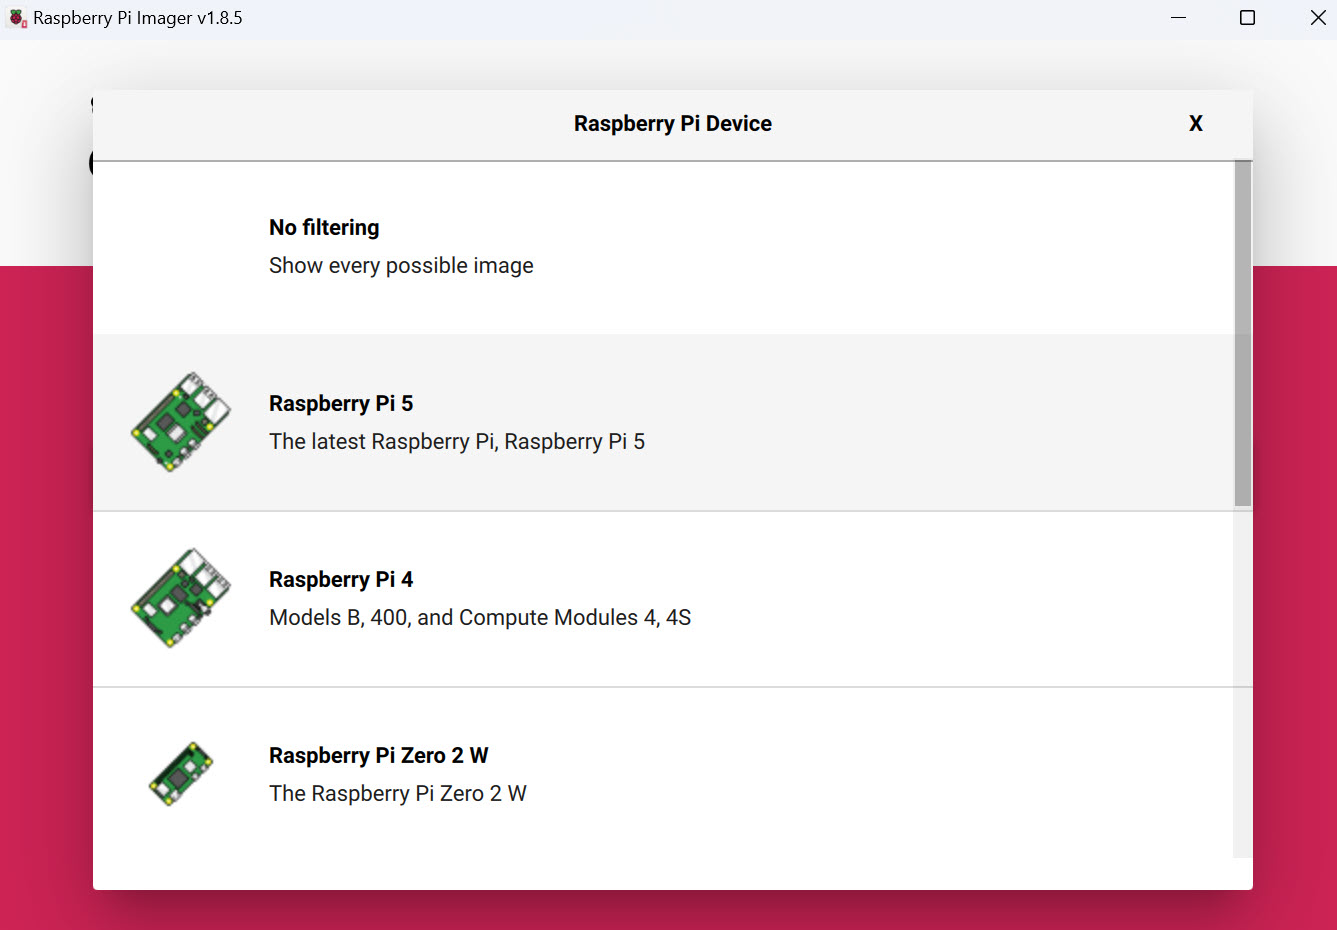
We’ll first select – CHOOSE DEVICE, new screen will open. From the list of Raspberry Pi devices, I will select Raspberry Pi 5 (you will select Raspberry device that you have).
Next, we will select Choose OS. I will select Raspberry Pi OS (64-bit). A I already mentioned, you can select other OSes here, but for this guide, I’ll go with the official supported OS.

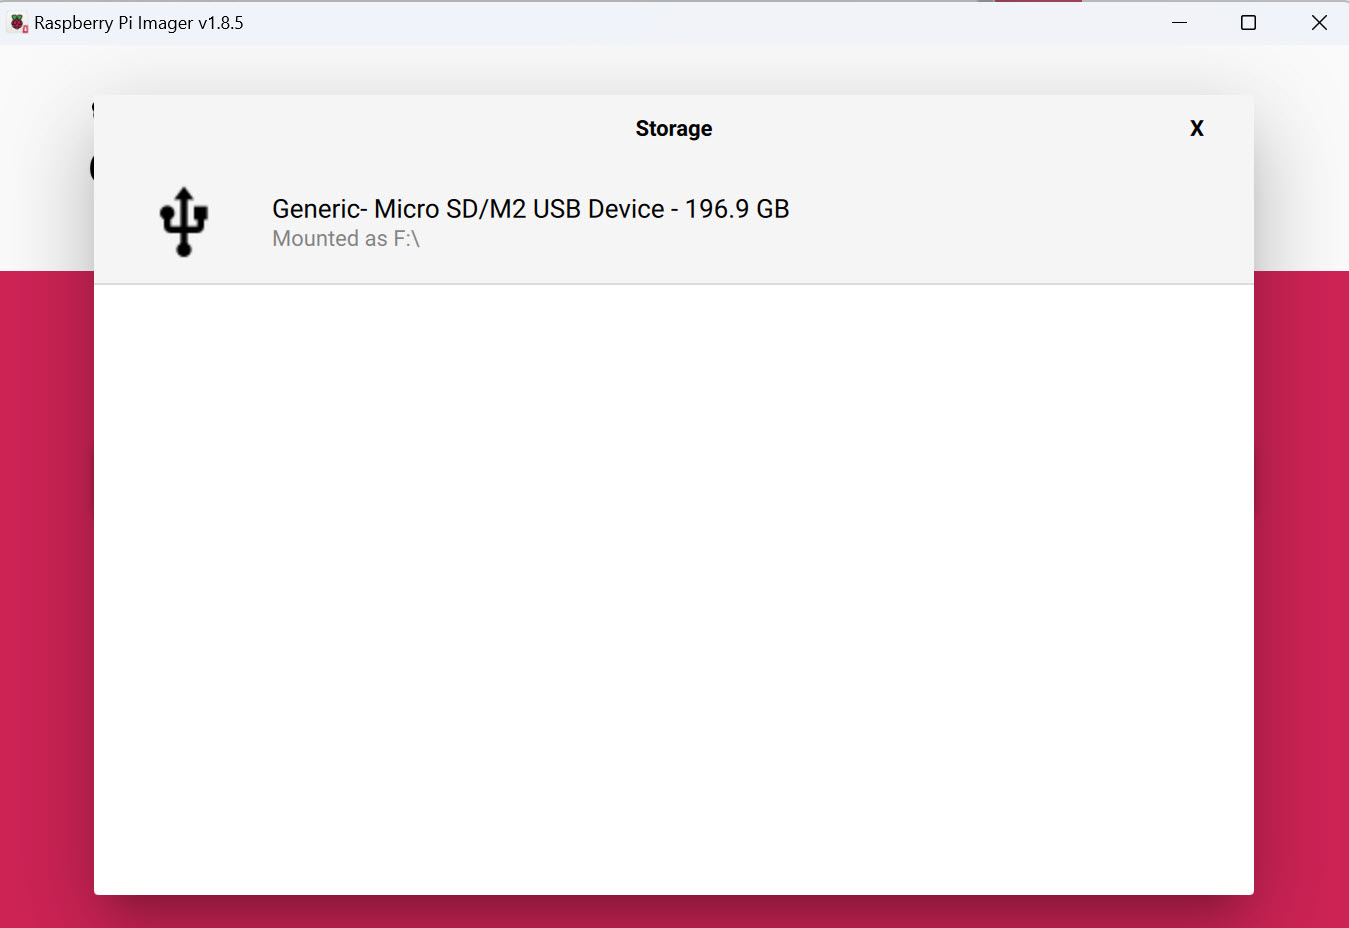
Now, we will click on third button on main Imager screen. Choose storage. I have only one option to select – that is my MicroSD card.
After we defined all three components, I will select Next
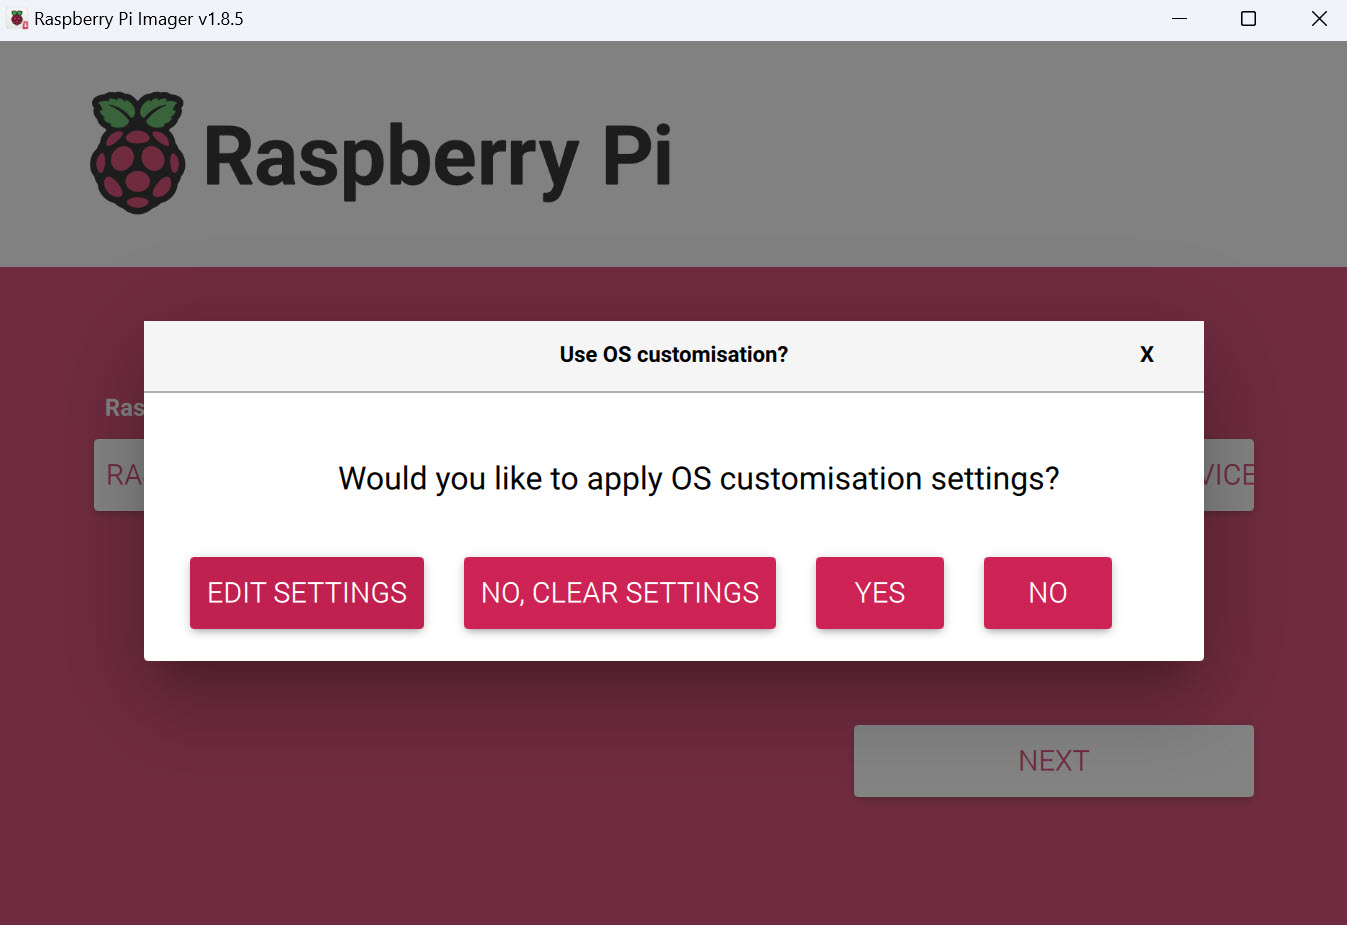
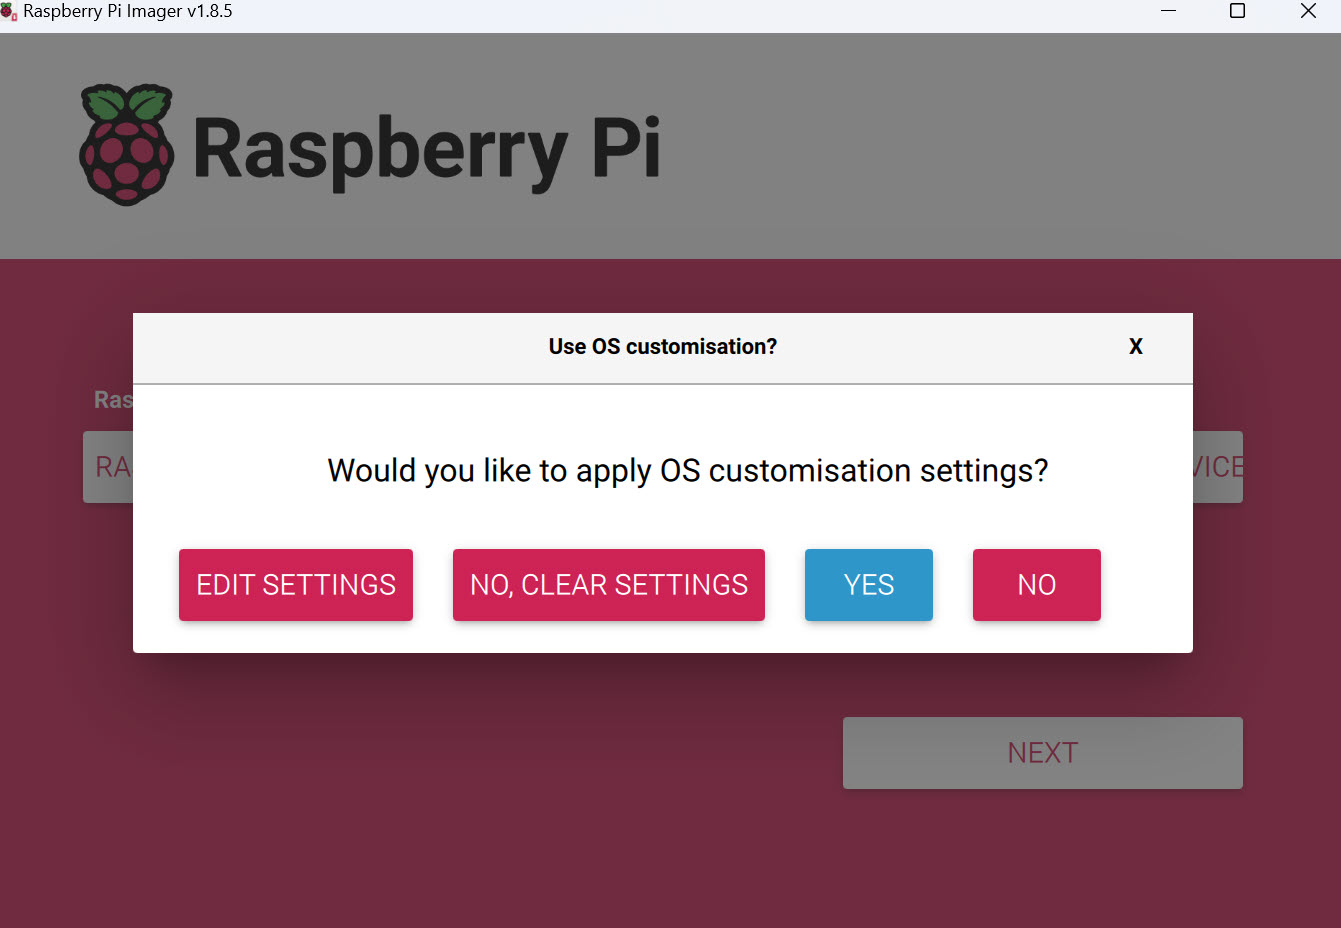
Pop-up will appear. I will select Edit Settings here
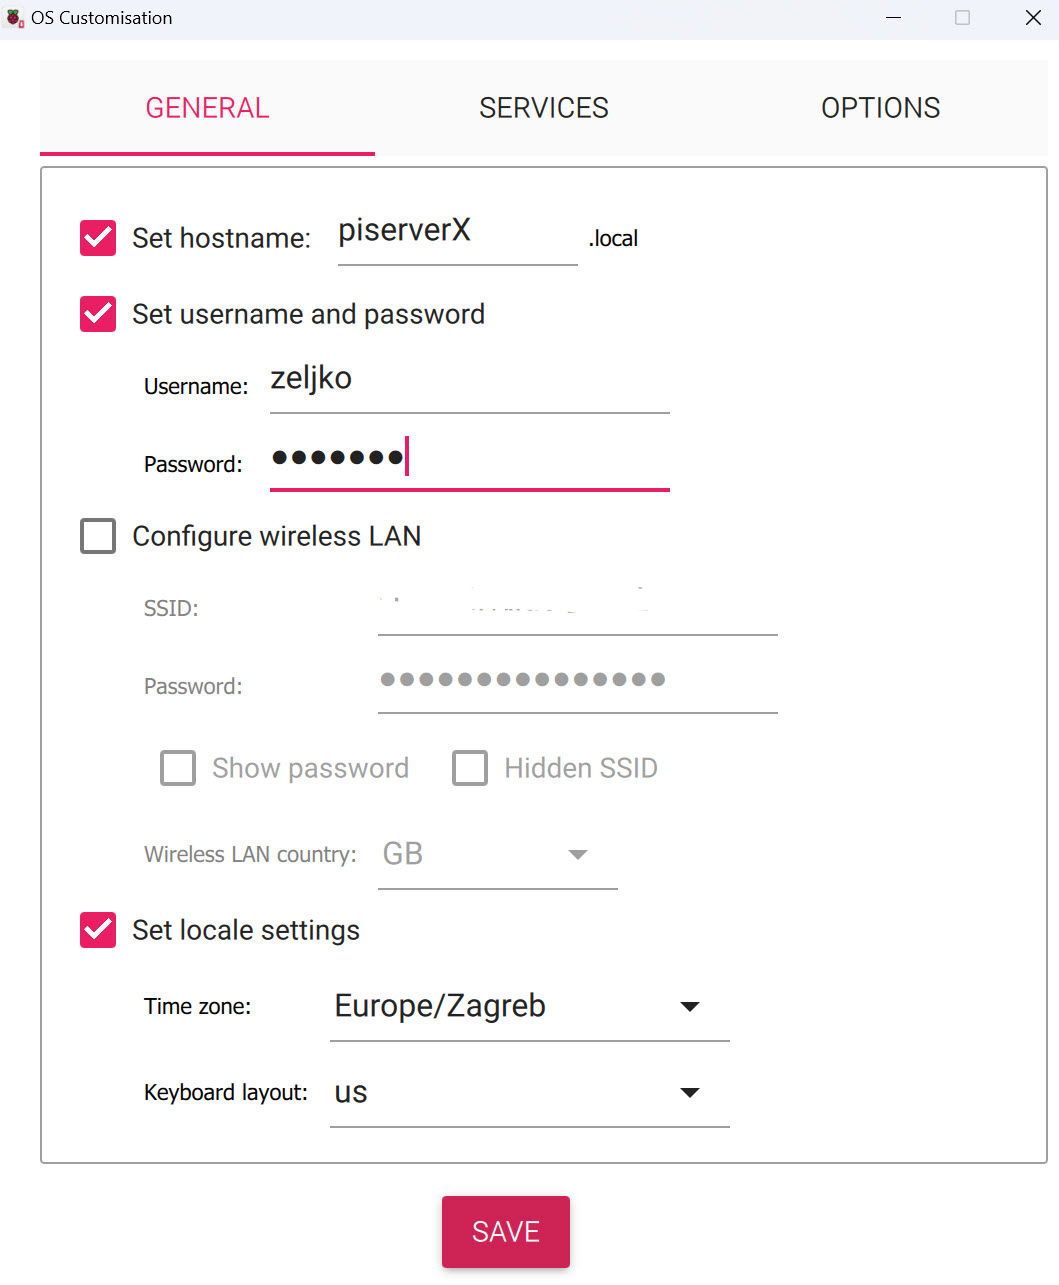
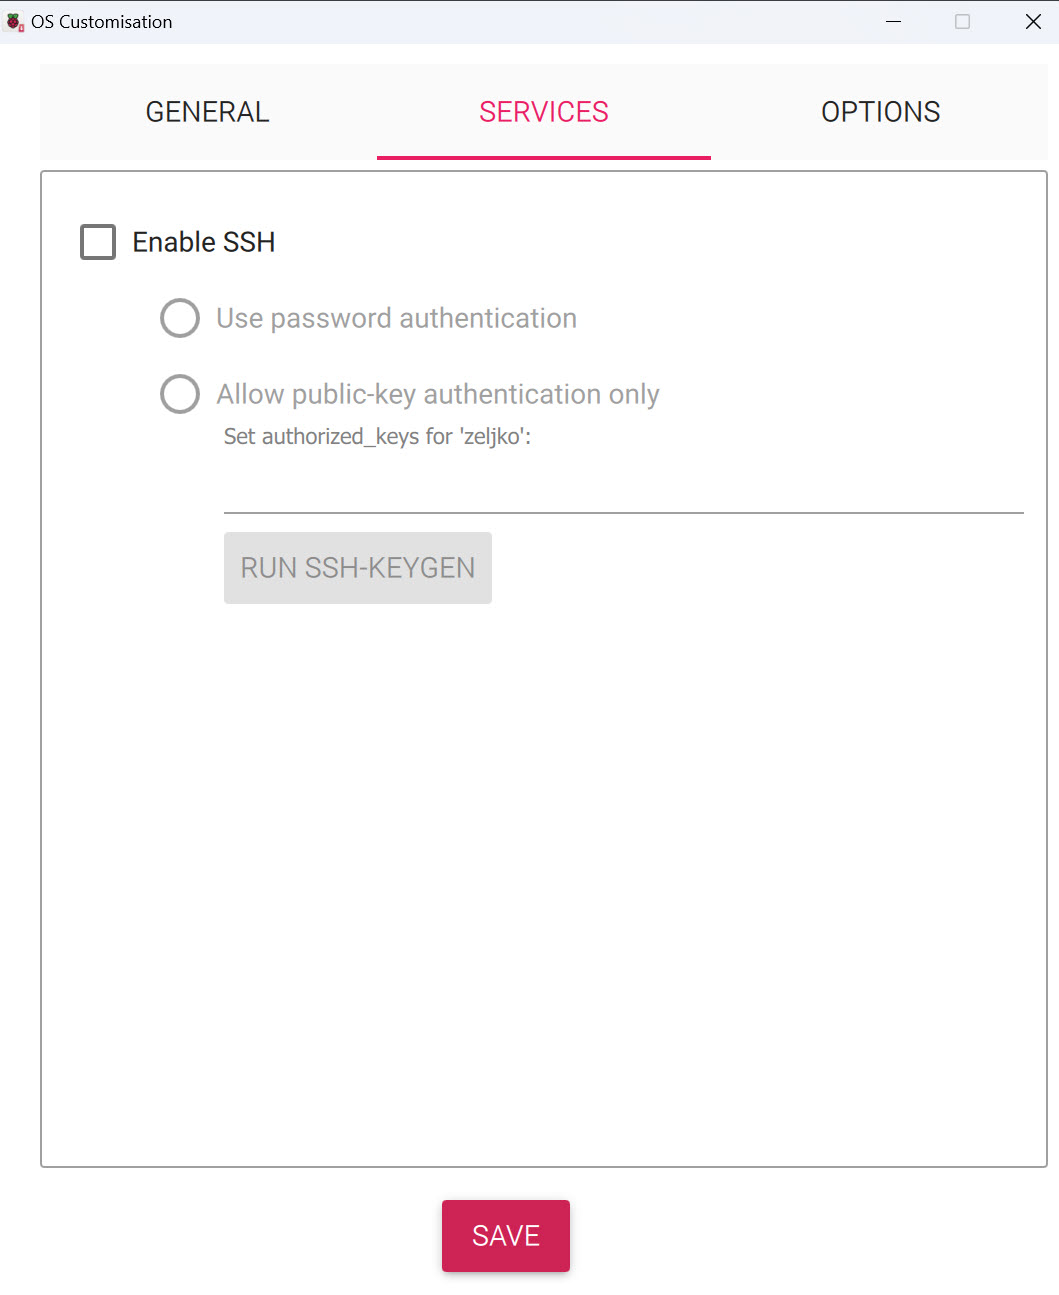
On the General screen, I will define name for my Raspberry, username and password, and set local settings. If you plan to use Wifi, you can also define it here. We will also check services tab.
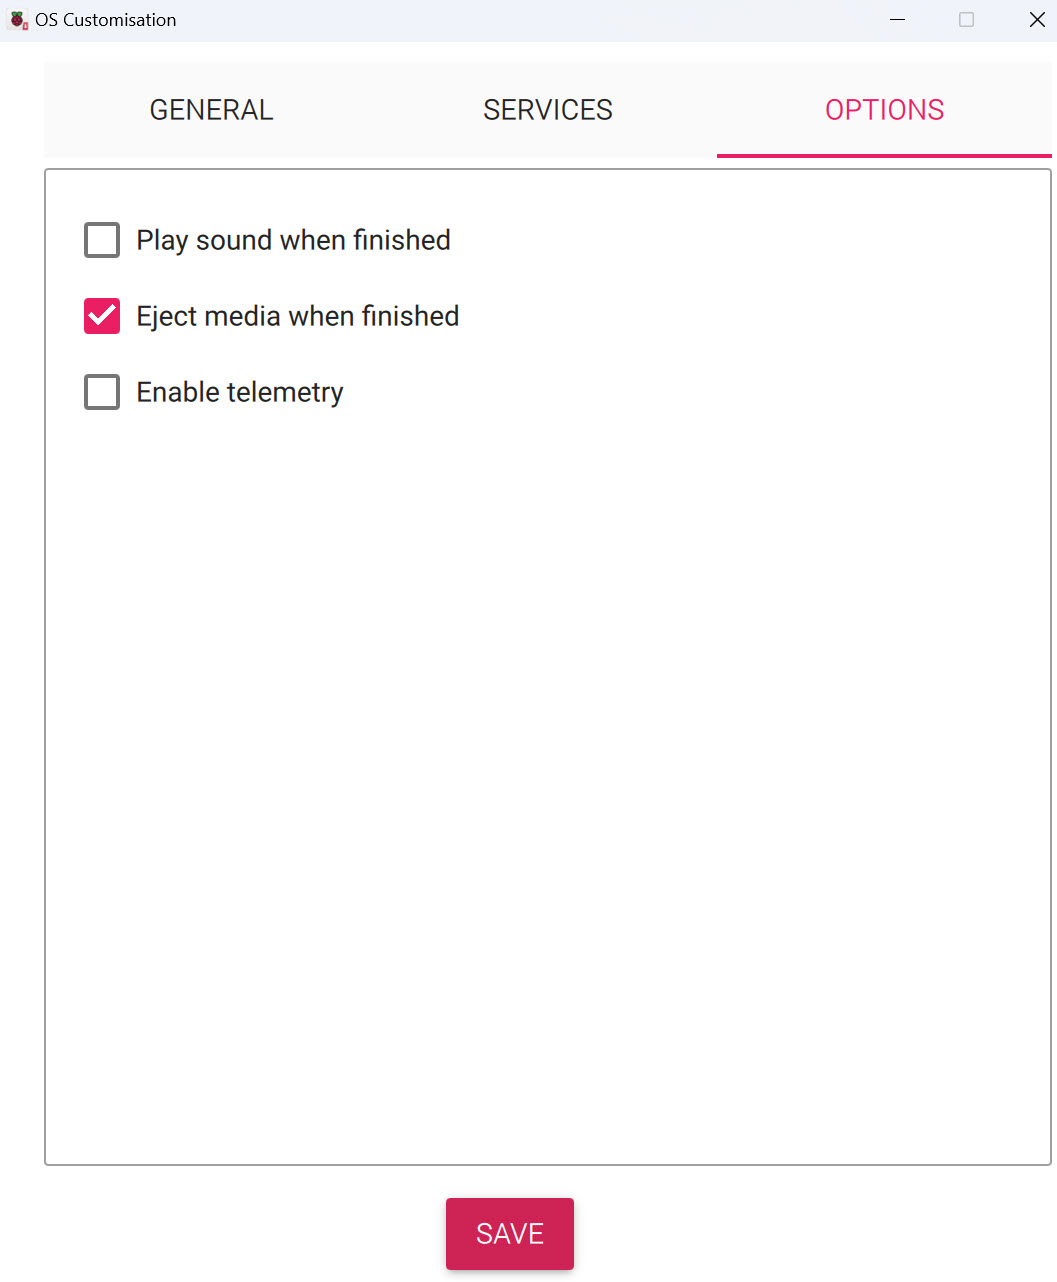
At this moment I won’t be using SSH. We will check Options tab for the end.
I will leave all as depicted below. Click on Save.
Now, confirm with Yes
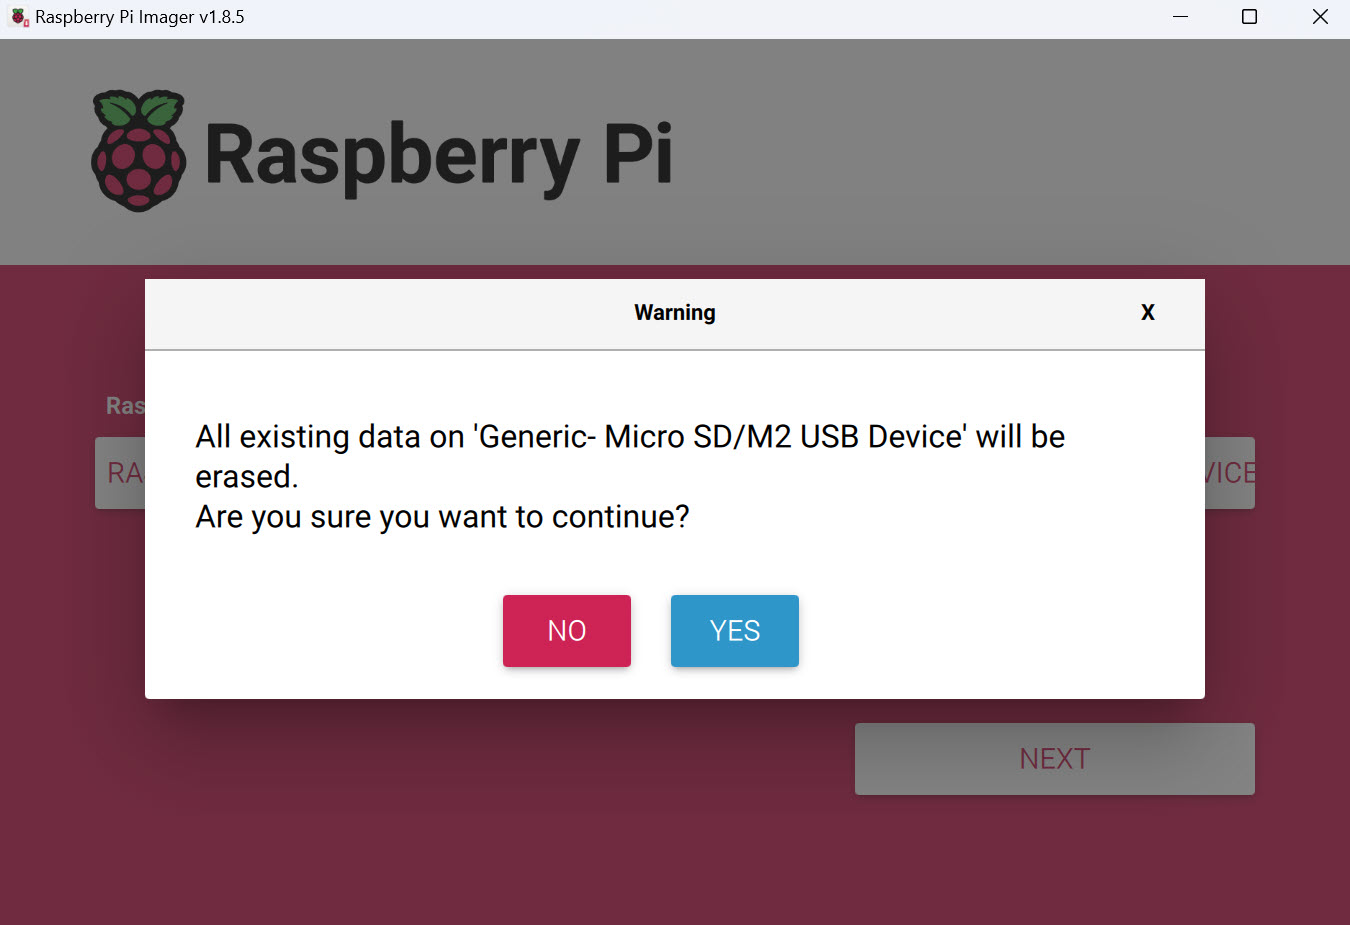
Be sure that you don’t need data on MicroSD that you are going to use, or that you made backup. This will delete all of the data on MicroSD card!! Confirm with Yes
Formating, download and installation process will now start…
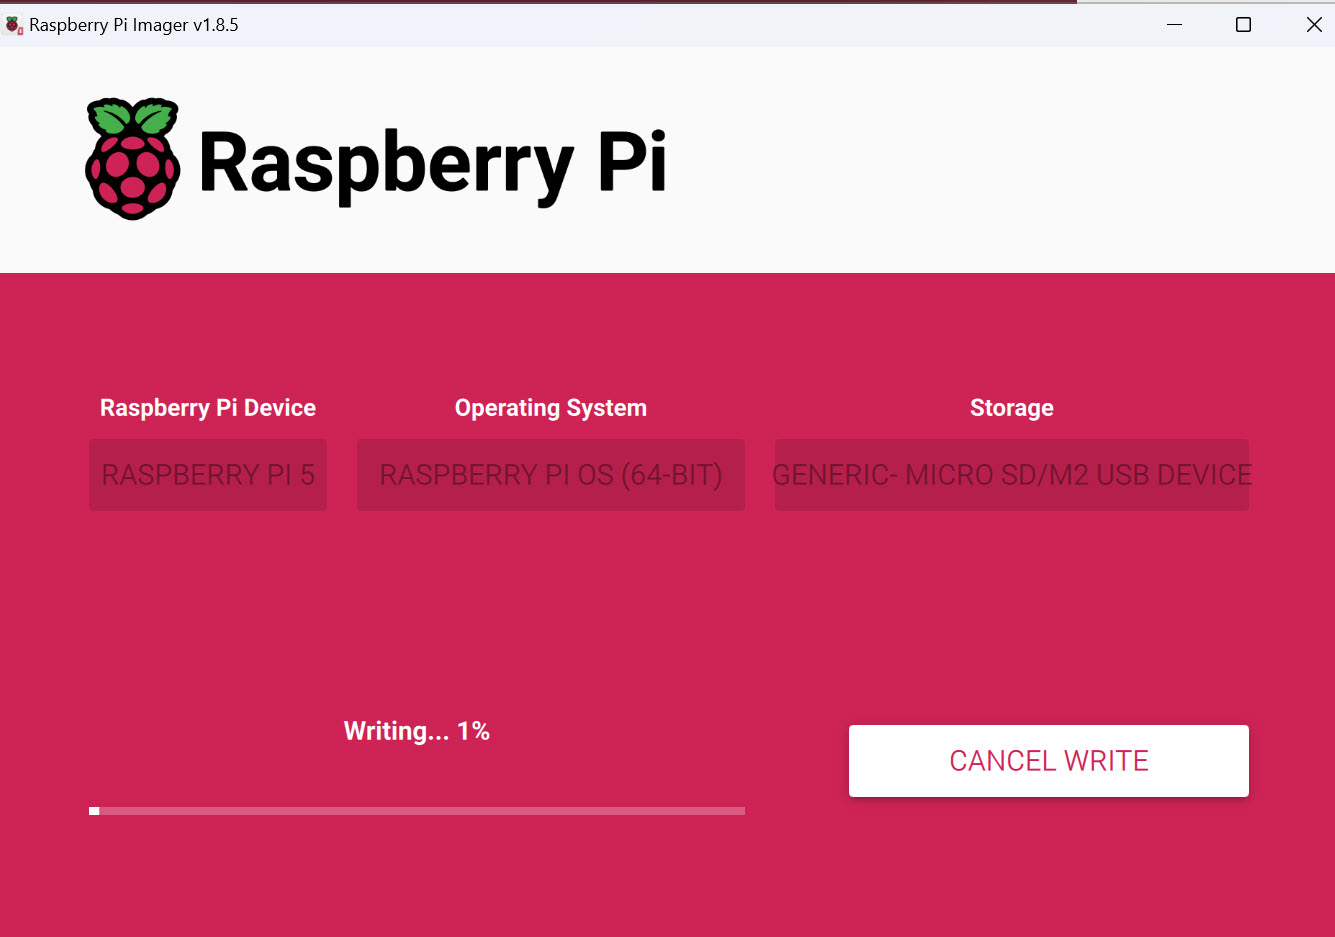
In my case, everything was done in cca 10 minutes. Click continue, close Imager, safely remove MicroSD and put it into your Raspberry Pi.

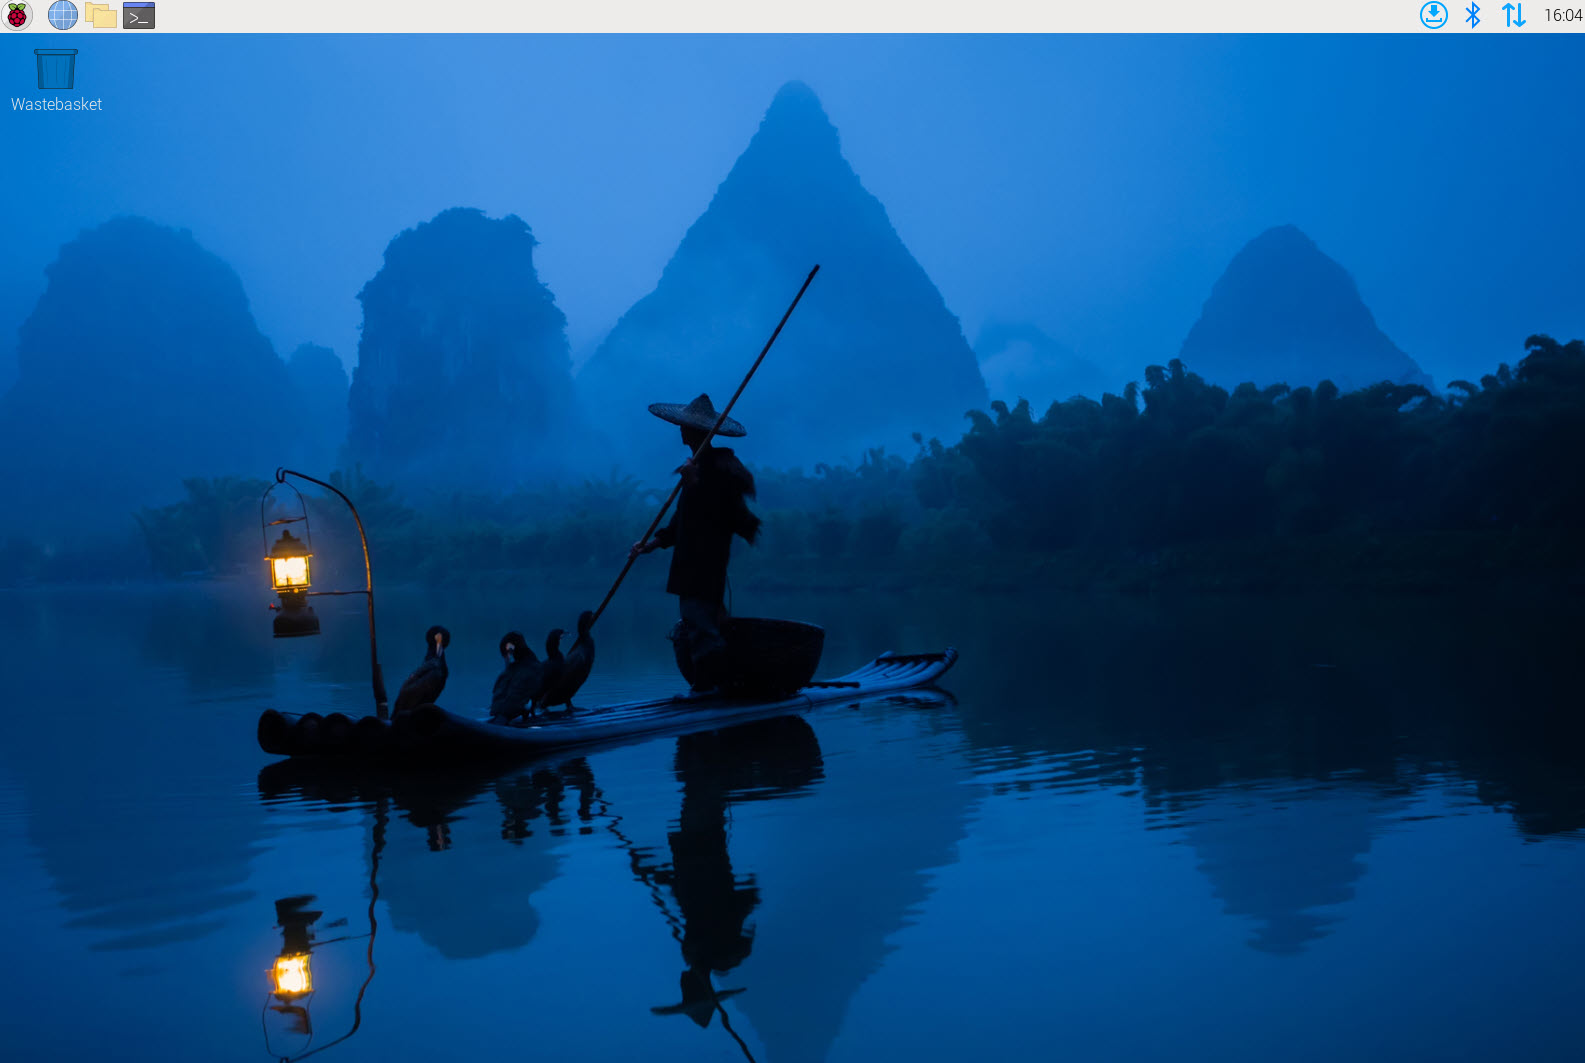
If we did everything good, after we insert prepared MicroSD with raspberry Pi OS into our Raspberry Pi, and connect it to the display/mouse/keyboard and power, in few minutes we should be greeted with booted OS on our Raspberry Pi! We did it!
I will quickly go through basic configuration and virtualization on Raspberry Pi in upcoming guides.