In this quick quide I will install TrueNAS in VMWare Fusion. Same procedure can be replicated to the VMware Workstation, Virtual Box…
Before we begin…
This quick tutorial assumes you are familiar with virtualization and configuration of VMs.
Minimal requirement is 20GB of disk space and 8GB of RAM.
I will add also 4vCCPU cores, additional 120GB disk and 2NICs to my configuration.
Preparing VM…
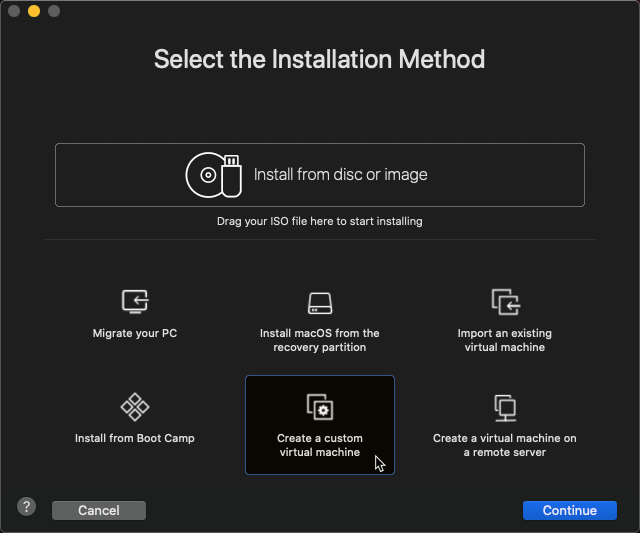
In a main window click on + and select New
“Create a custom virtual machine” | Continue
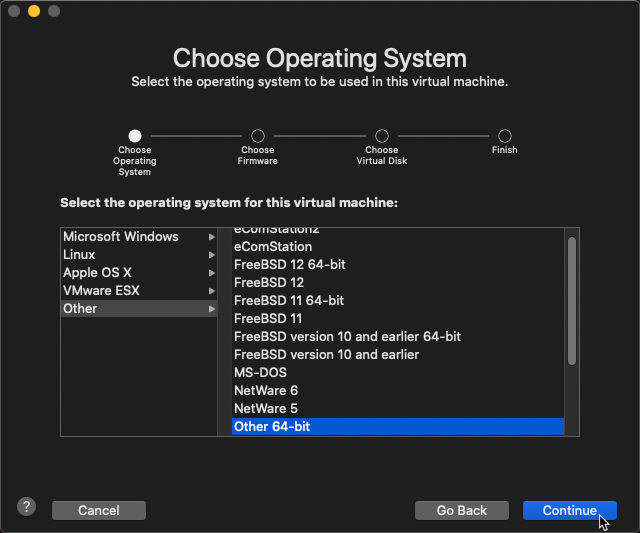
Other – Other 64bit | Continue
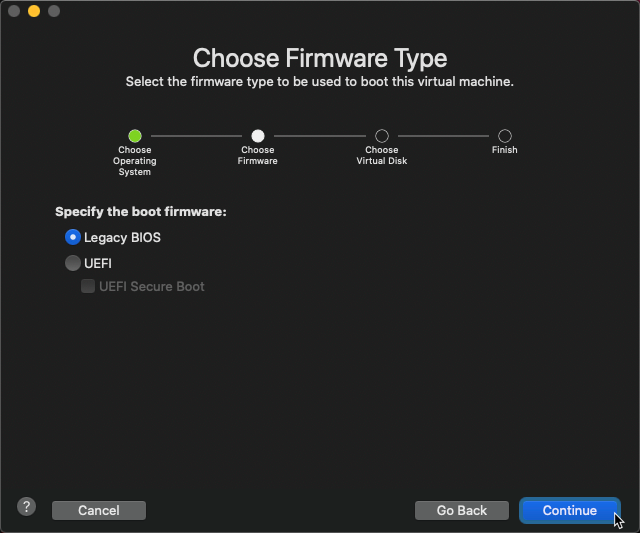
I will go with a Legacy BIOS | Continue
Create a new virtual disk | Continue
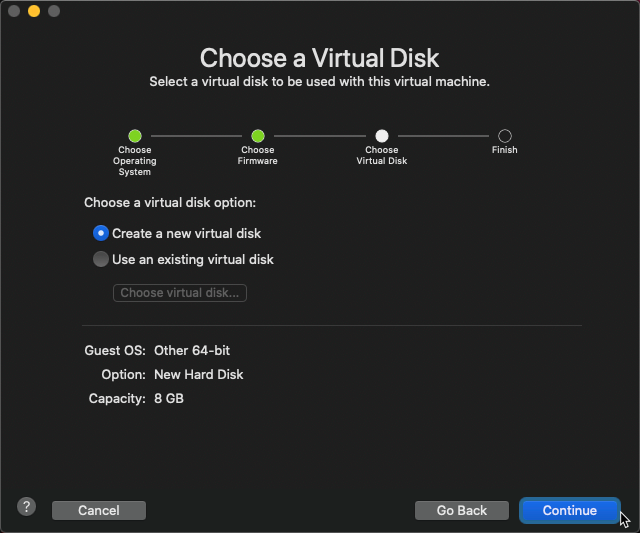
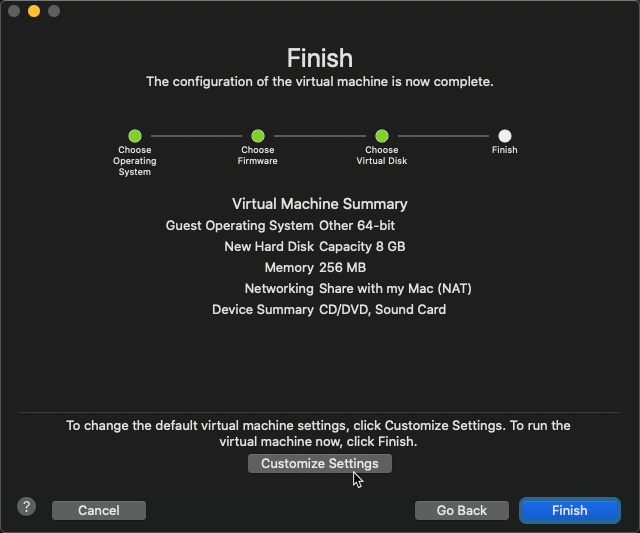
Customize Settings
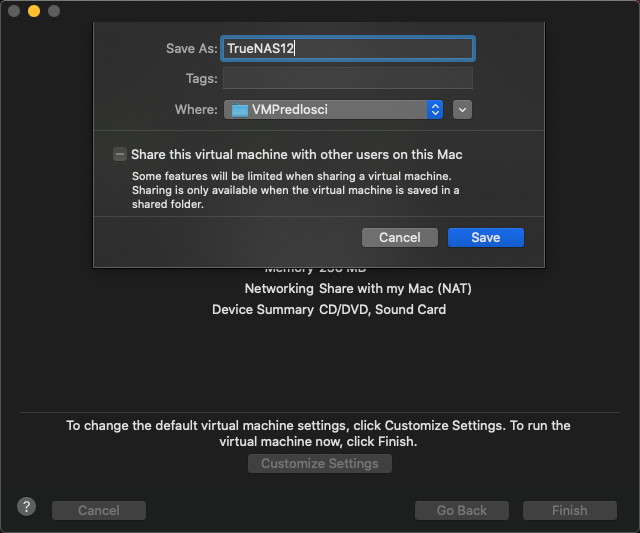
I will name my VM TrueNAS12 and Save it in appropriate location.
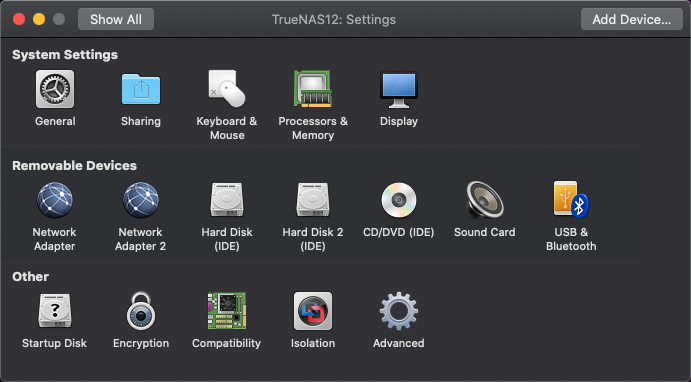
After I selected Save, VM will be opened with its settings.
I added second NIC, another hard drive – one is 20GB, second is 120GB big, 4vCPUs and 8GB of RAM, and I also mounted TrueNAS iso file.
Installation…
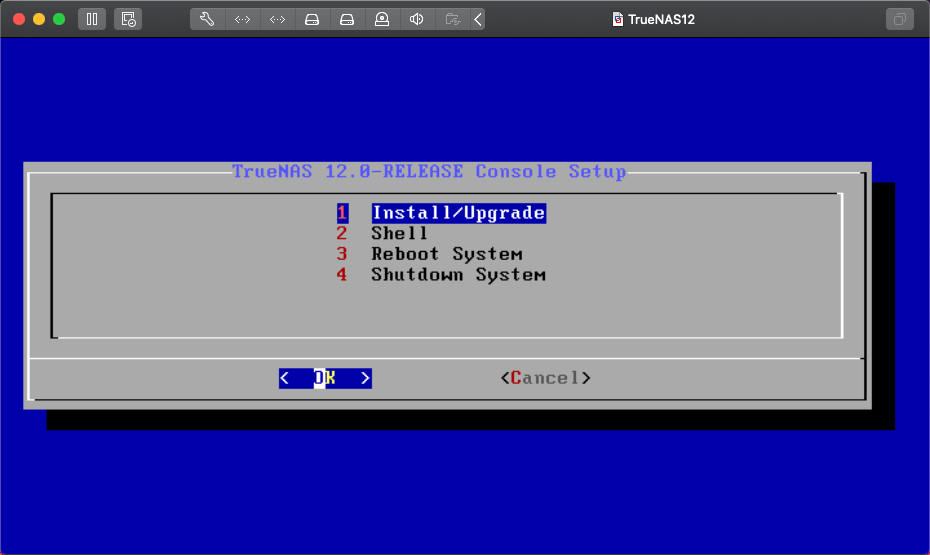
After I started VM it booted from .iso image and I was greeted with installation screen.
1.Install/Upgrade
OK
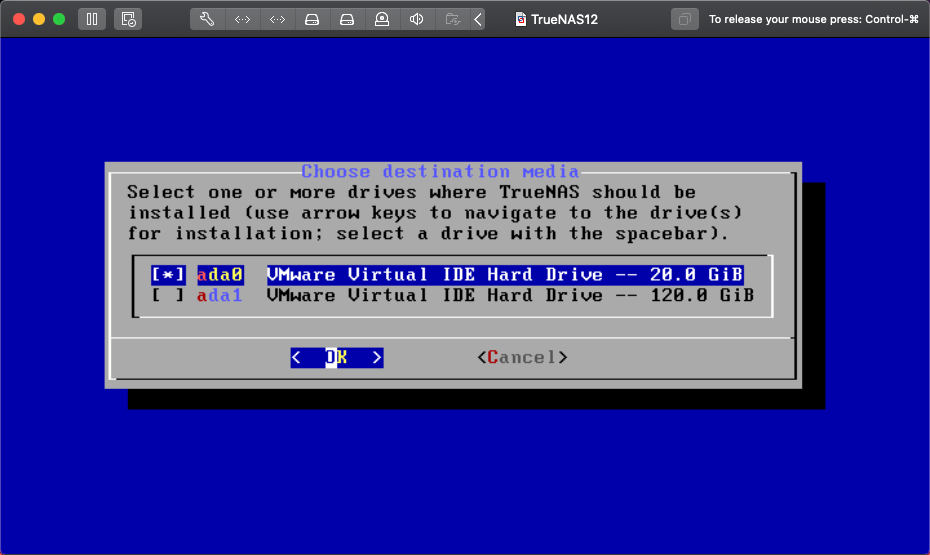
I selected 20GB hard drive fro TrueNAS installation. OK
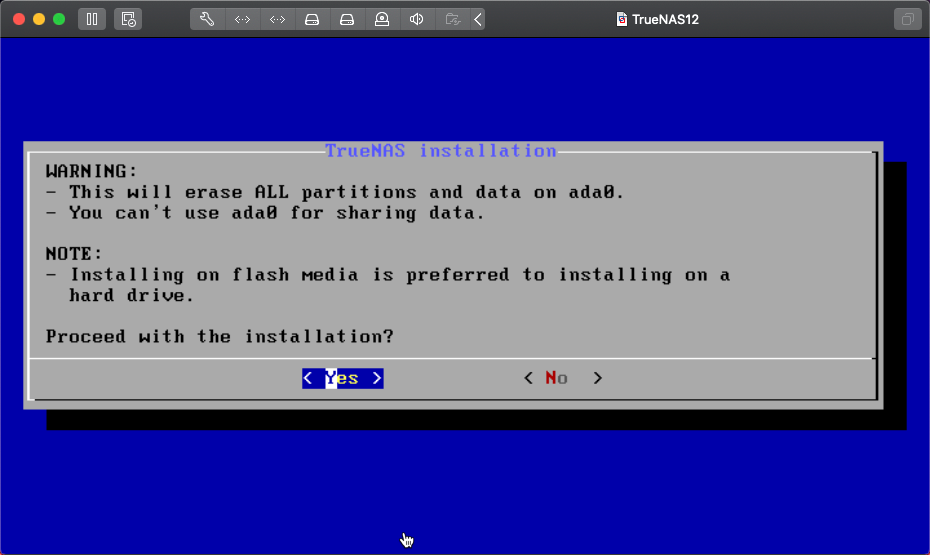
Yes
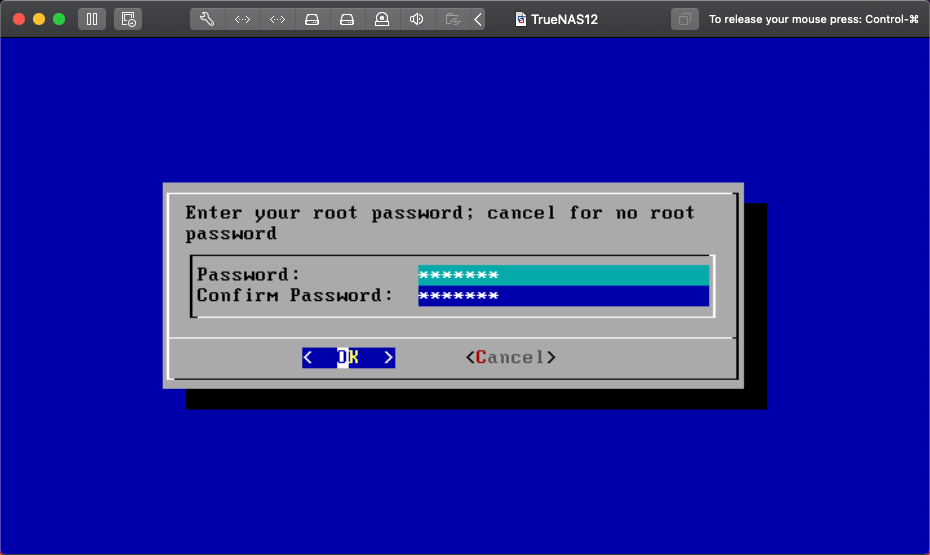
Create password for root user. OK
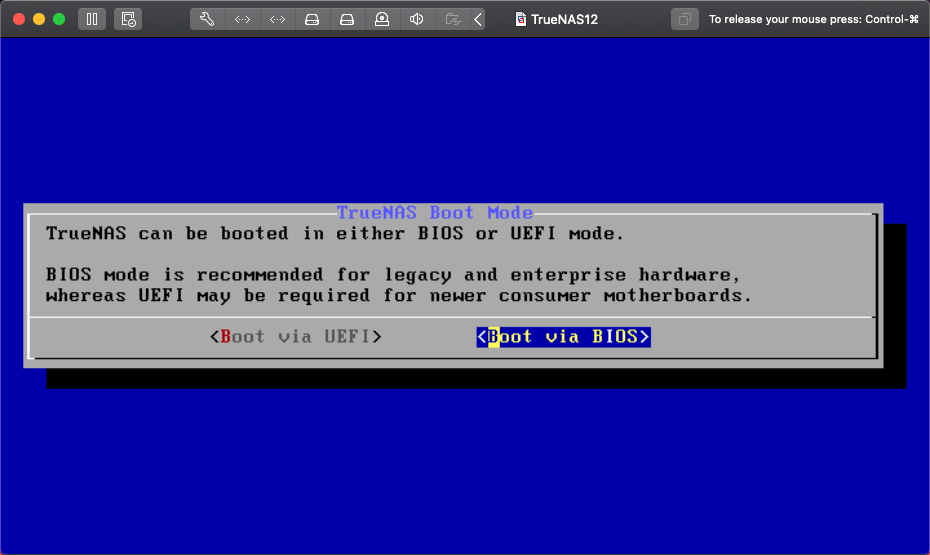
Since I selected Legacy BIOS during VM creation, I will select Boot via BIOS.
Installation started…
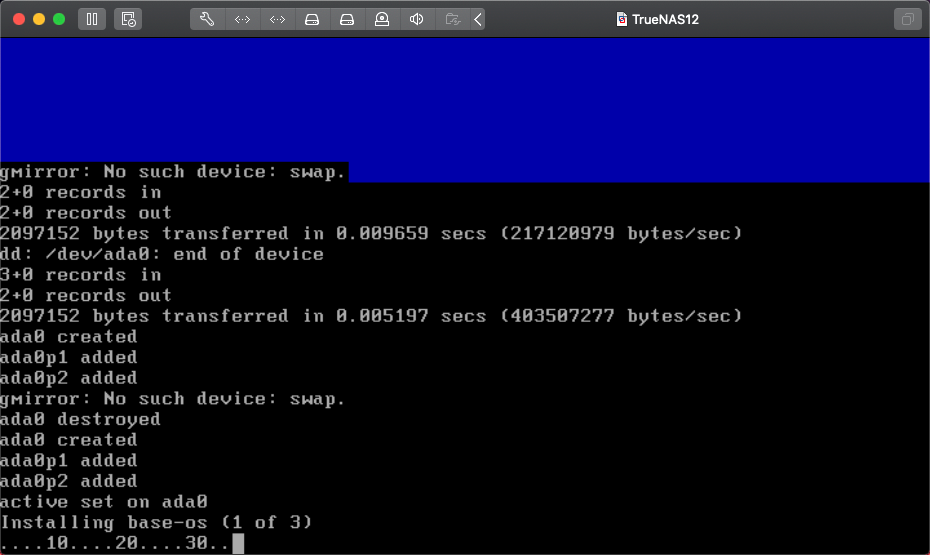
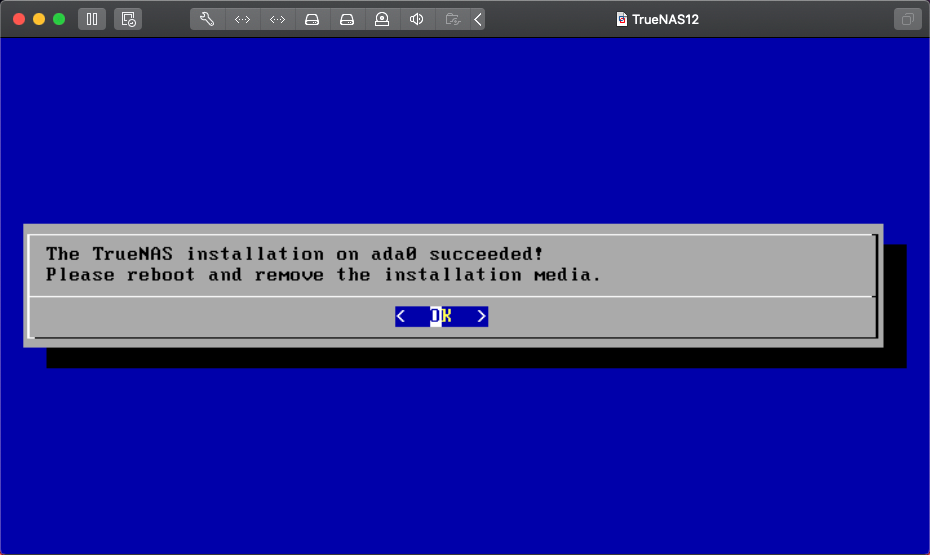
Remove .iso image from virtual CD, and reboot your server.
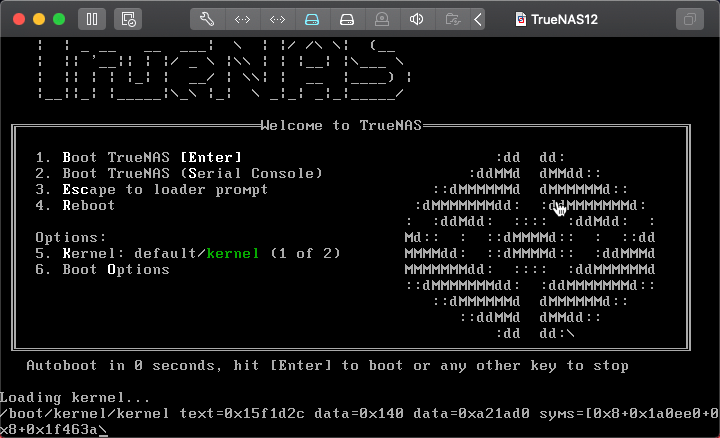
TrueNAS is booting…
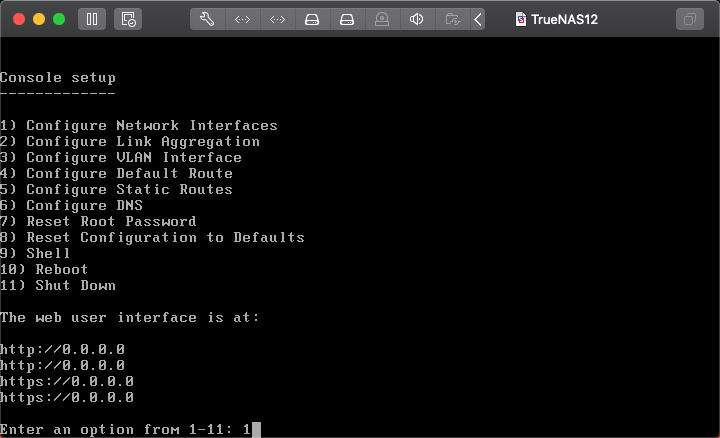
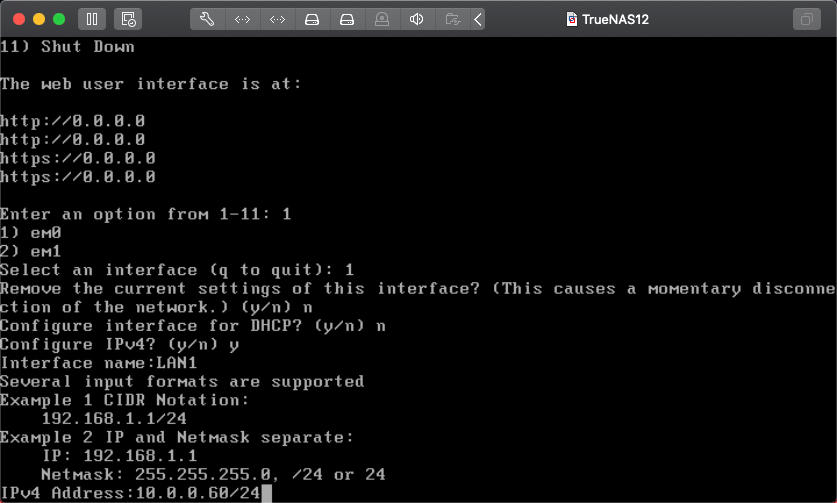
Before we can start using TrueNAS, we have to specify network interface. If you have DHCP you will probably get IP address, but in my lab there is no DHCP server, and I would always recommend setting fixed IP for all your server based services.
Select 1 and press enter.
I will select em0 interface – 1
Remove current settings – n
Configure interface for DHCP – n
Configure IPv4 – y
Interface name: I will name mine LAN1
Configure IPv6 – n
Configure failover – n

Now, we will have local IP address defined, and we can access our TrueNAS via WEB interface.
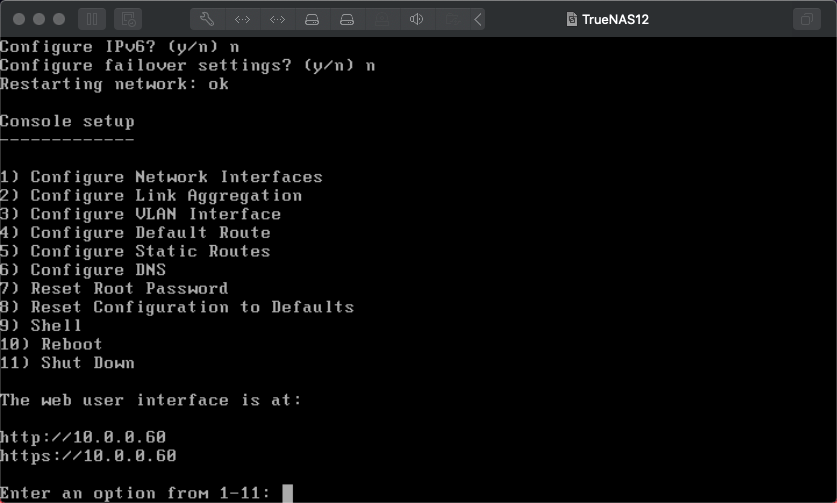
Mine will be on https://10.0.0.60
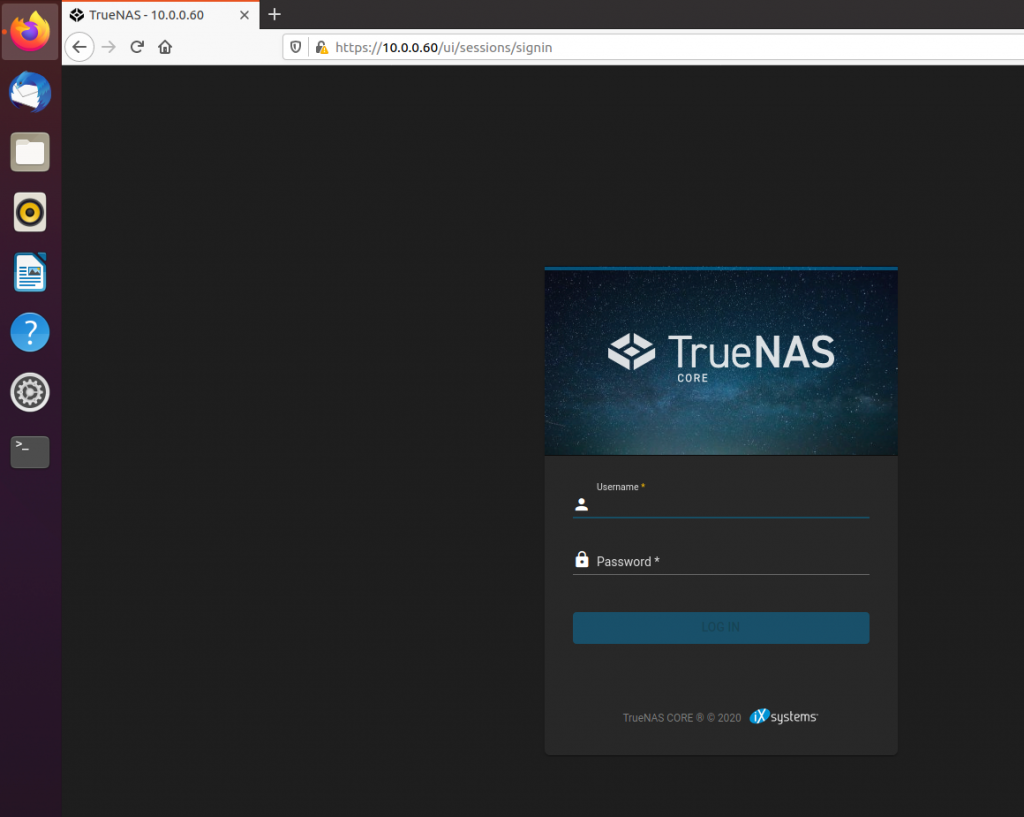
Default username is root, and password is the one you defined in setup process.
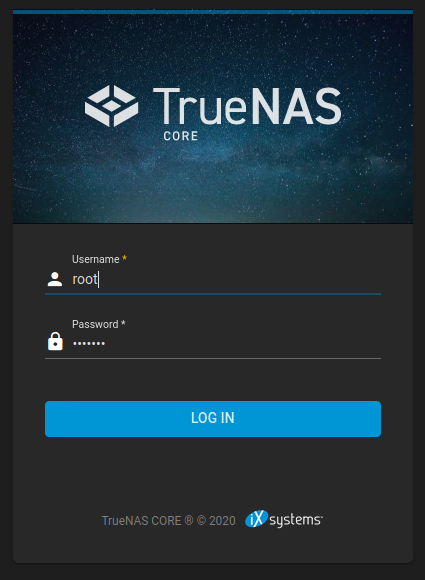
Success…
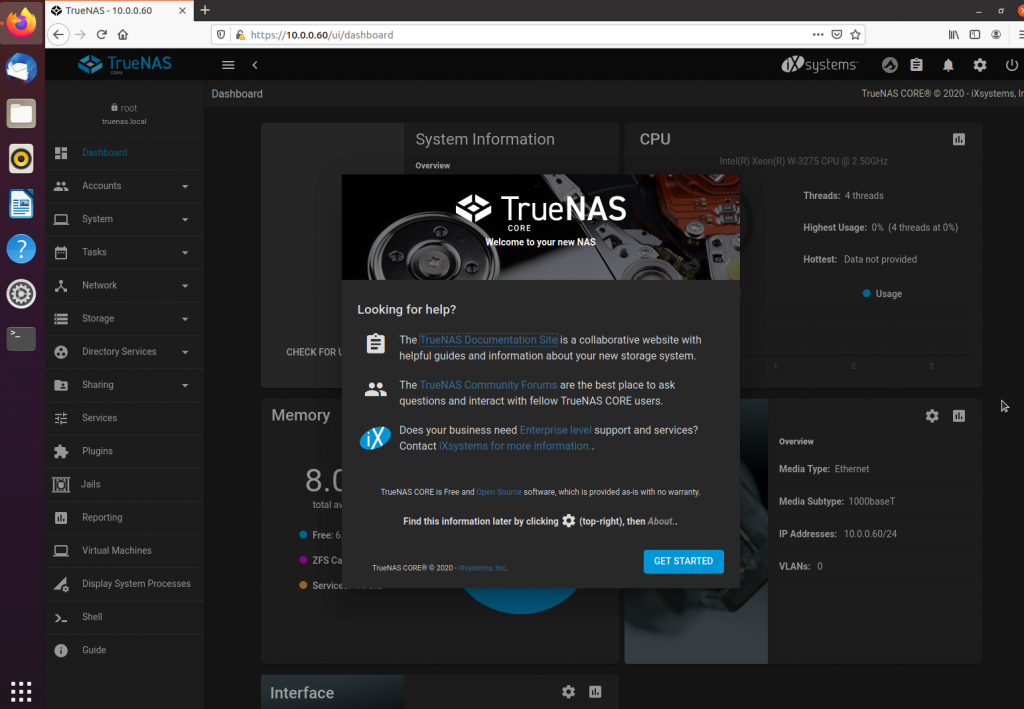
That is it for the installation and basic config of TrueNAS inside VM.