This quick tutorial will cover installation of VMware Tools on VMware Workstation 15 Pro with installed CentOS 7 guest virtual machine with GUI.
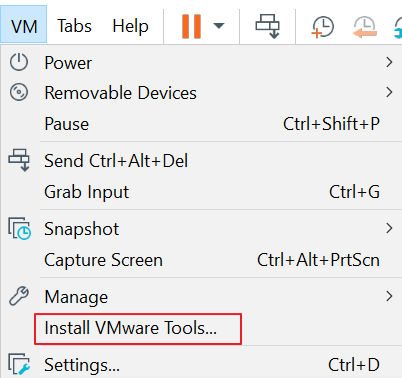
First, on VMware Workstation 15 Pro choose your CentOS 7 VM and then click on VM menu on the top of the Workstation Pro.
Choose Install VMware Tools…
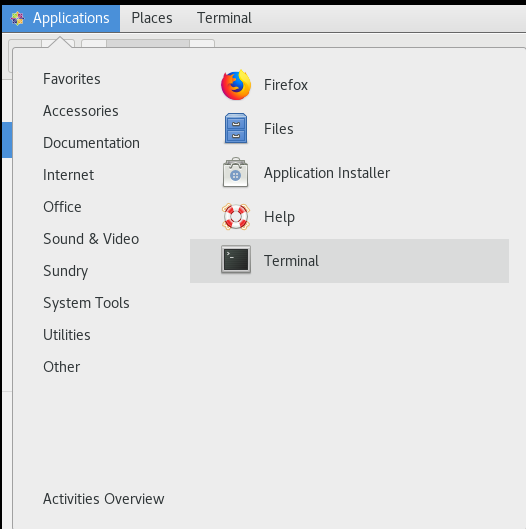
On CentOS 7 VM from top Applications menu | Favorites choose Terminal
We will first need to mount CDRom.
First step is to become admin, so will will type su and then enter our root password
su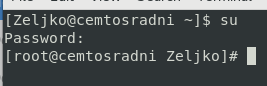
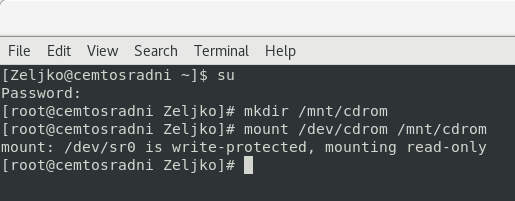
Then we will mount cdrom
     mkdir /mnt/cdrom
     mount /dev/cdrom /mnt/cdrom
Before we go further, we need to determine which version of VMware Tools we will be copying and then installing. We will do that by typing:
ls /mnt/cdrom
In my case WMware Tools are VMwareTools-10.3.2-9925305.tar.gz. We will now be copying tar to the local tmp folder.
cp /mnt/cdrom/VMwareTools-10.3.2-9925305.tar.gz /tmp/
Now, let’s navigate to the /tmp folder and untar VMware Tools.
cd /
    cd /tmp
    tar -zxvf VMwareTools-10.3.2-9925305.tar.gz

Now that we unpacked VMware tools we will navigate to -vmware-tools-distrib which is subfolder of /tmp
cd vmware-tools-distrib
And now, the installation step
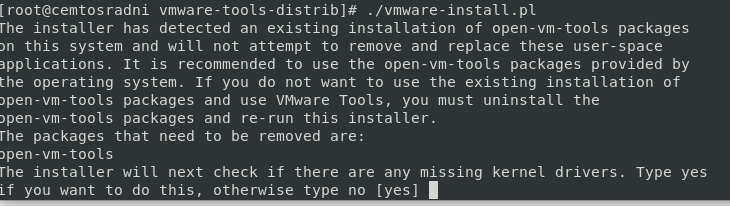
./wmware-install.pl
All the steps that are following are up to you, I will choose all default values during process
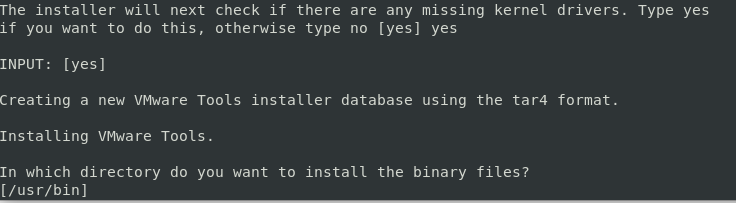
I will choose yes
I will leave /usr/bin directory
Well, I think my init dirs are in default spot, so I will again just confirm

Again, I will just confirm the init scripts dir by pressing ENTER

I will confirm /usr/sbin as my daemon files dir

And, for the library files

I will enter yes

Documentation folder will also be default for me

Again, I will enter yes

And installation is success.
I will also invoke config tool s right away and enter yes

I will not cover configuration, and it is optional for a start.
Reboot your server and you are good to go.