Recently I exported my Windows 11 lab and wanted to import it to another Hype-V host. Export from old and import to new host went great, but after I started imported VM I got unpleasant “The key protector could not be unwapped” error. We will quickly look at it and resolve it.
After import to the new Hyper-V host and attempt to start imported Windows 11 VM I got following error: The key protector could not be unwrapped
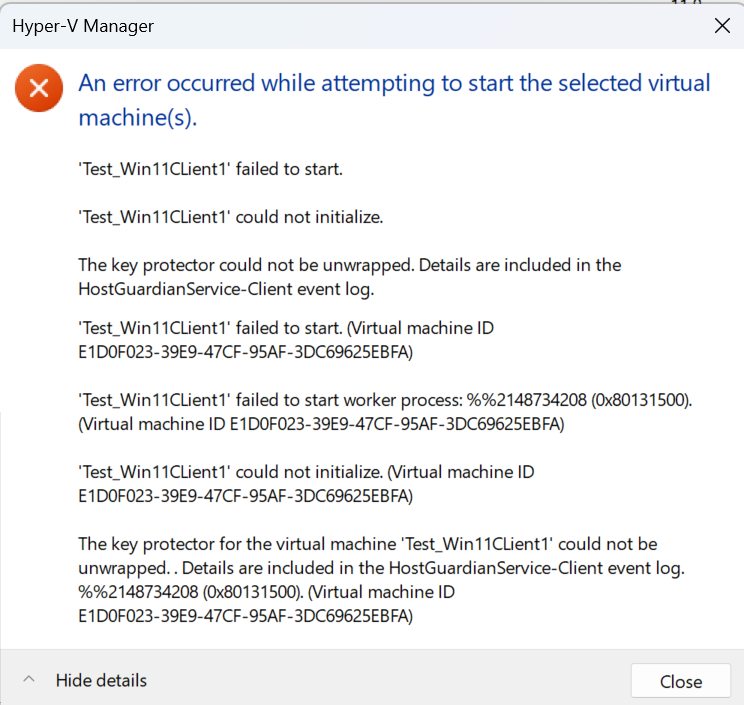
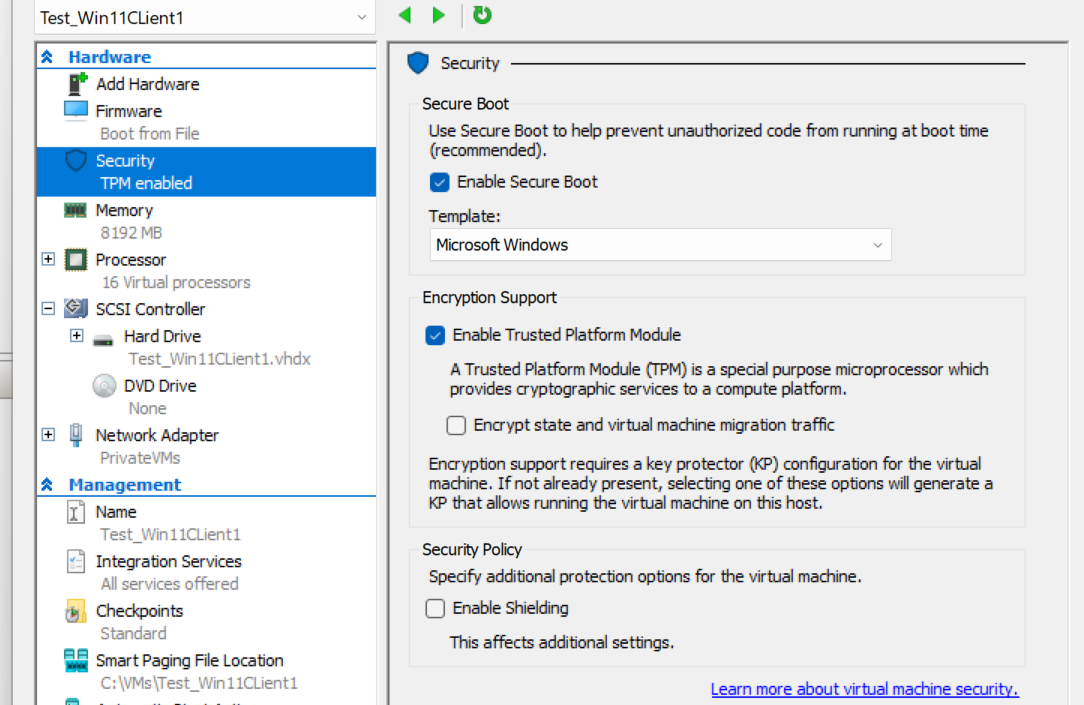
Reason for this is – TPM. I enabled security features for Windows 11 VMs on old Hyper-V host, and that is how I installed Windows 11. With export of the VM, you won’t transfer all security details and certs.
In order to be able to start our imported Windows 11 VMs this is what we need to do. On the old Hyper-V host from which we exported VMs, we need to export VMs, and on the new Hyper-V host we need to import those certificates.
Before you start the process below (make sure you have backup of the machine you are importing) – you can just try to unmark Enable Secure Boot and unmark/disable Enable Trusted Platform Module in Security tab of the VM you imported (screenshotted above)- so both values should be unchecked – then you can try to boot VM – it should also work.
Old Hyper-V host
On the host from which we exported VMs, we need to do following: In search type in – run.
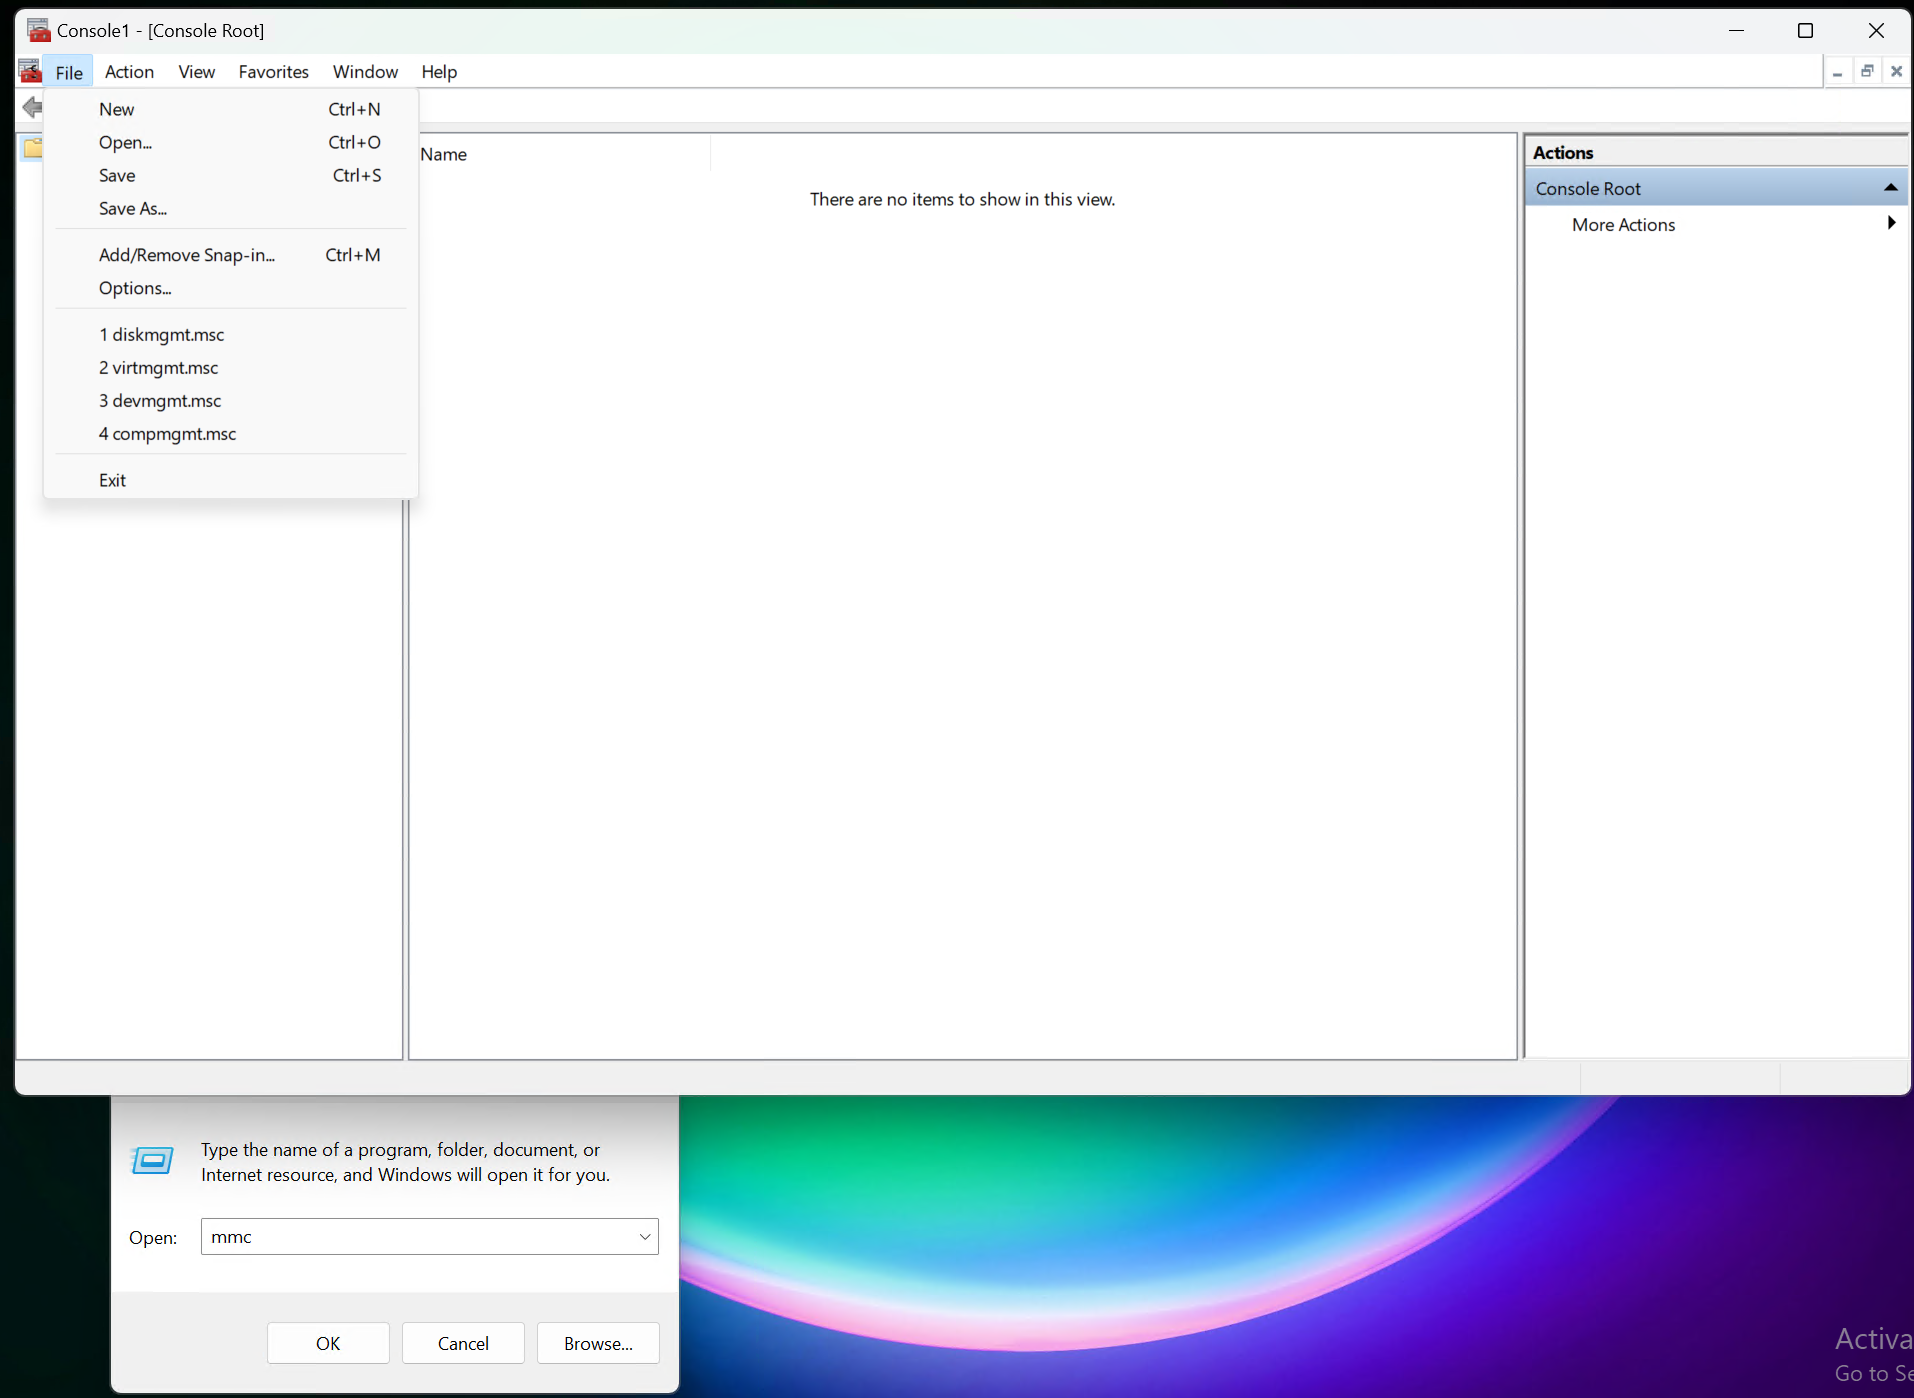
In new run windows, type in mmc and press ok. In mmc (Console1 window) press File and click on Add/Remove Snap-in..
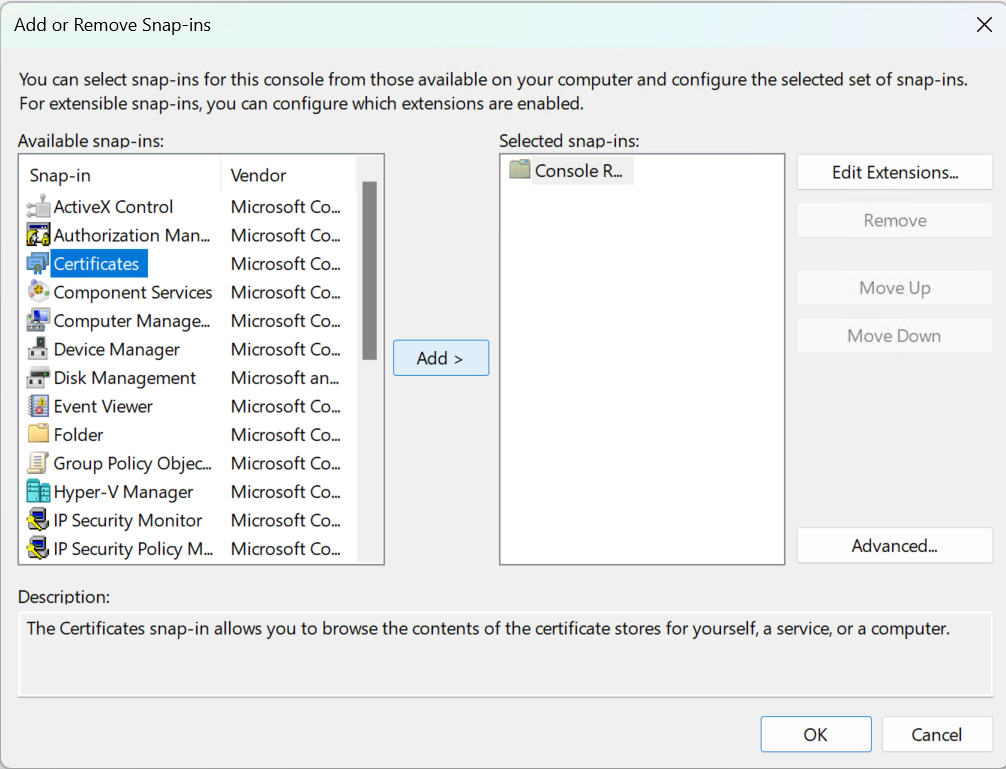
From Available Snap-ins select Certificates and click on Add> . New window will open
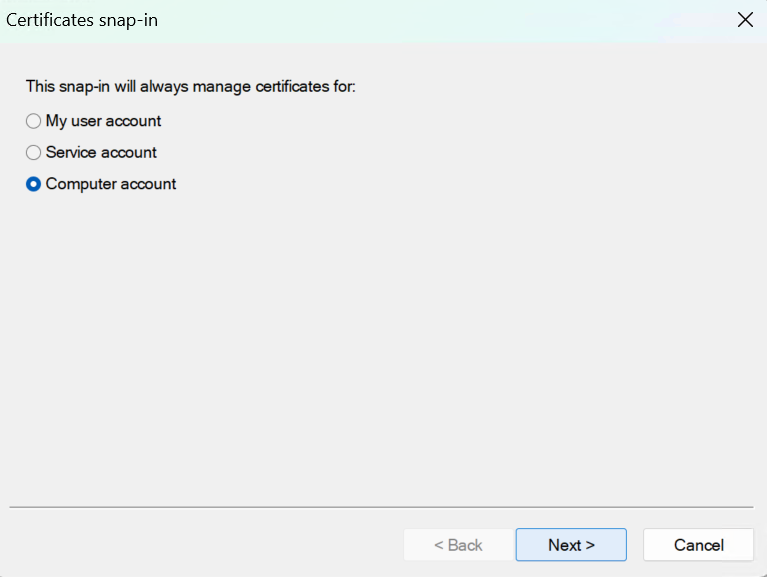
In new window select Computer account and press Next
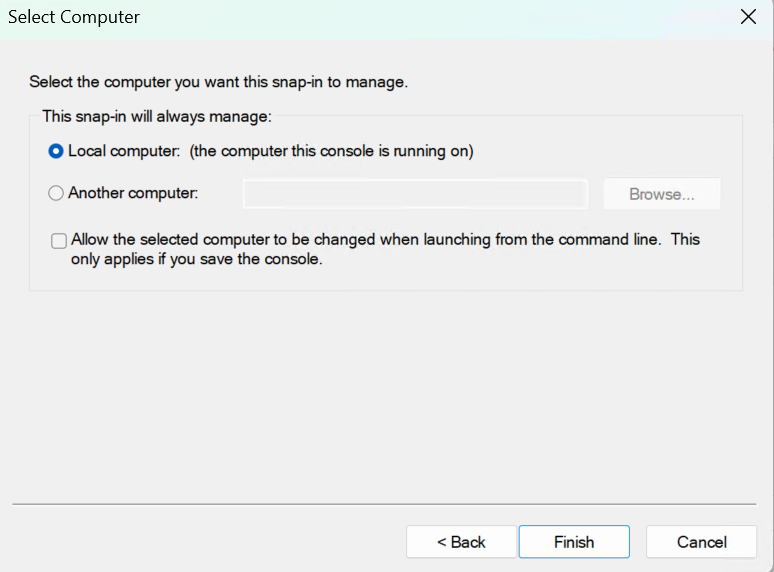
Select Local computer and press Finish
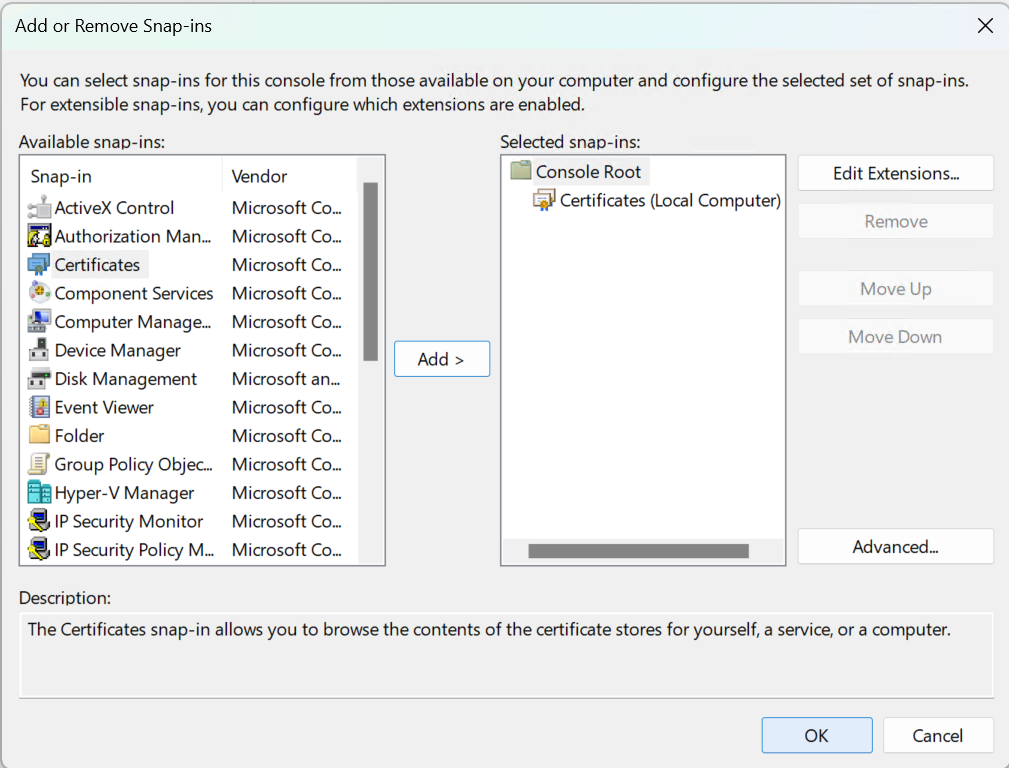
Certificates will appear in Selected snap-ins: . Press OK
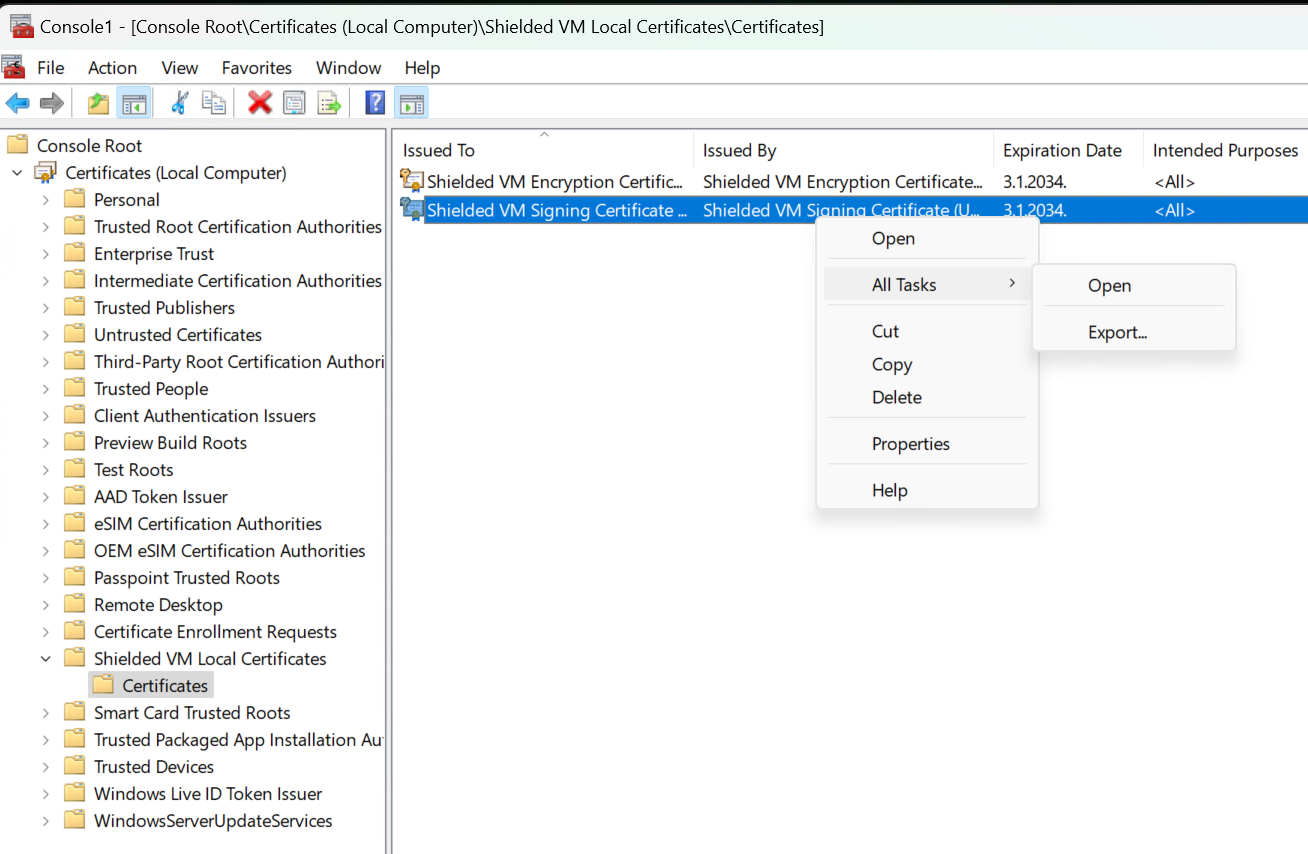
In console window we will now have Certificates (Local Computer) menu. Select Shielded VM Local Certificates | Certificates. Two certificates should be inside. We need to export both certificates. I will show you how to export one, you will repeat same procedure for second one. Right click on certificate and select All Tasks – Export
On initial screen just press Next
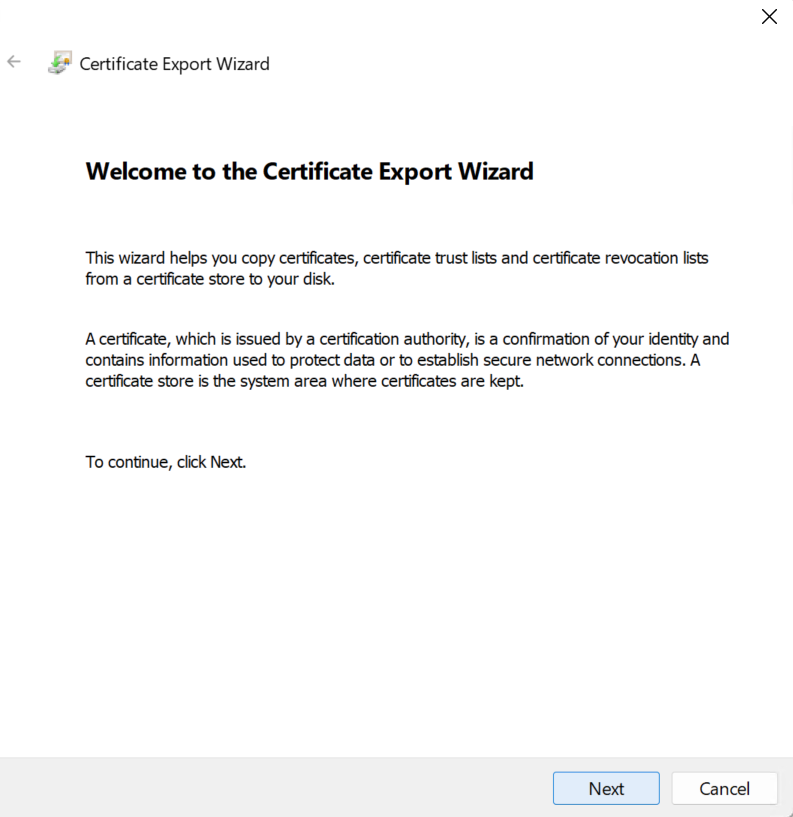
Yes, export the Private key. Next
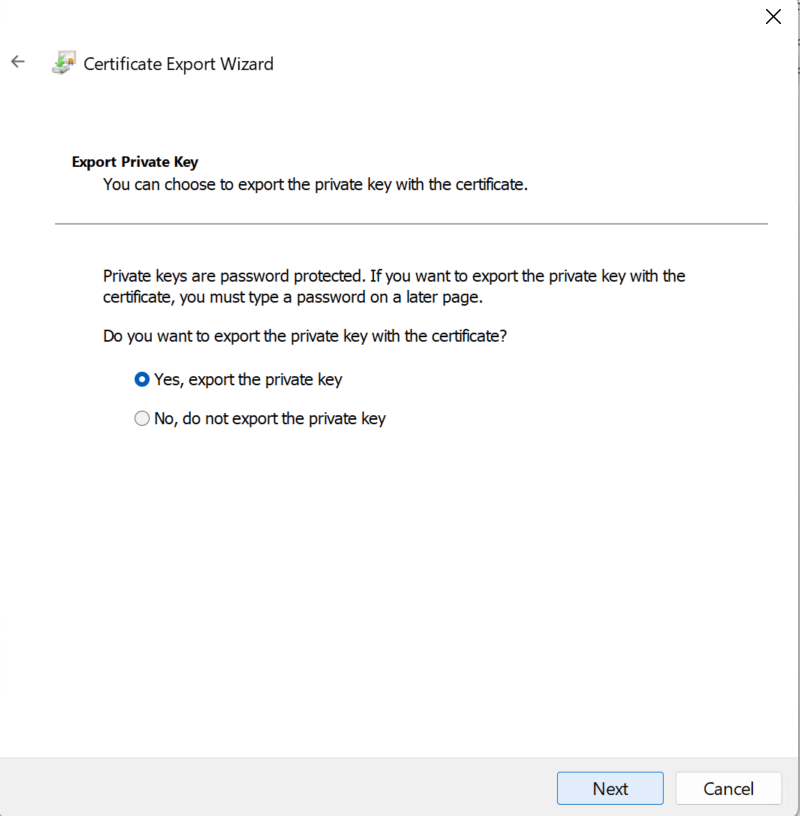
Delete the private key if the export is successful SHOULD BE DESELECTED. Except, if you really want to remove the key. Next
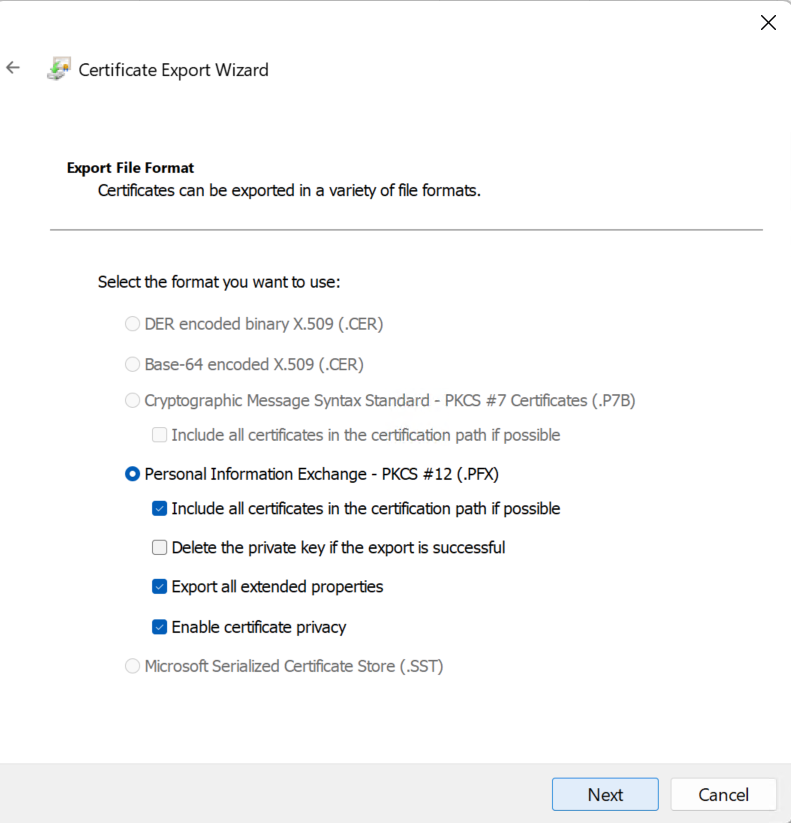
For encryption you will want AES256 and you also want strong password. This is my test lab, so I don’t really care much, but if it important production VMs, this should be considered very seriously. Next
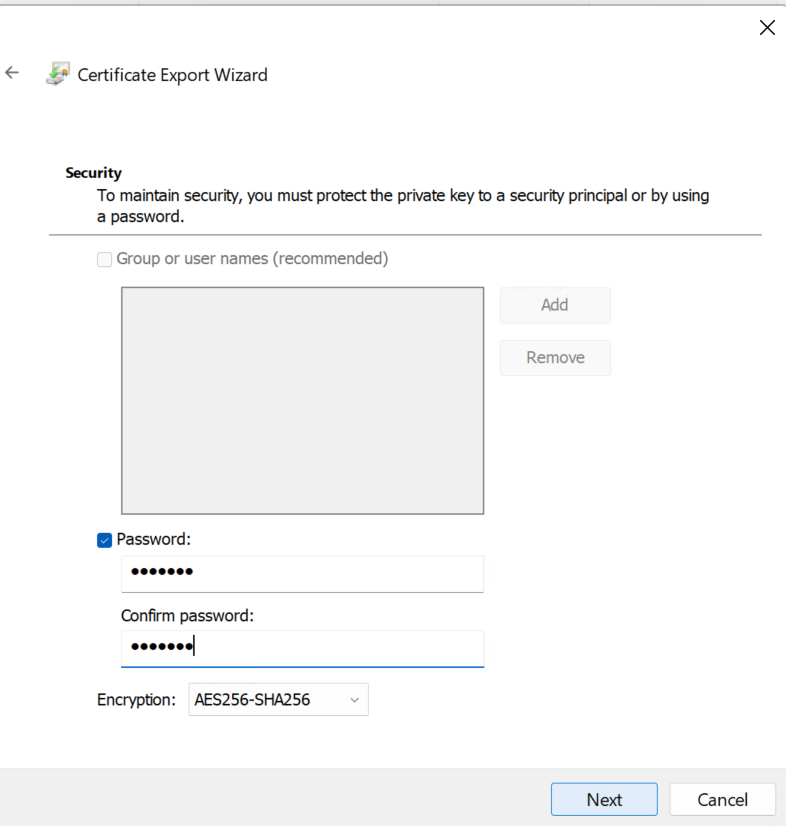
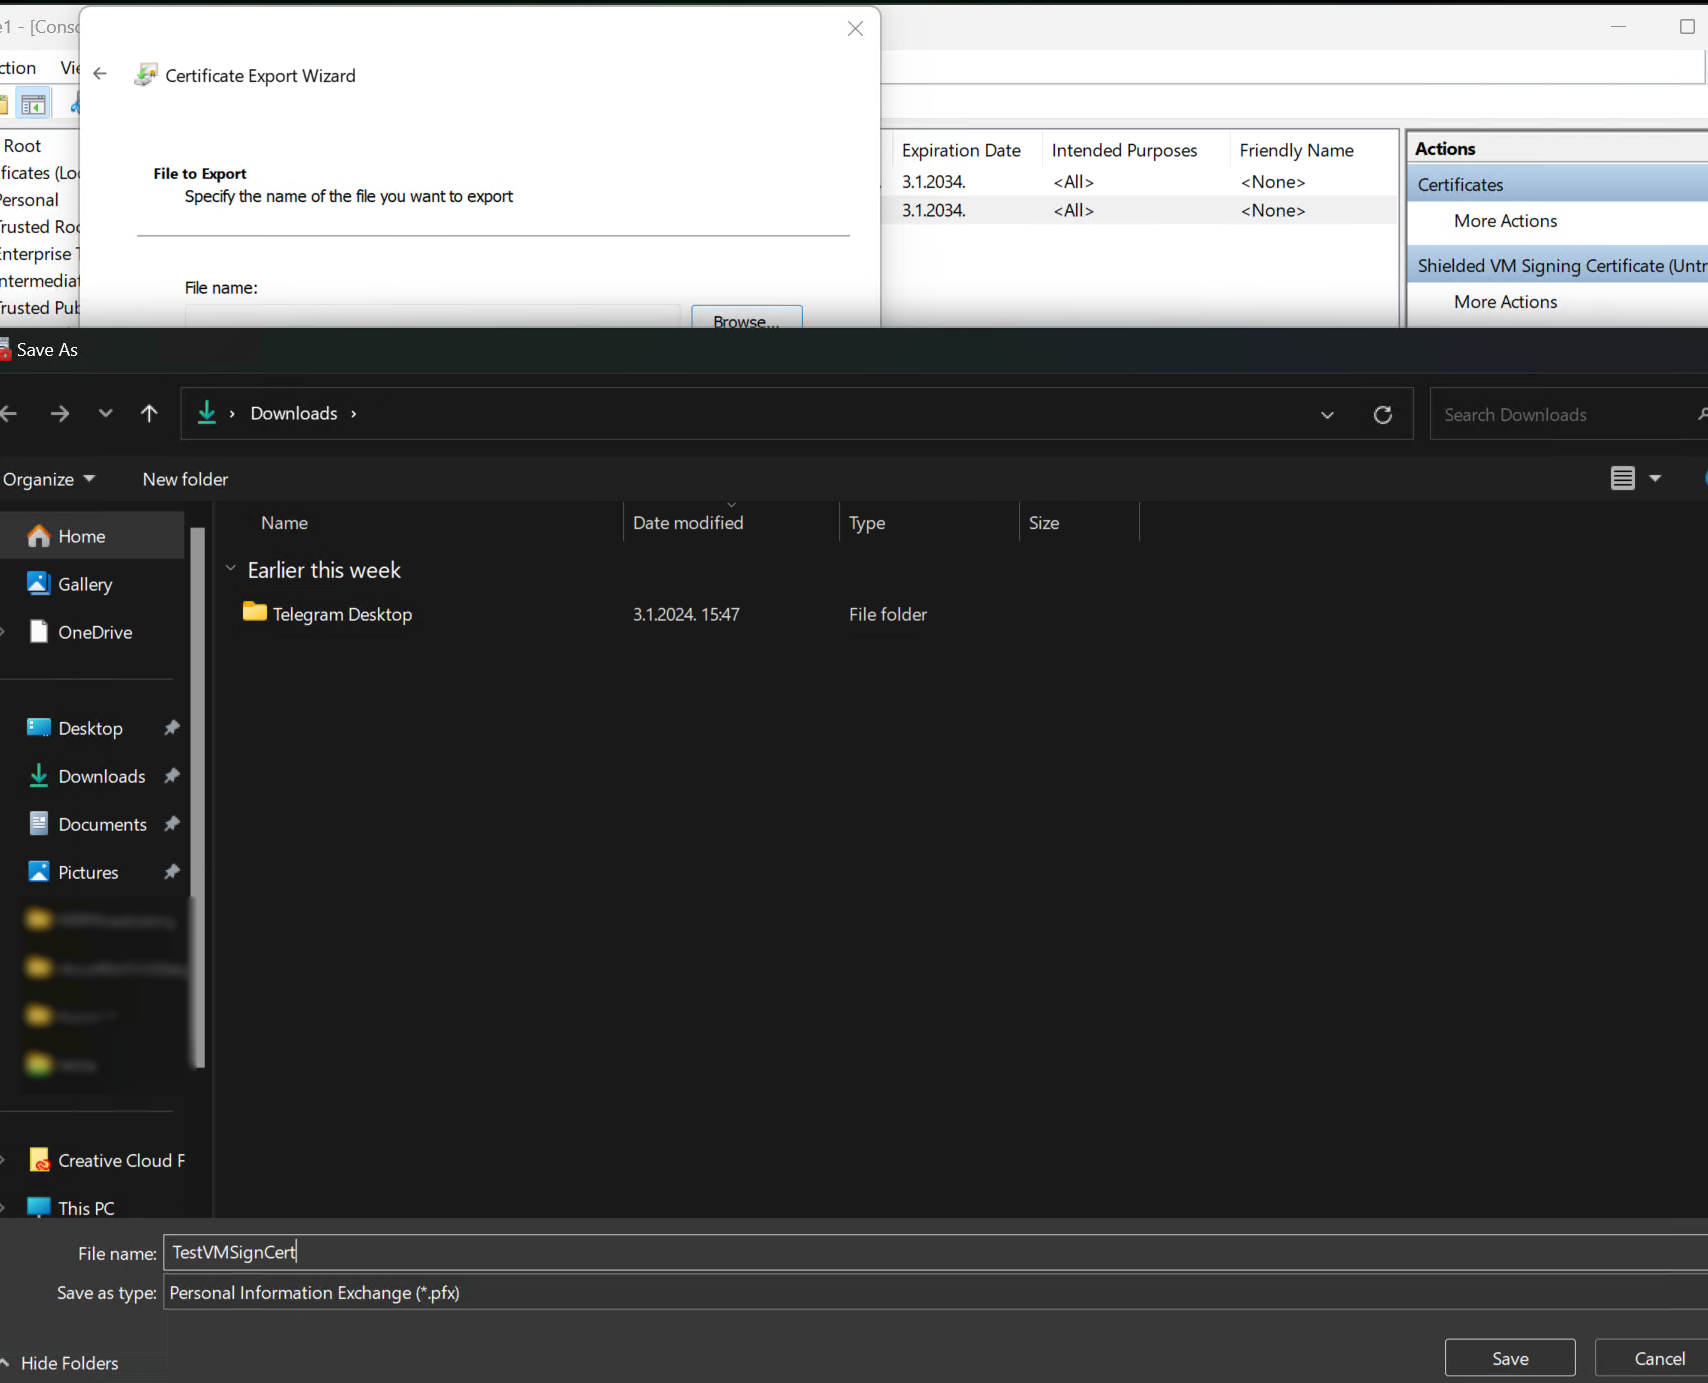
Click on Browse, select directory where you want to export certificate, give it a name, and save.
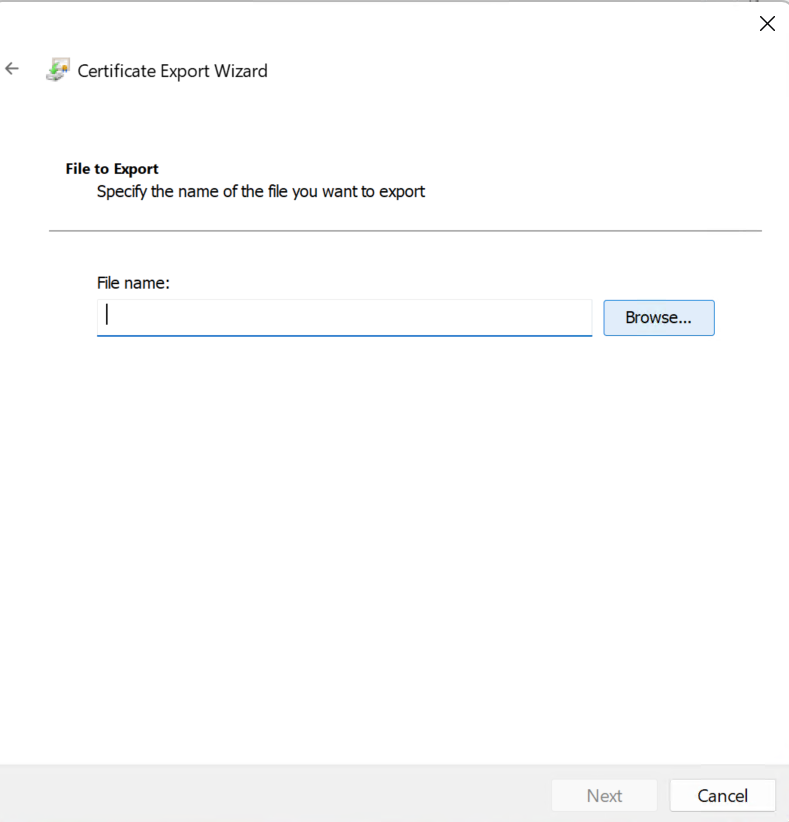
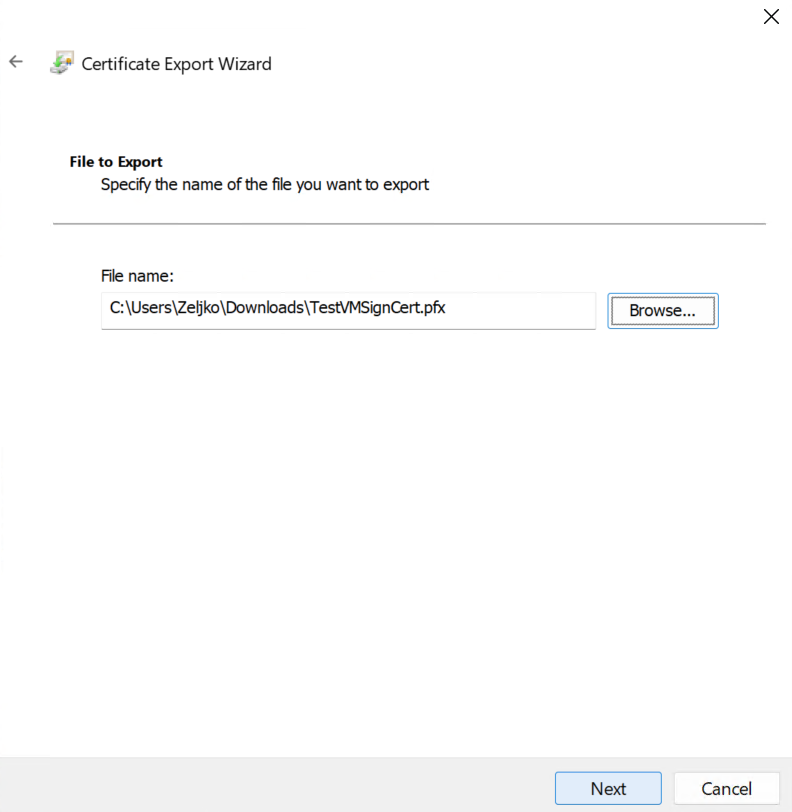
I saved mine in Downloads folder. Next
Finish
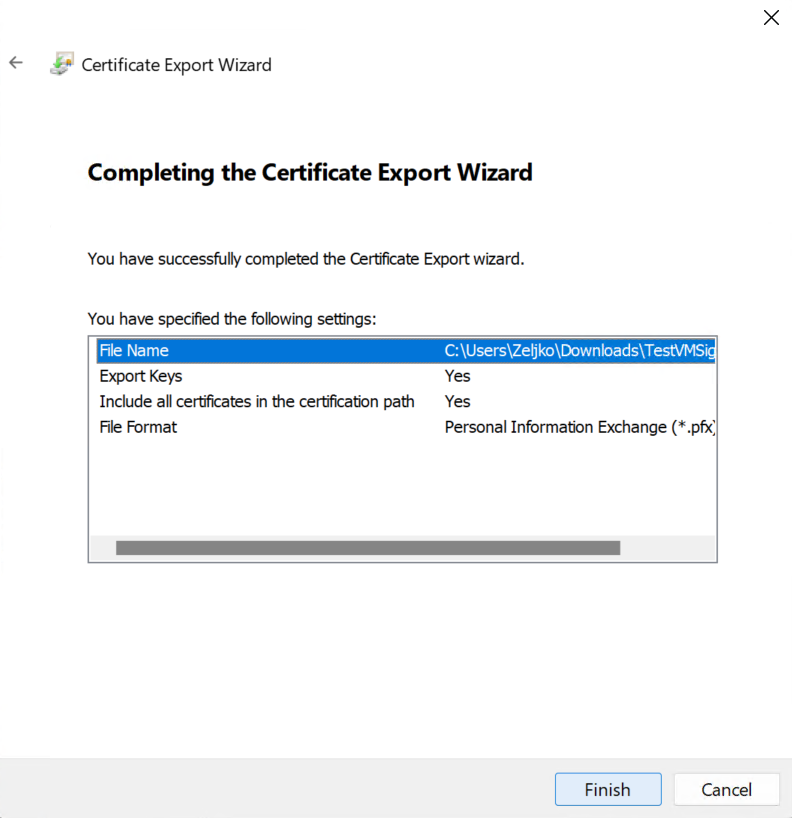
Now, repeat he export process for a second certificate!!
Depending on the security sensitivity of the VMs you exported select medium for transferring exported certificates. It can be USB, network, secure file share, whatever you see fit.
Transfer both exported certificates to the new Hyper-V host where you imported VMs.
New Hyper-V host – Import Certificates
On new Hyper-V host, to which you imported VMs and are getting “The key protector could not be unwrapped” error, we are going to to import certificates from olf Hyper-V host.
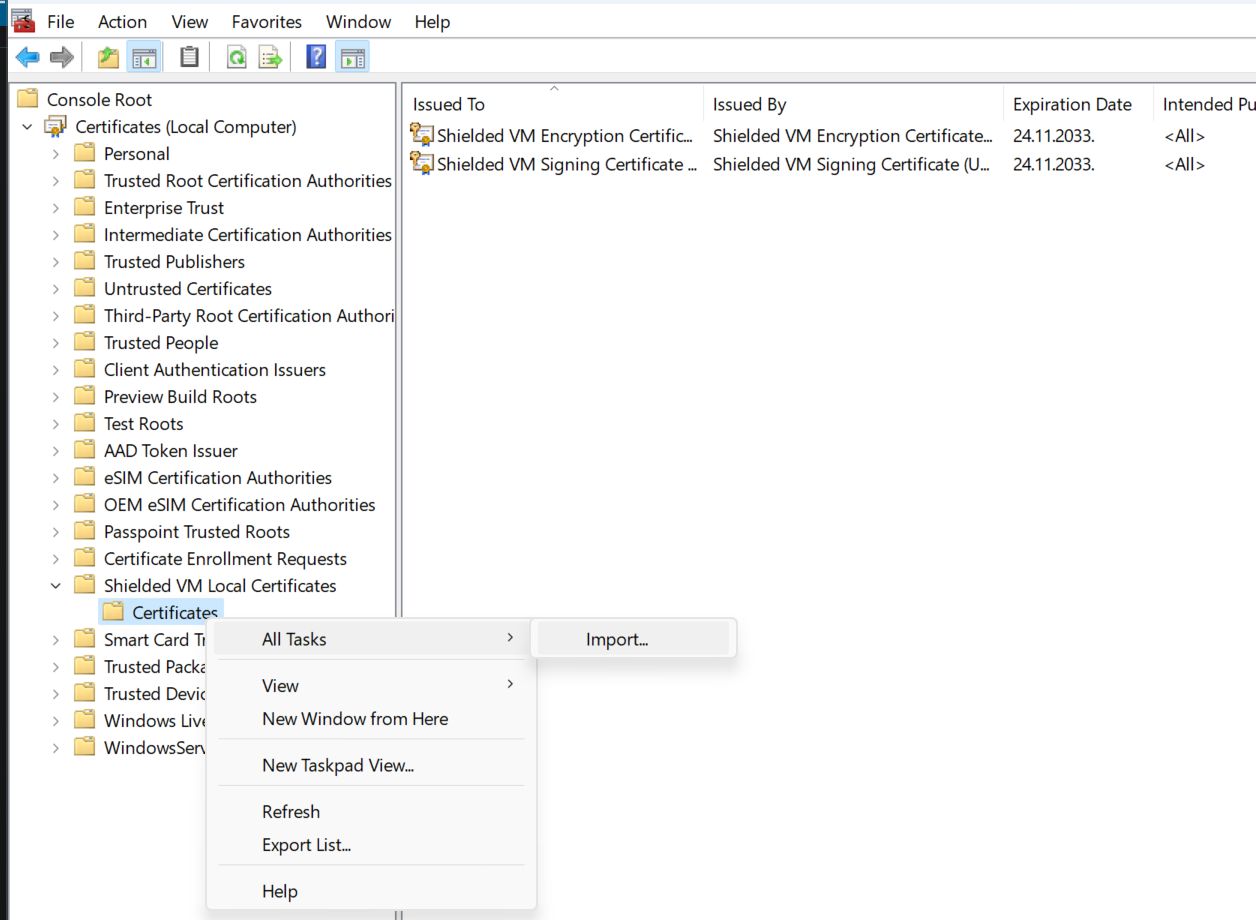
Repeat, search run – mmc – certificates procedure from the beginning of the guide and navigate to Shielded VM Local Certificates – right click on Certificates – All Tasks – Import
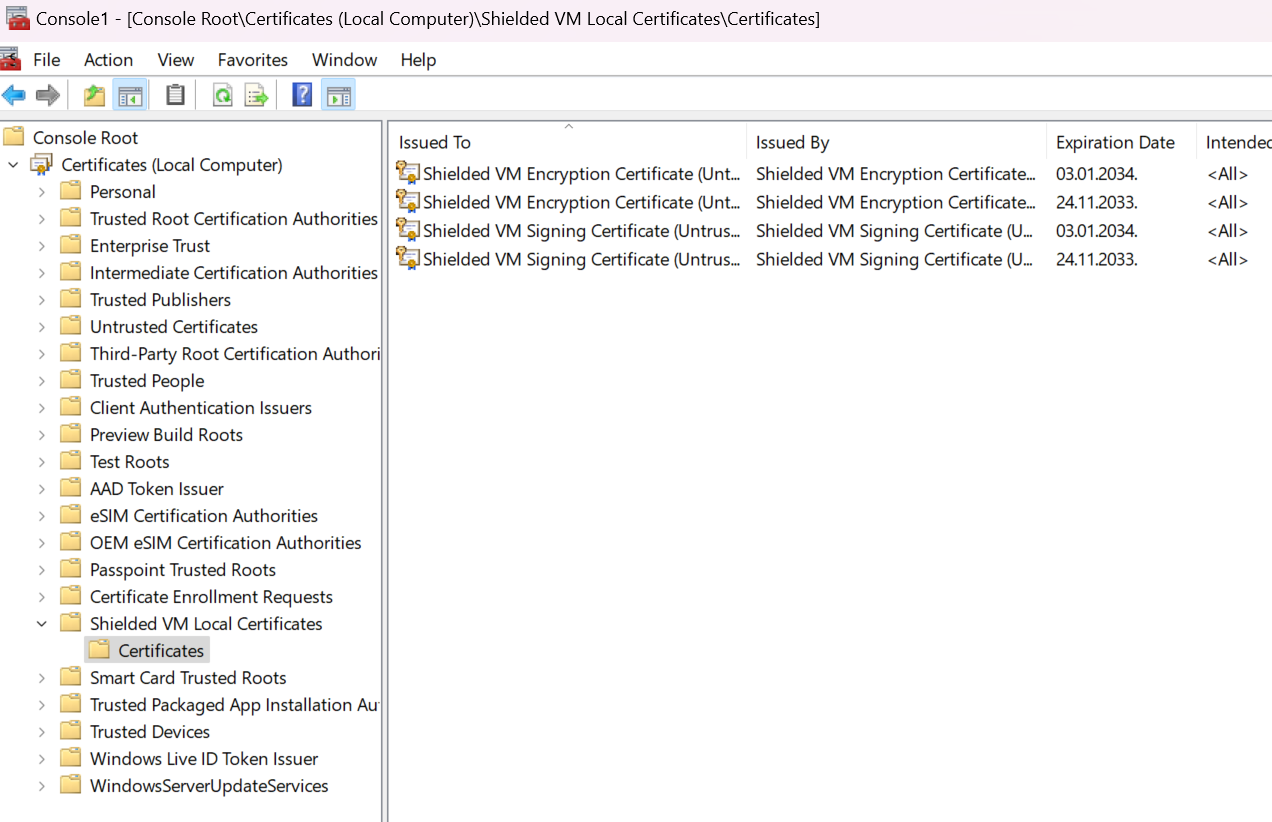
In my case, I already have two certificates in that folder, these are Encryption and Signing certificates of that host. We will now add additional two certificates from the old host.
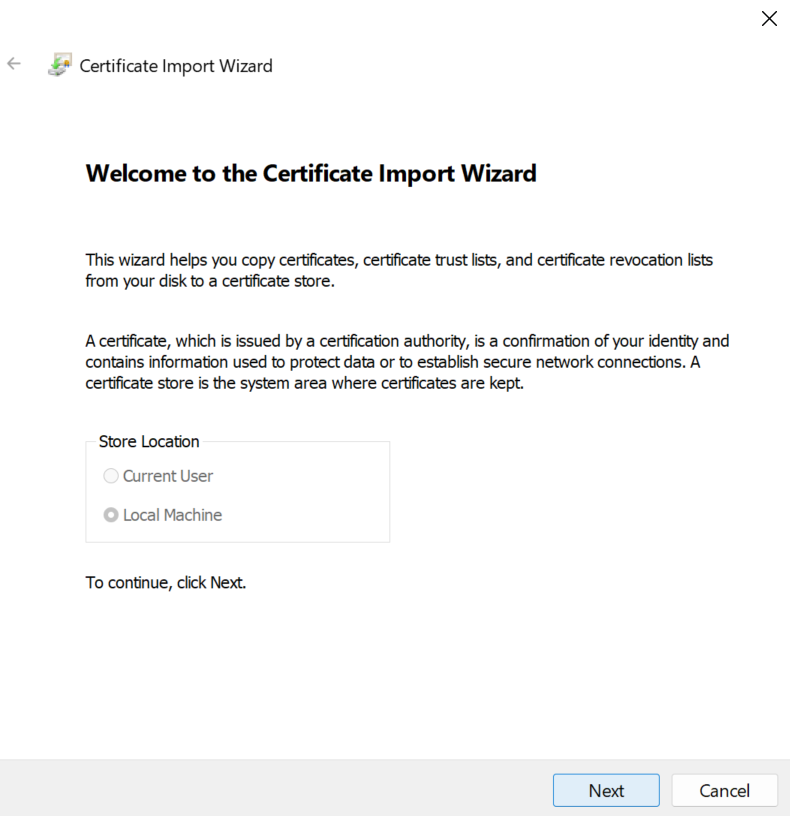
Click Next
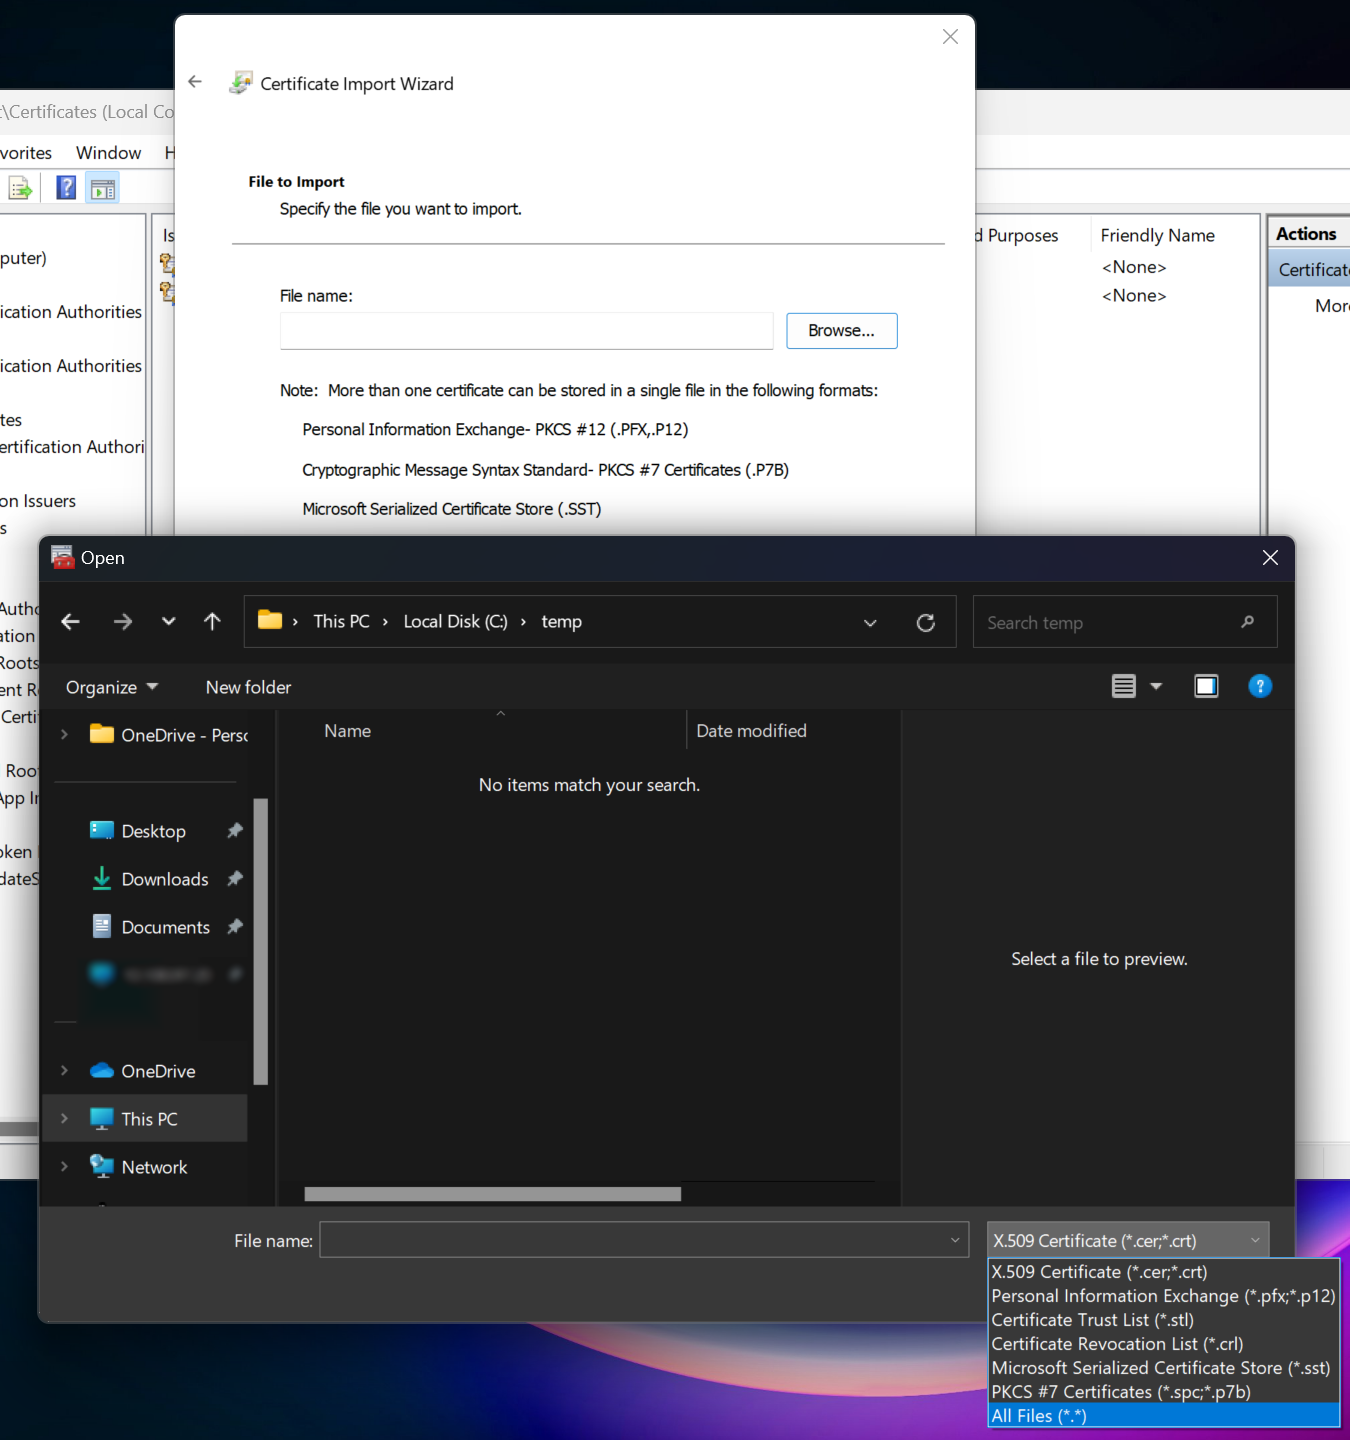
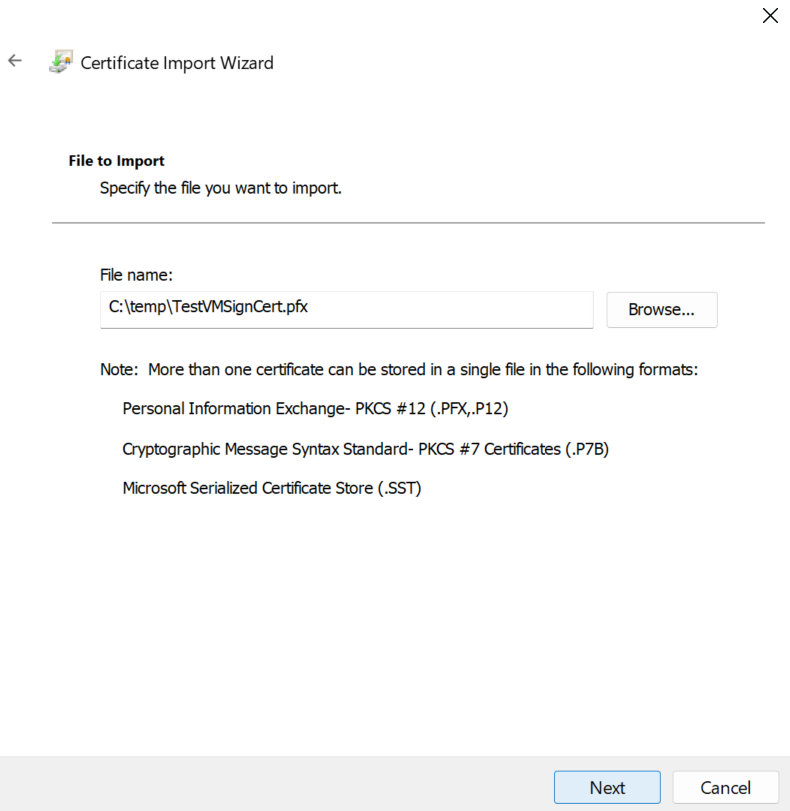
On next screen select Browse… Navigate to the directory where you copied certificates from old Hyper-V host and in the bottom left of Open window select all files. You certs will now appear in the window – select one and press Open
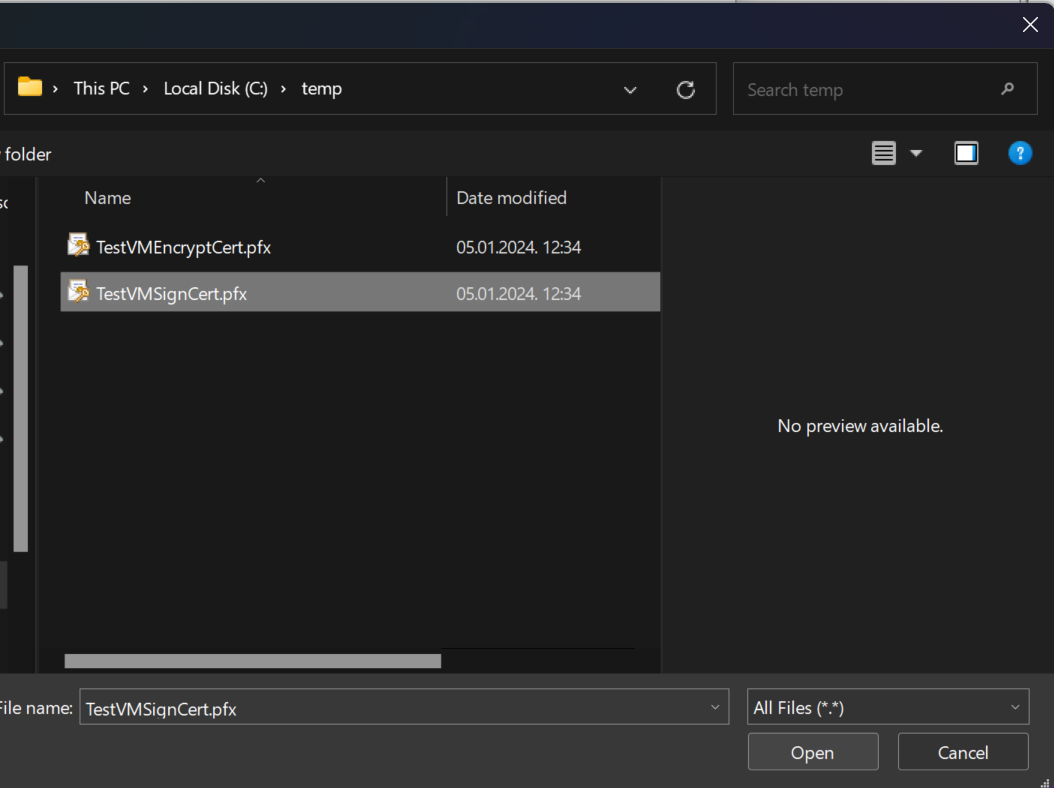
Next
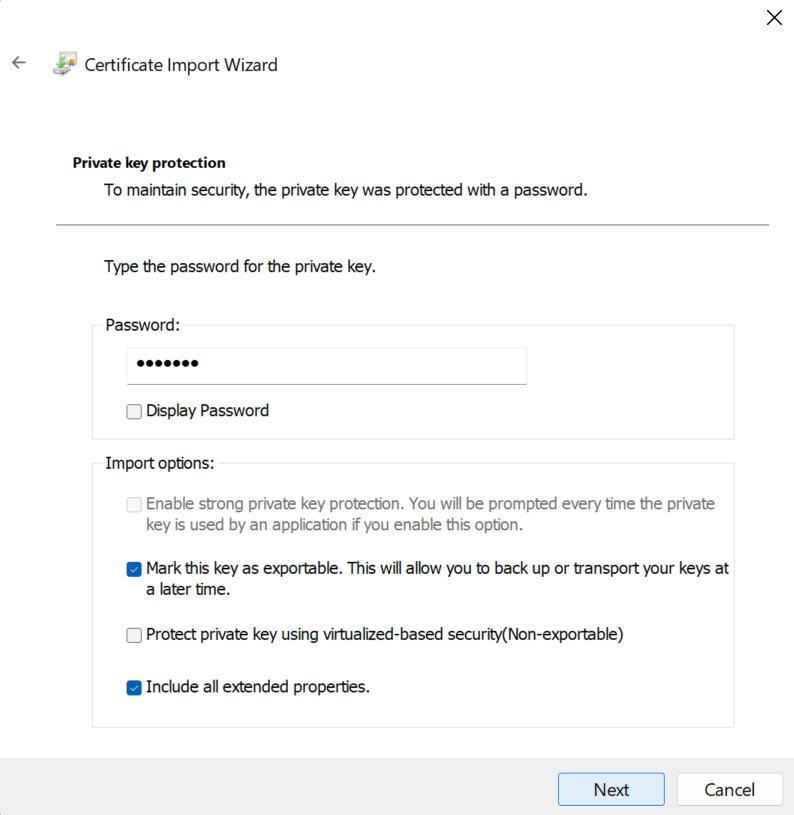
Enter password you defined at export, select Mark this key as exportable and press Next
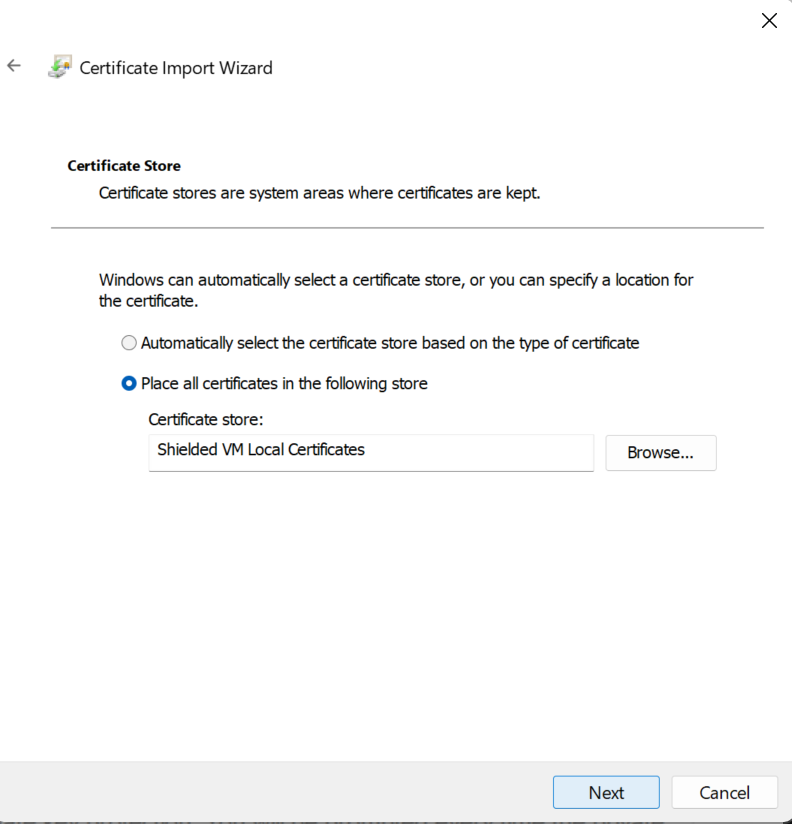
Certificate store should be Shielded VM Local Certificates – Next
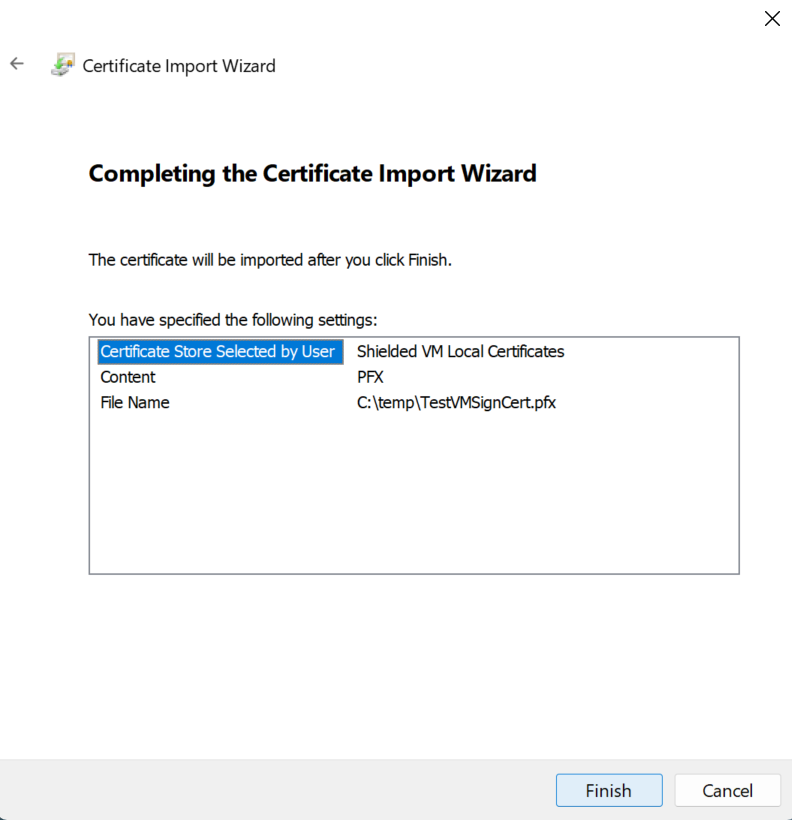
Finish
Import was success
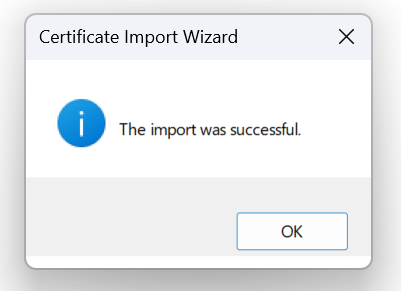
Repeat the process for second certificate. In the end, your cert store should have four certificates in it
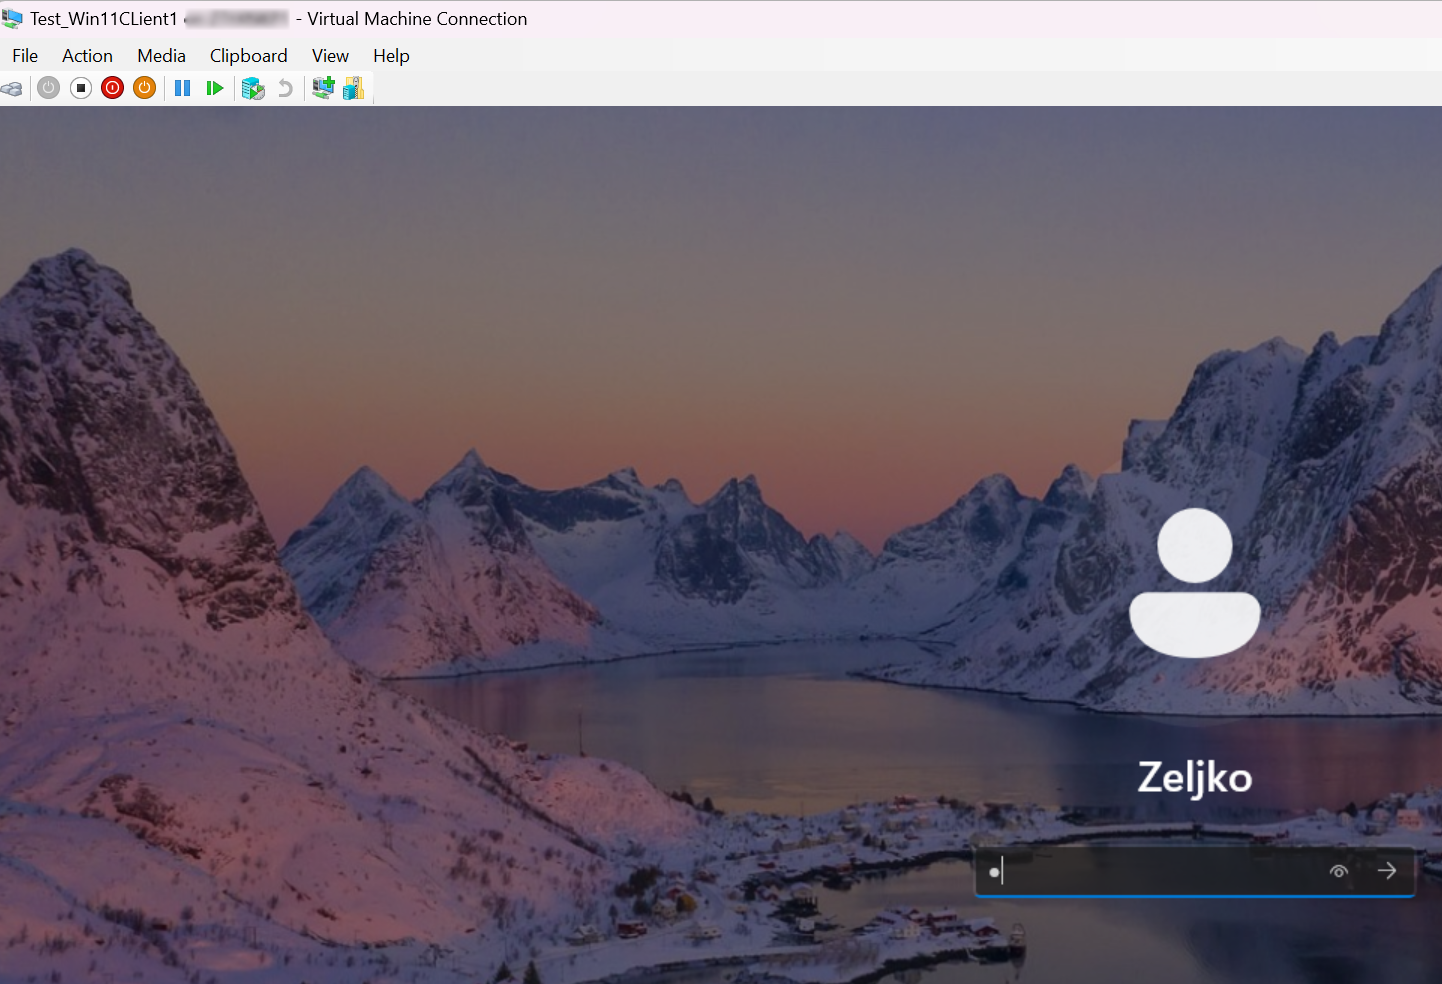
Let’s now try and start VM that gave “The key protector could not be unwrapped” error on new Hyper-V host.
Success, machine now starts on new Hyper-V host
Conclusion
This should be standard procedure for all the new VMs with TPM that you create and wish to export and backup modern VMs.