Ok, so we have done a lot of work, and we know how to establish a lot of services in Windows Server now, one thing that we need for our production environment is a solid backup solution. In my everyday work I use a lot of various solutions (Veeam, DPM…) and I will also try to cover those if there is a time – today we are going to focus how to establish Nakivo in our environment.
Before we begin
As with all of my guides – this one is NOT sponsored by anyone. I write about solutions I use, and this is one of them.
In this short series I will be covering installation, configuration – backup and recovery with Nakivo.
Nakivo can cover many other environment (VMware, cloud…) but this series will cover Hyper-V and will complement my Server Basics series.
Prerequisites
I have two production servers with Hyper-V installed NUC1 and NUC2 – on both of these server I have simple lab configured, mostly with HA services enabled.
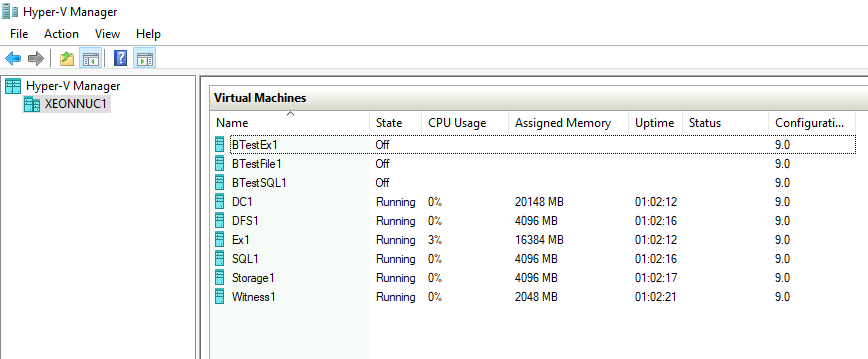
We will be configuring backup for NUC1 today. I also added three extra machines – BTestEx1 (single Exchange installation with all the default settings), BTestFile1 (single File server installation) and BTestSQL1 (single SQL 2017 installation with all the default settings).
Why I say with all the default settings? Paths for the DBs, Logs and configuration files for both Exchange and SQL are not touched, they are default as offered by installation.
Other than these three machines all other machines have some type of HA configured (SQL AlwaysON, Exchange DAG, Storage Spaces with iSCSI Targets…) and DC ofcourse. This whole LAB is inside domain.
Backup Machine
I installed Windows Server 2019 DTCNTR on separate NUC – NUC4.
We will be setting up Nakivo inside VM called Backup1. I don’t have anything special planned – I have one system drive on which Nakivo will be installed, and additional 400GB disk which will take backups.
I really don’t have any recommendations on minimal/optimal hardware configurations for your VM where you will be installing Nakivo (or any other backup software).
Why? Because, it is not universal solution, your workloads and needs are different from mine, and you will really need to calculate your hardware, network and disk space needs. Also, RTO (Recovery Time Objective) and RPO (Recovery Point Objective) differ from company to company and between business types.
Here is a link from Nakivo with deployment requirements from Nakivo:
https://helpcenter.nakivo.com/display/NH/Deployment+Requirements
My Nakivo Backup virtual machine will be inside domain, with the rest of the lab.
Installation
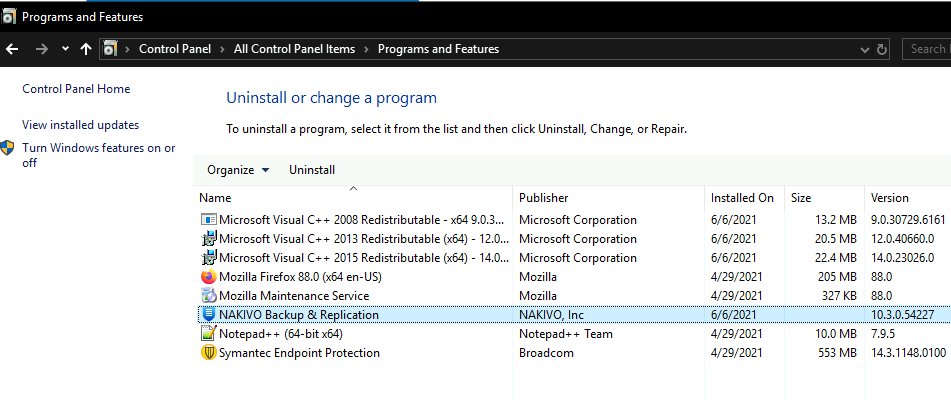
Here you can download free triall of Nakivo backup and replication 10.3 – https://www.nakivo.com/resources/download/trial-download/ (at the time of writing this guide). You need Windows/Hyper-V installer.
Here is official documentation on the subject, if you need more info – https://helpcenter.nakivo.com/display/NH/Installing+on+Windows
Again, I’m doing this installation in Windows Server 2019 DTCNTR VM on Hyper-V on separate server. I’m logged in as domain administrator (I also set it up as local administrator for backup1 VM).
Backup1 VM also has attached (local) disk with 400GB in size which will serve as a backup repository.
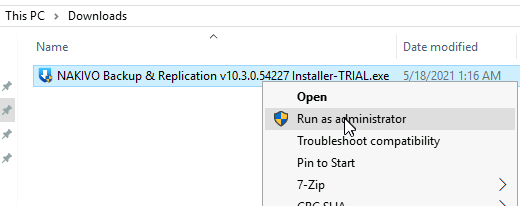
After download is done, right click on downloaded Nakivo installation file, select Run as Administrator.
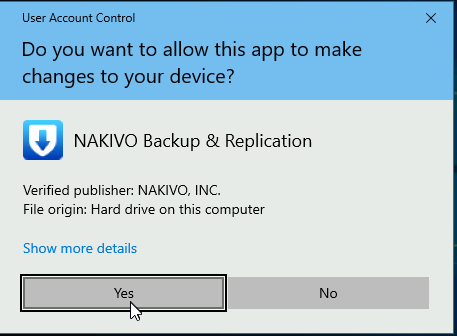
Select Yes
…

I want Full solution installed on Backup1 VM. I also specified my backup repository – it is D:\ drive which has 400GB of disk space, more than enough for the demo scenario.
I won’t be using any custom certificates, I think self-signed certificate will eb generated.
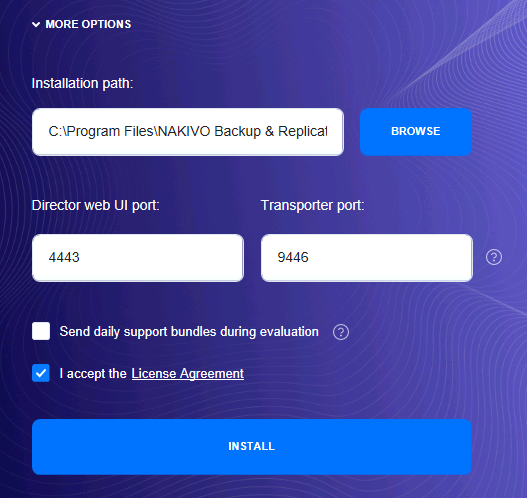
I also expanded MORE OPTIONS
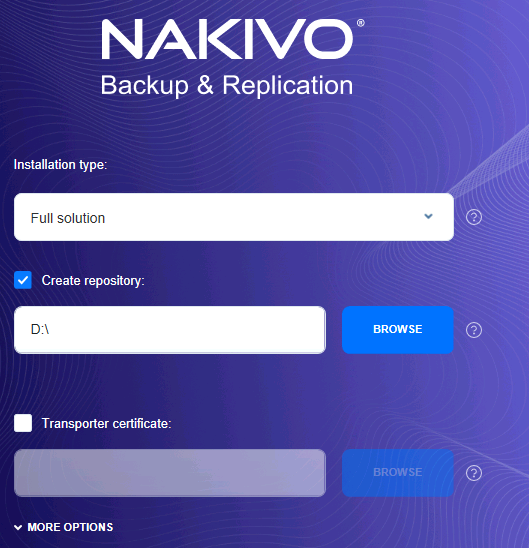
Under MORE OPTIONS I left installation path intact, and also Director web UI port and Transporter Port I left default.
I accept the License Agreement.
Install
In case you are wondering what is Director, Transporter and Repository in Nakivo, here is a quick explanation.
Director – is the central management instance of the product. It provides Web interface, locates and maintains the inventory, provides users with the ability to create and run jobs, manages Backup Repositories, Transporters, and other product elements. (c/p explanation from Nakivo documentation)
Transporter – does all of the heavy lifting. It performs backup, replication, and recovery, as well as data compression, deduplication, and encryption. An instance of the Transporter is automatically installed along with the Director to enable backup, replication, and recovery out of the box. The default Transporter is called the “Onboard Transporter”, and it must not be removed or added to the product by another Director. (c/p explanation from Nakivo documentation)
Backup Repository – is a folder used by NAKIVO Backup & Replication to store backups. When you add a Backup Repository to the product, NAKIVO Backup & Replication creates a folder named “NakivoBackup” in the specified location and keeps all backed up data and Backup Repository metadata in that folder.(c/p explanation from Nakivo documentation)
If you are interested in knowing more, please follow link below:
https://helpcenter.nakivo.com/display/NH/Architecture
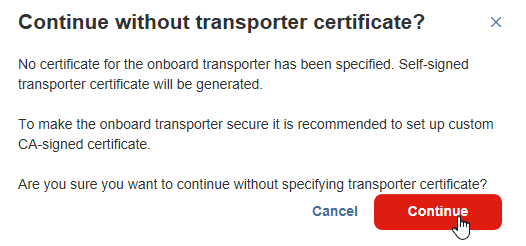
We haven’t specified certificated, so here is the additional warning – Continue
Installation went by so fast, I wasn’t able to screenshot it.
Finish & Open

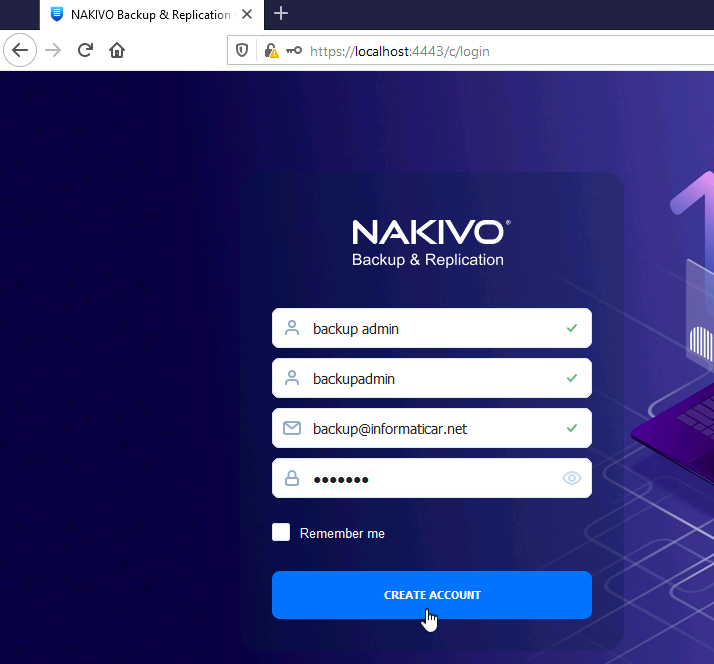
After you click on that, you will be redirected to https://localhost:4443
When you first see login page, you will need to create account, enter email address and select password. This is only local registration. Create Account
Ok, we are done with the installation
Configuration
Ok, we are done with the installation, and after we clicked on Create Account, we are now logged into Nakivo, and on our first screen
Inventory
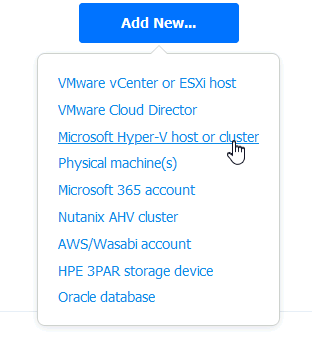
Inventory – Add New…
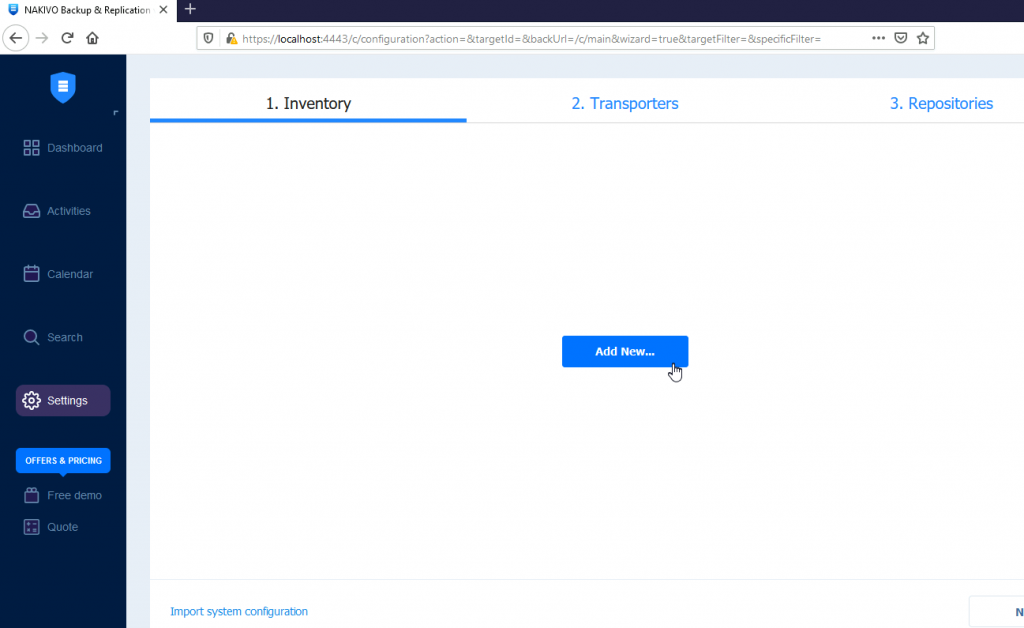
There are many options, but since this guide is about Hyper-V, we will select Microsoft Hyper-V host or cluster
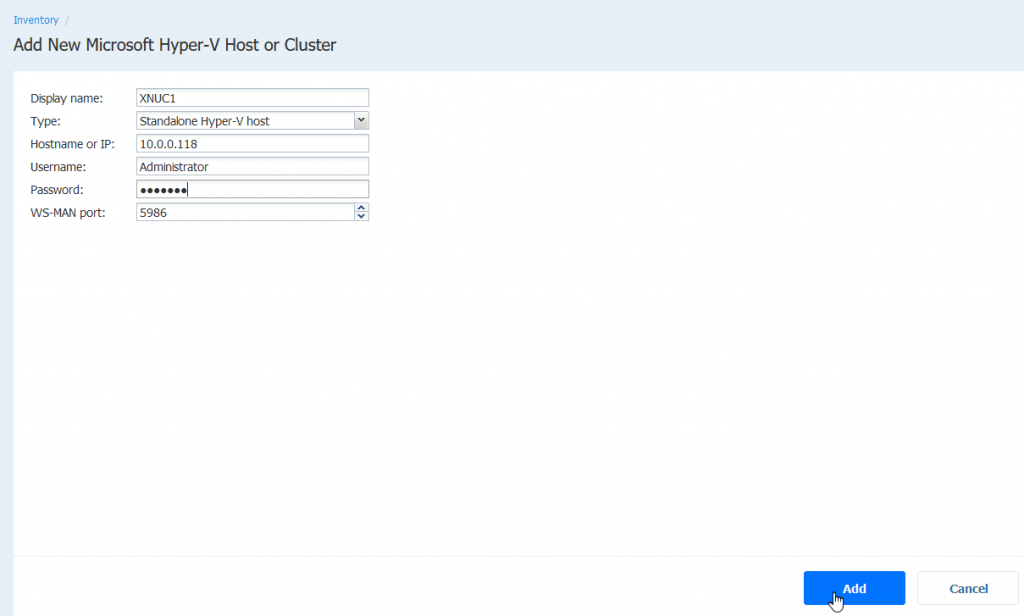
Enter display name, so you can recognize your Hyper-V host, my machine is Standalone Hyper-V host, it is not in cluster.
Enter IP address of the Hyper-V host you wish to backup, enter username and password (it should be local admin) and leave WS-MAN port as is, change it in case it is modified on your install – Add
…
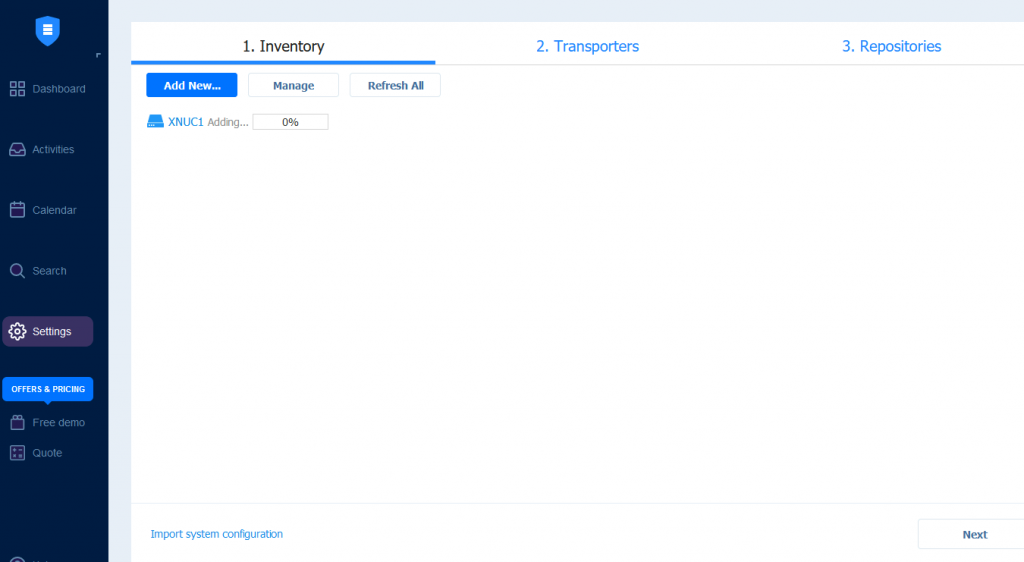
Chances are, your installation from the first try will not be successful
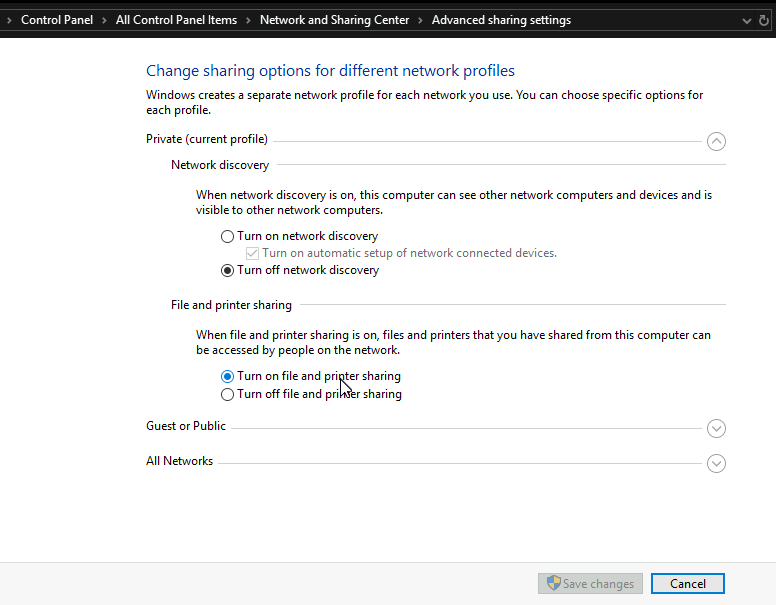
In order to add your Hyper-V host successfully to Nakivo inventory, there is a couple of things you need to do
Go to Control Panel | Network and Sharing Center | Change Advanced Sharing Settings | Turn on file and printer sharing
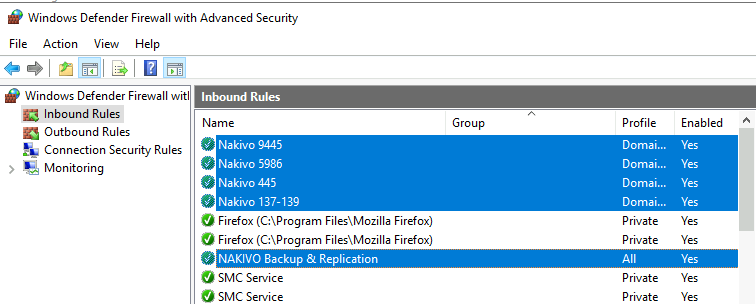
Also, we need to adjust a few Firewall settings on our Hyper-V host we wish to backup
Look here under Networking Requirements for more details –
https://helpcenter.nakivo.com/display/NH/Deployment+Requirements
Control Panel | Windows Defender Firewall | Advanced Settings
We need to add few Inbound ports:
Nakivo will create rule named “Nakivo Backup & Replication” (If it isn’t created, check if something changed or is it bug)
Under it there will be TCP orts 9446, 9448-10000 opened.
We need to add few more TCP ports in Inbound rules on our Hyper-V host we wish to backup (this is because I wish to backup file shares, AD, SQL, Exchange…).
TCP ports Inbound:
137-139
445
5986
9445
Now you can resume Hyper-V adding to your inventory
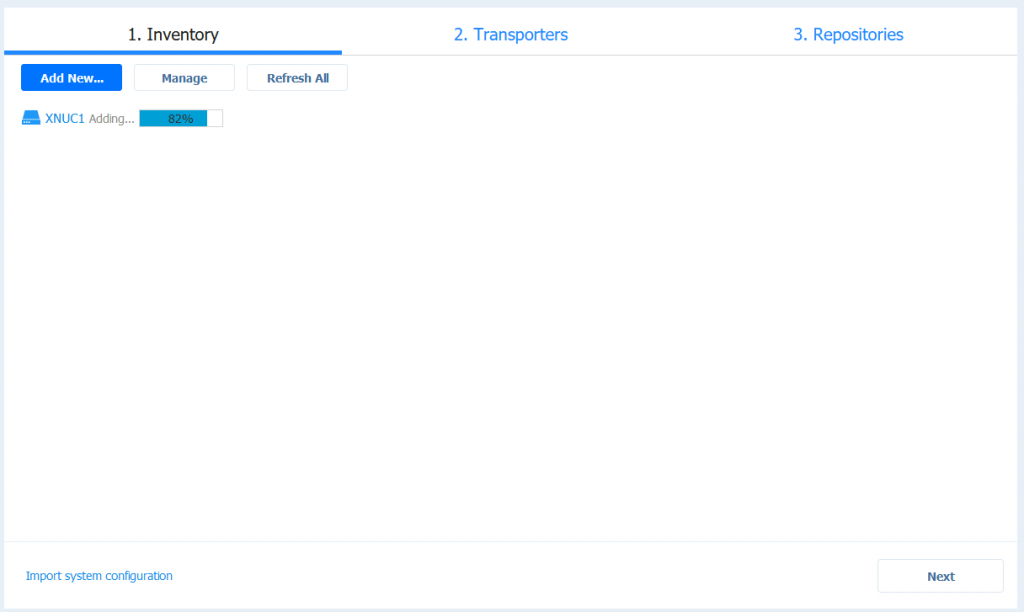
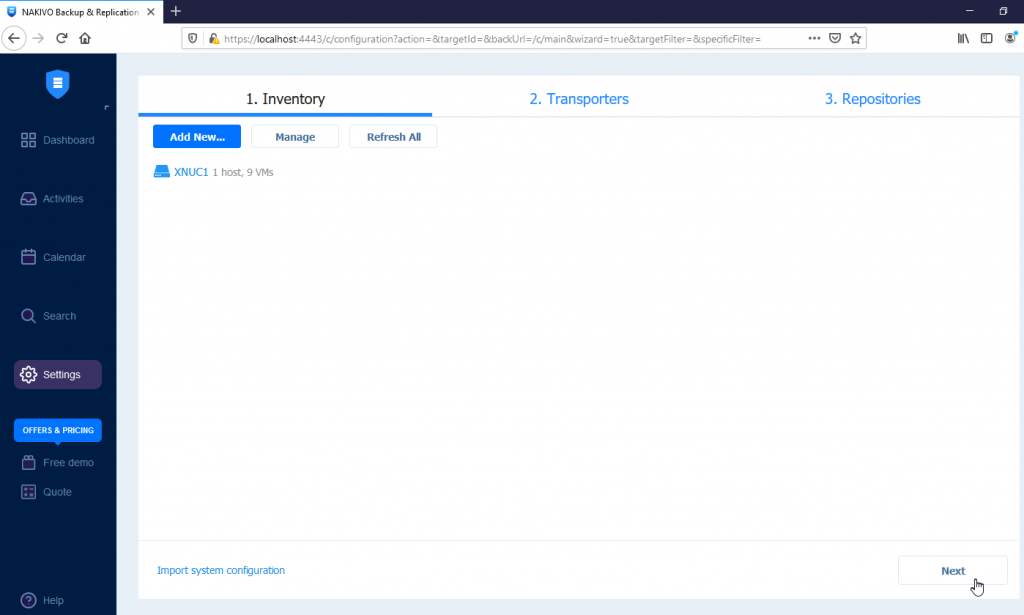
After some time we can go further, by clicking on Next
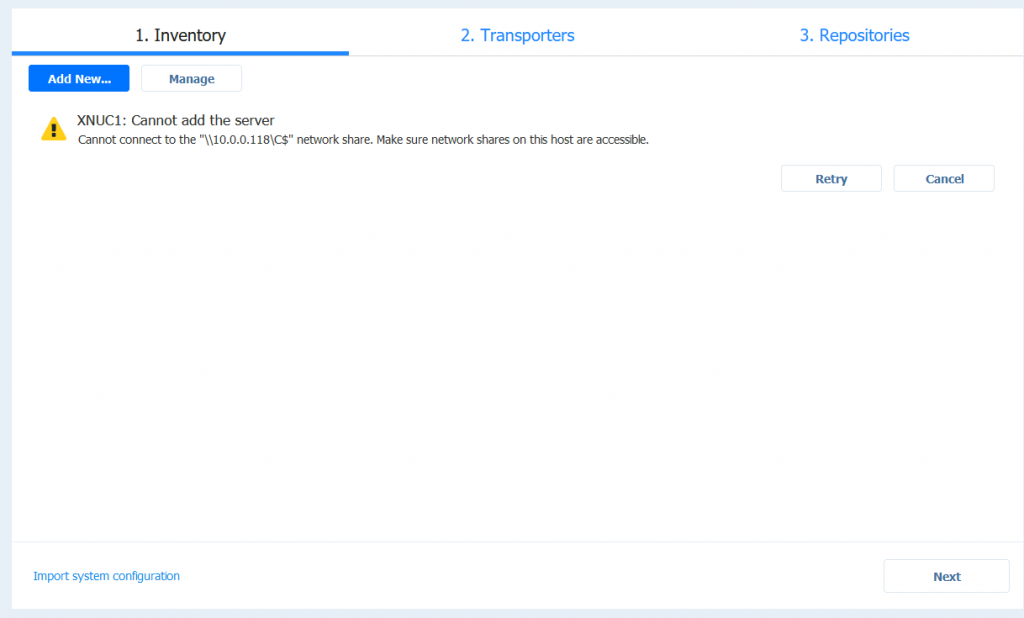
Some errors I encountered during Inventory add
In case you have errors, like the one below “Make sure network shares on this host are accessible“- make sure you have right IP address and enable File and Print sharing on Hyper-V host you wish to backup.
One more I got is ” Provided user account has insufficient permissions“
In that case – open regedit on Hyper-V host you wish to backup, navigate to HKEY_LOCAL_MACHINE\SOFTWARE\Microsoft\Windows\CurrentVersion\Policies\System
Create new DWORD value named LocalAccountTokenFilterPolicy and assign it value 1. Reboot machine and then repeat the procedure.
Transporters
There are some explanations on Transporters tab – Next
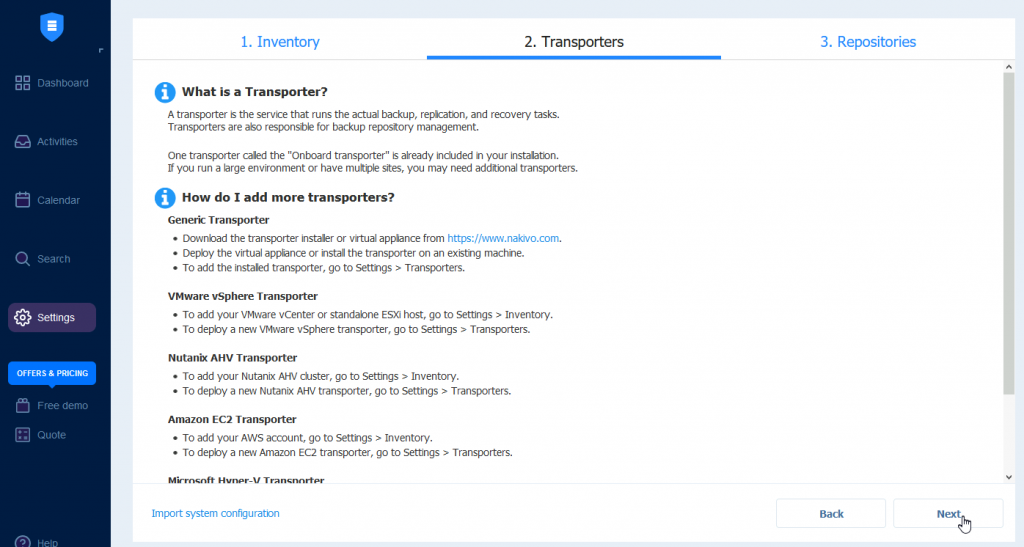
Transporter is already added to our Hyper-V host named XNUC1
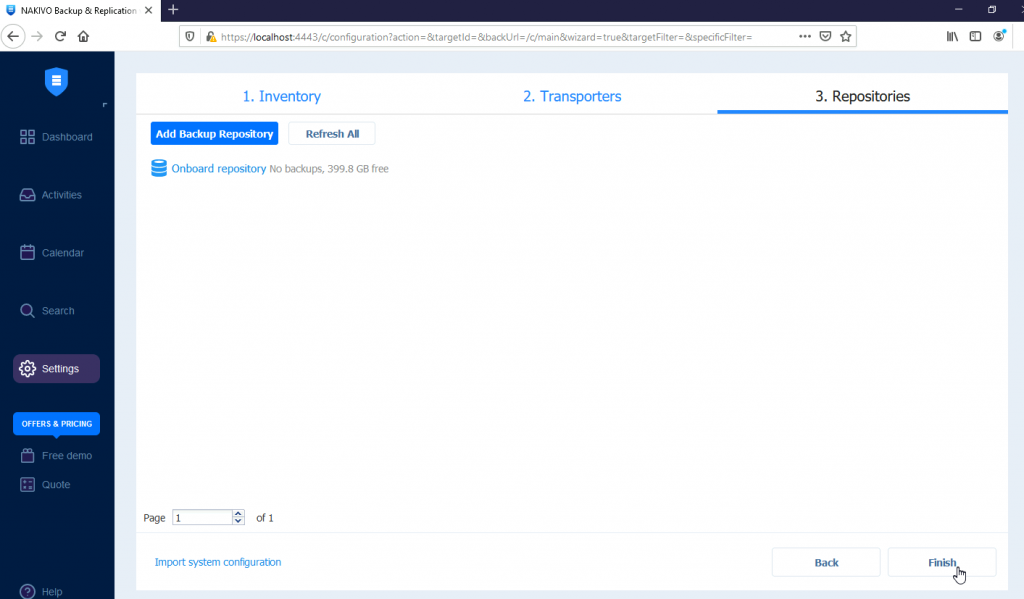
Repositories
We already added our first backup repository during installation phase, so that is that for initial config – Finish
After we are done with three initial steps, we are greeted with empty Dashboard.
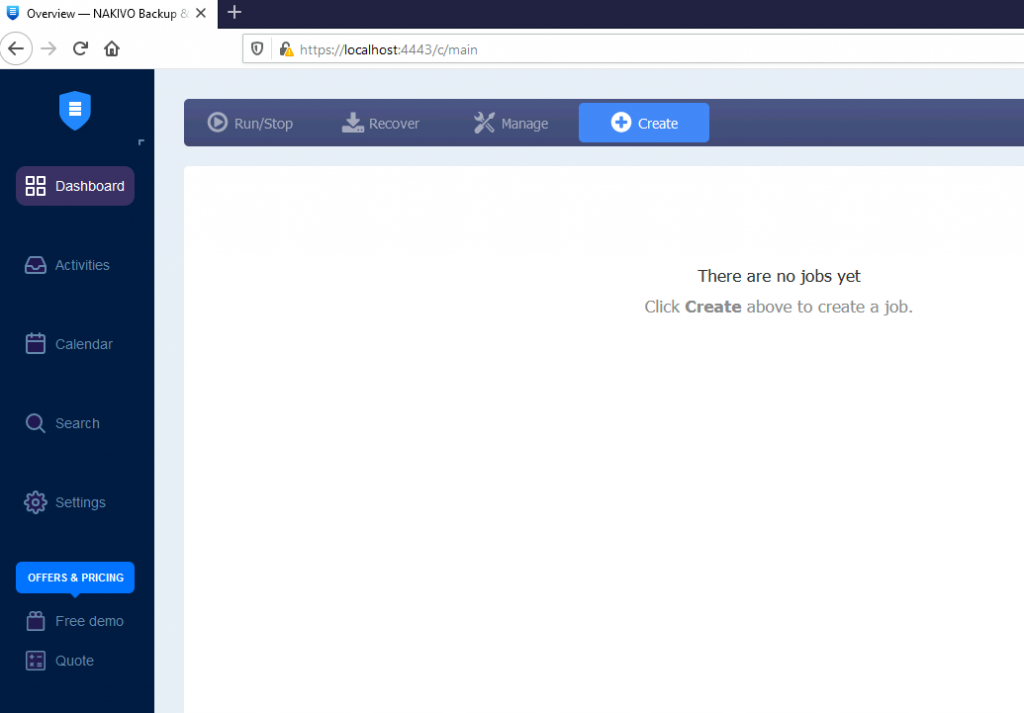
And this is where we will stop for this guide. We will define our backup jobs in the next guide, this one was only basic installation and configuration, by adding a new repo.
Conclusion
We successfully installed and configured our first Nakivo installation. In future guides we will cover backup and restore functions of Nakivo.