Since M-Files is a bit different concept, even simple things as saving document can be challenge. Let’s take a quick look on how to save or modify documents in M-Files.
Let’s start by saving document
Saving procedure
From Microsoft Office
You can save a document directly from Office by selecting M-Files from top of the menu – and click on – Save to M-Files
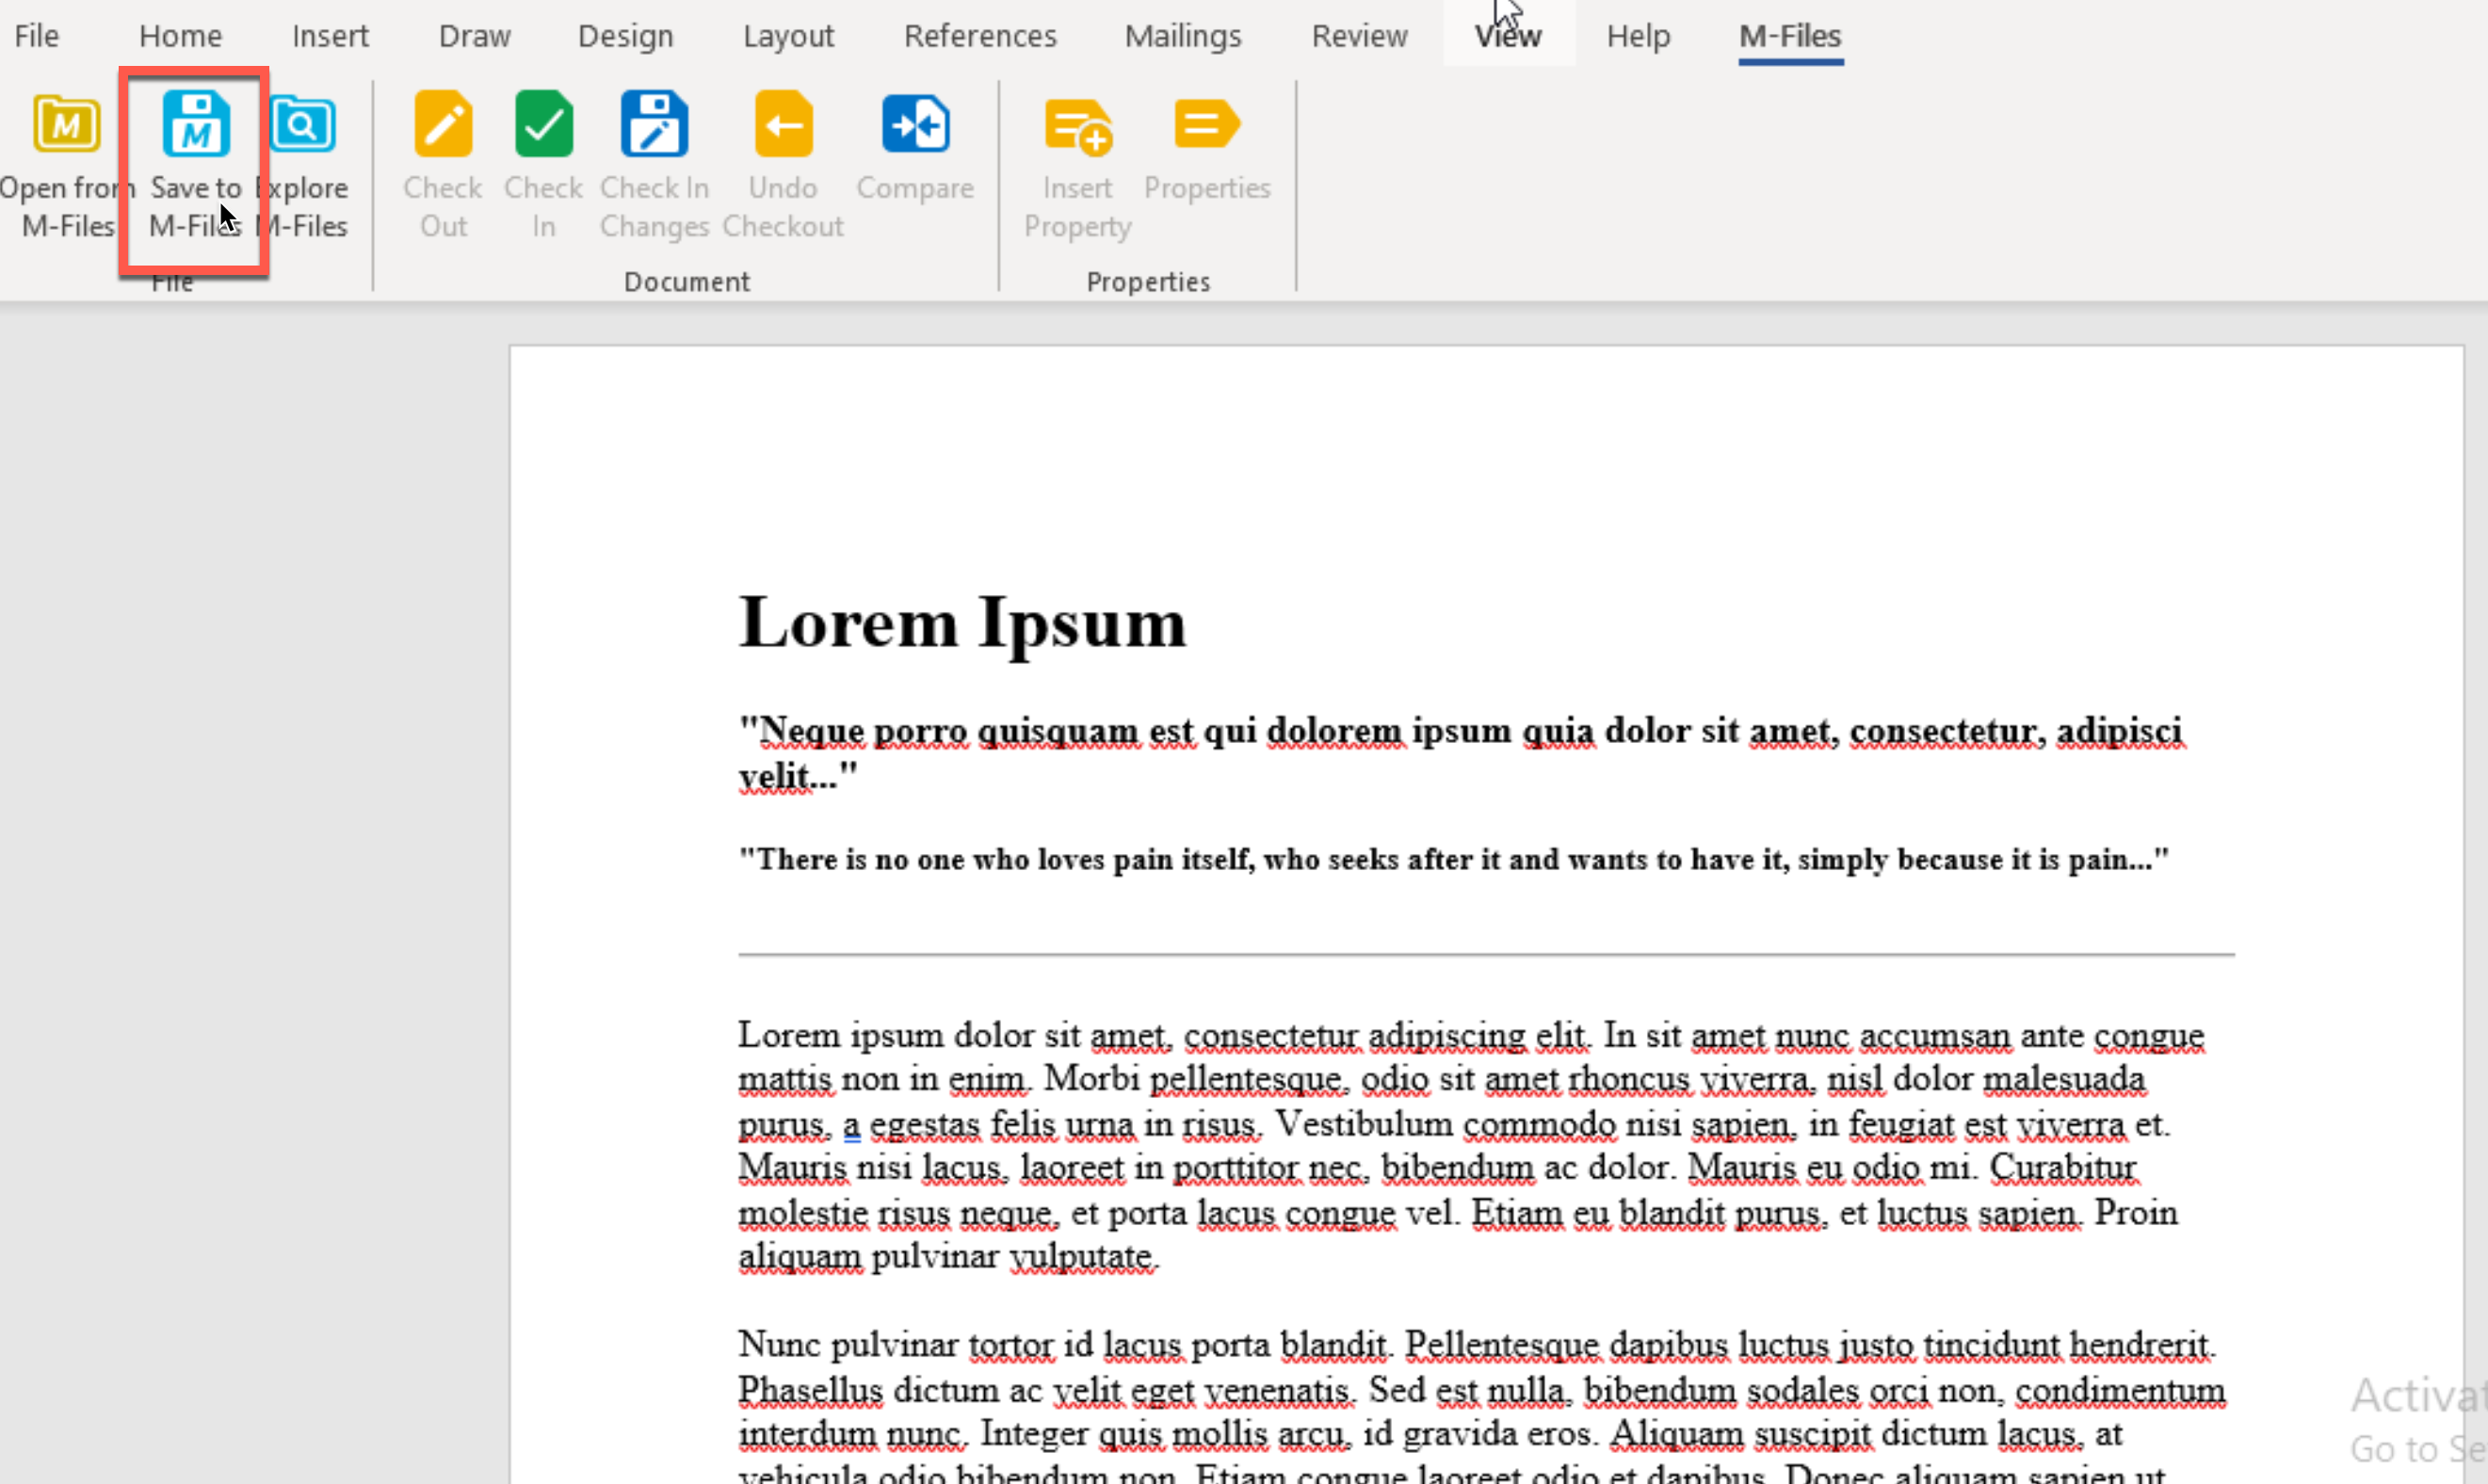
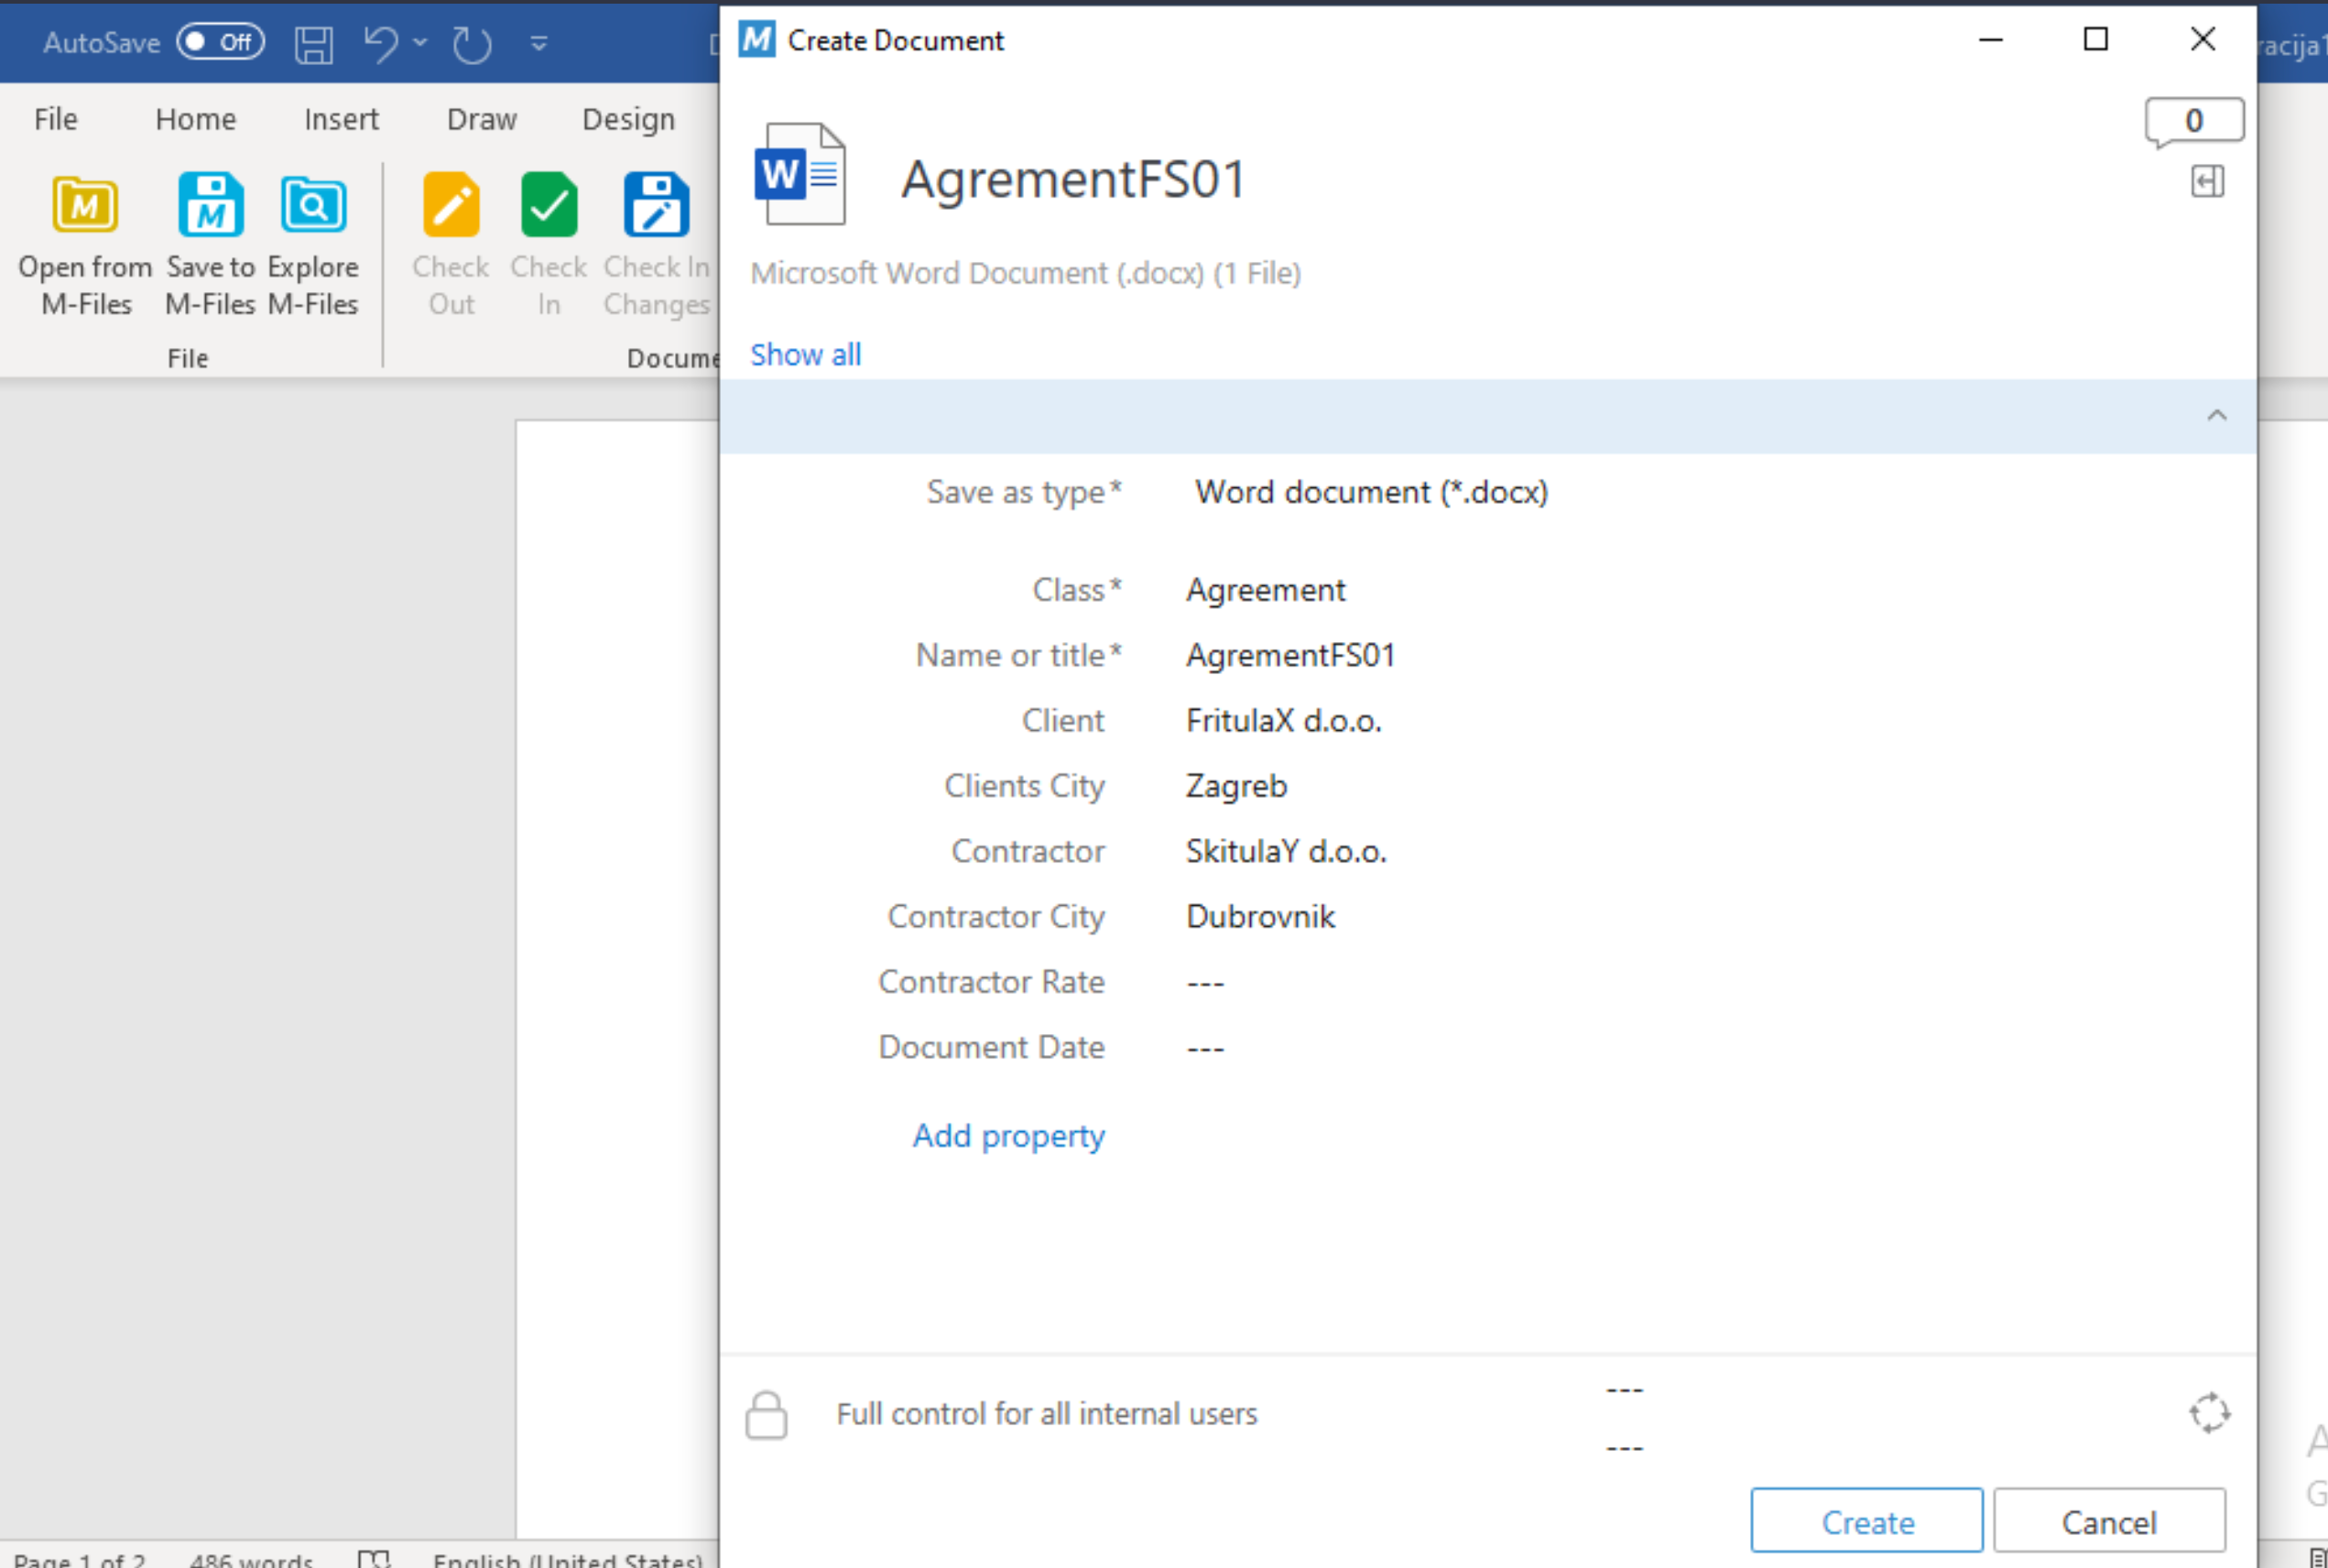
After you press Save to M-Files (and select Vault if you have few of them) pop-up will appear, so you can fill in metadata.
After that, when you are done with working on document you can press check in under M-Files menu. It will save changes and check in the document into M-Files, and then close it.
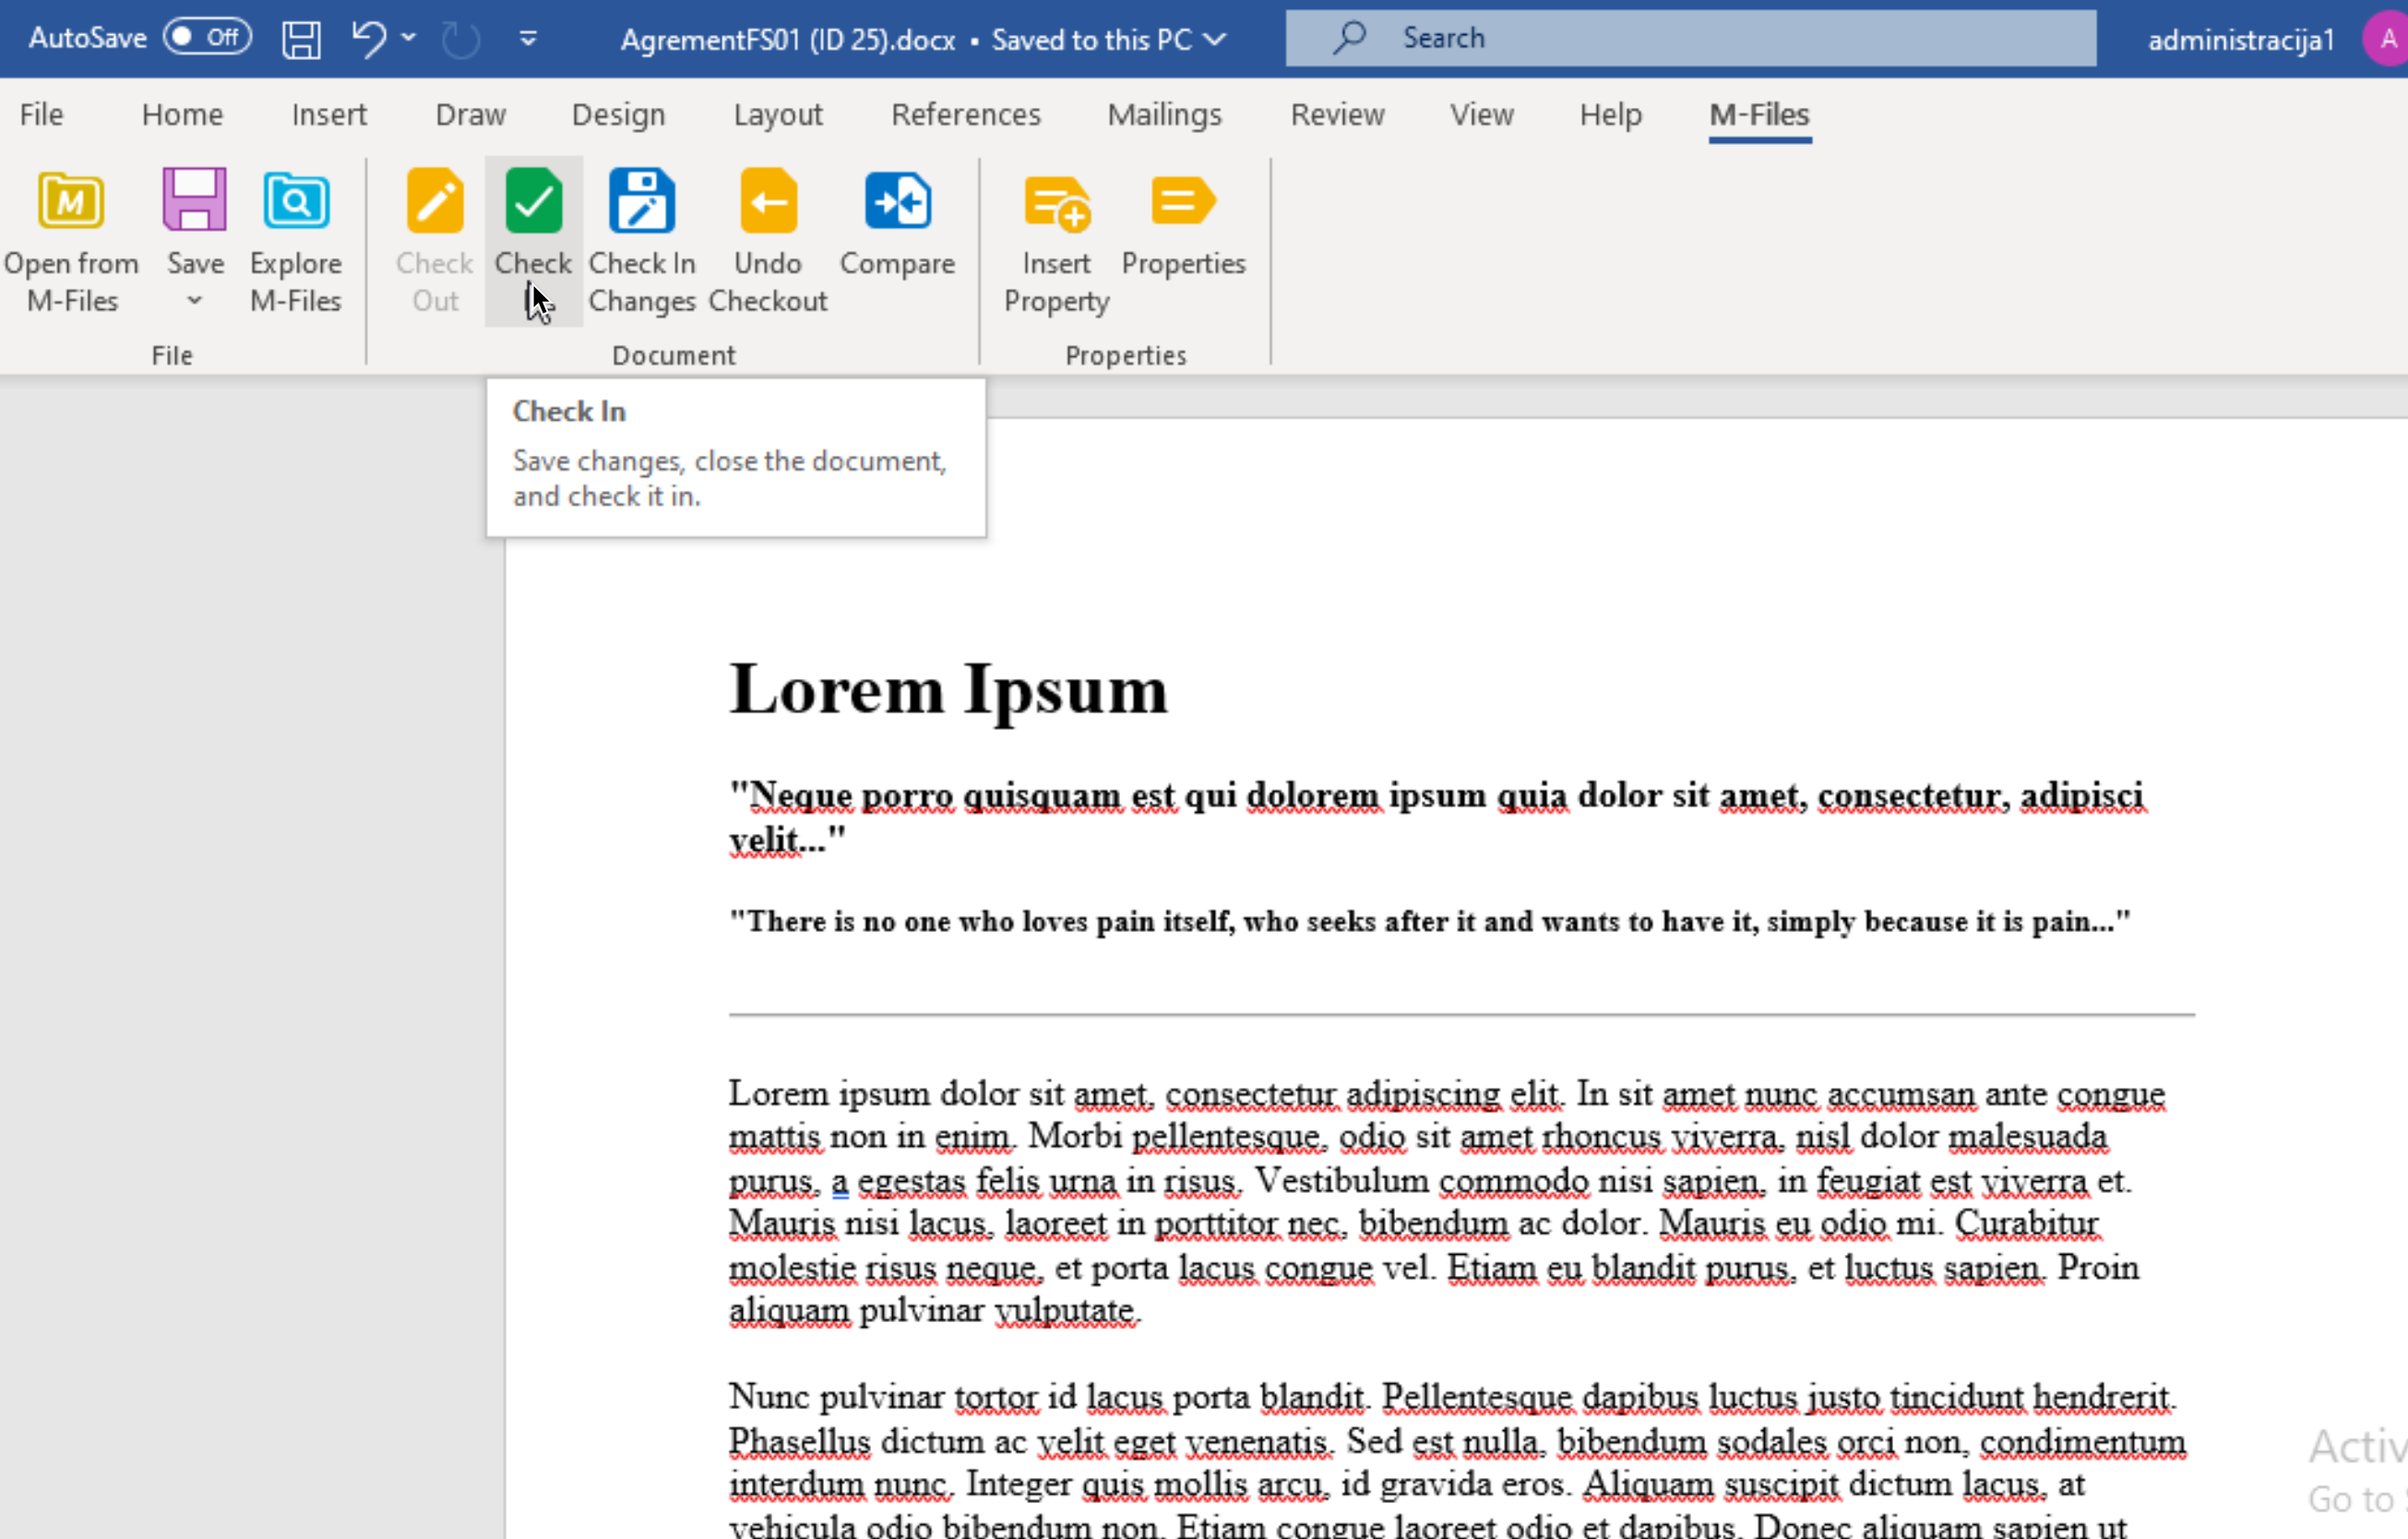
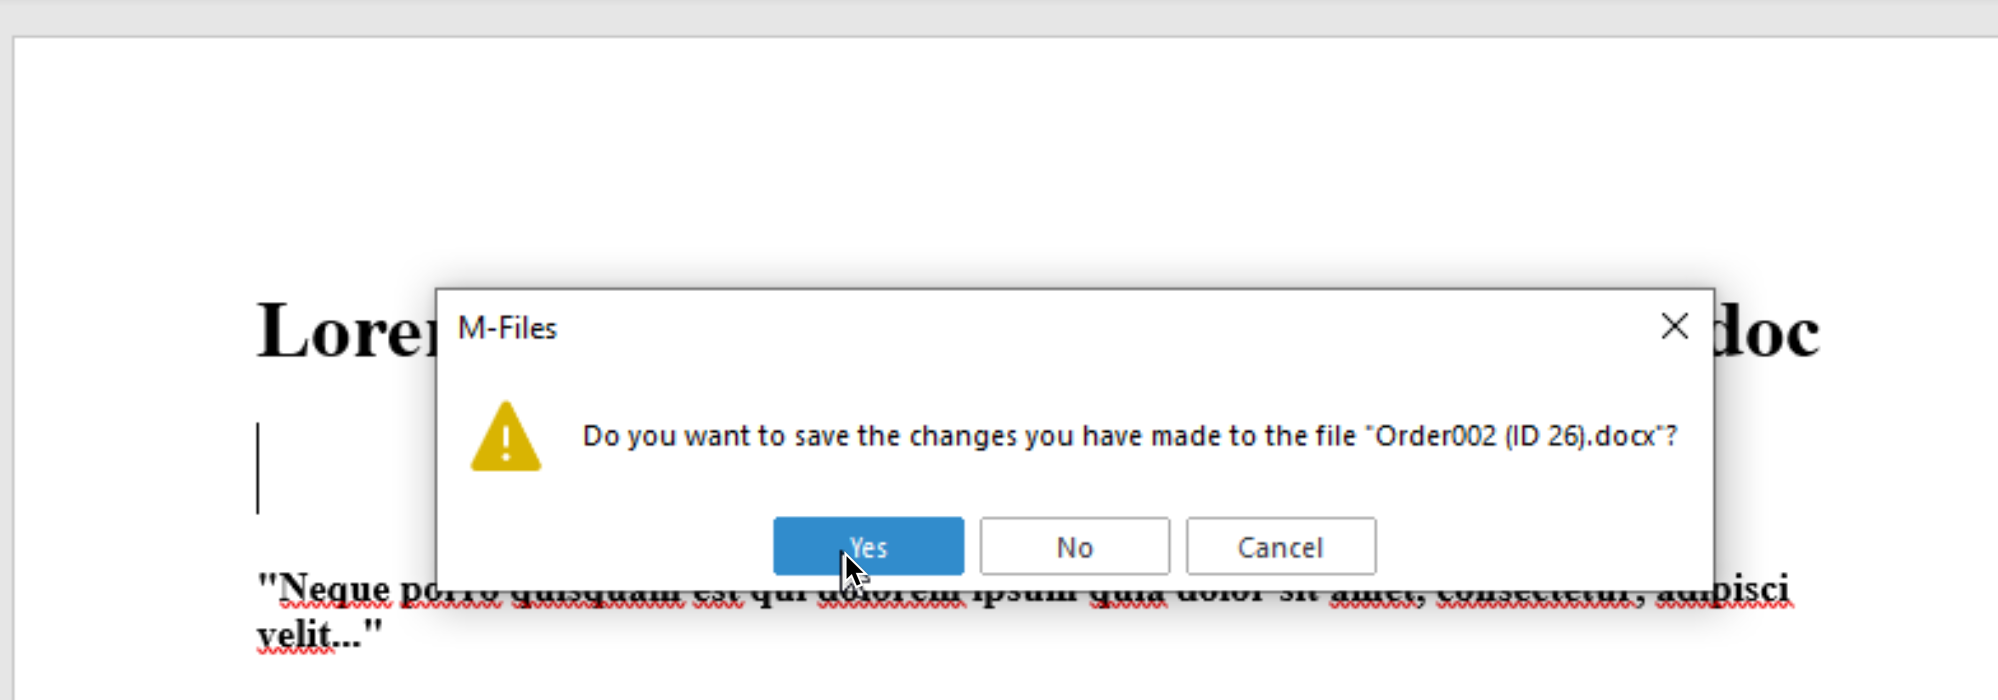
You can simply also once you first time save into M-Files just close the document – it will ask you to save and check it in.
From Folders/Desktop
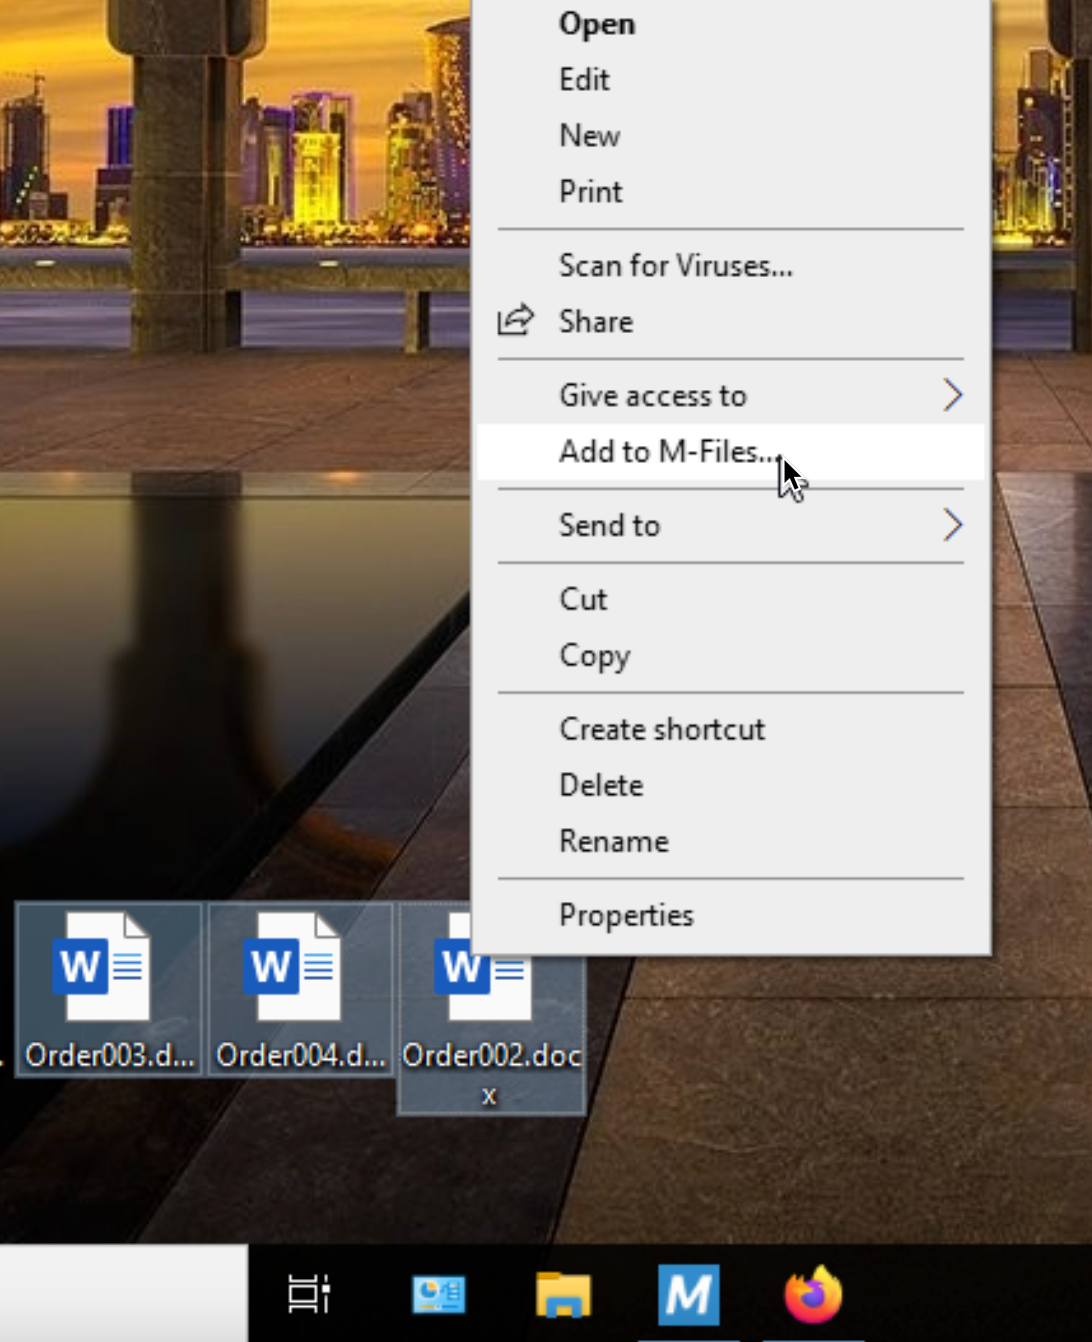
You can simply right click on document and select Add to M-Files…
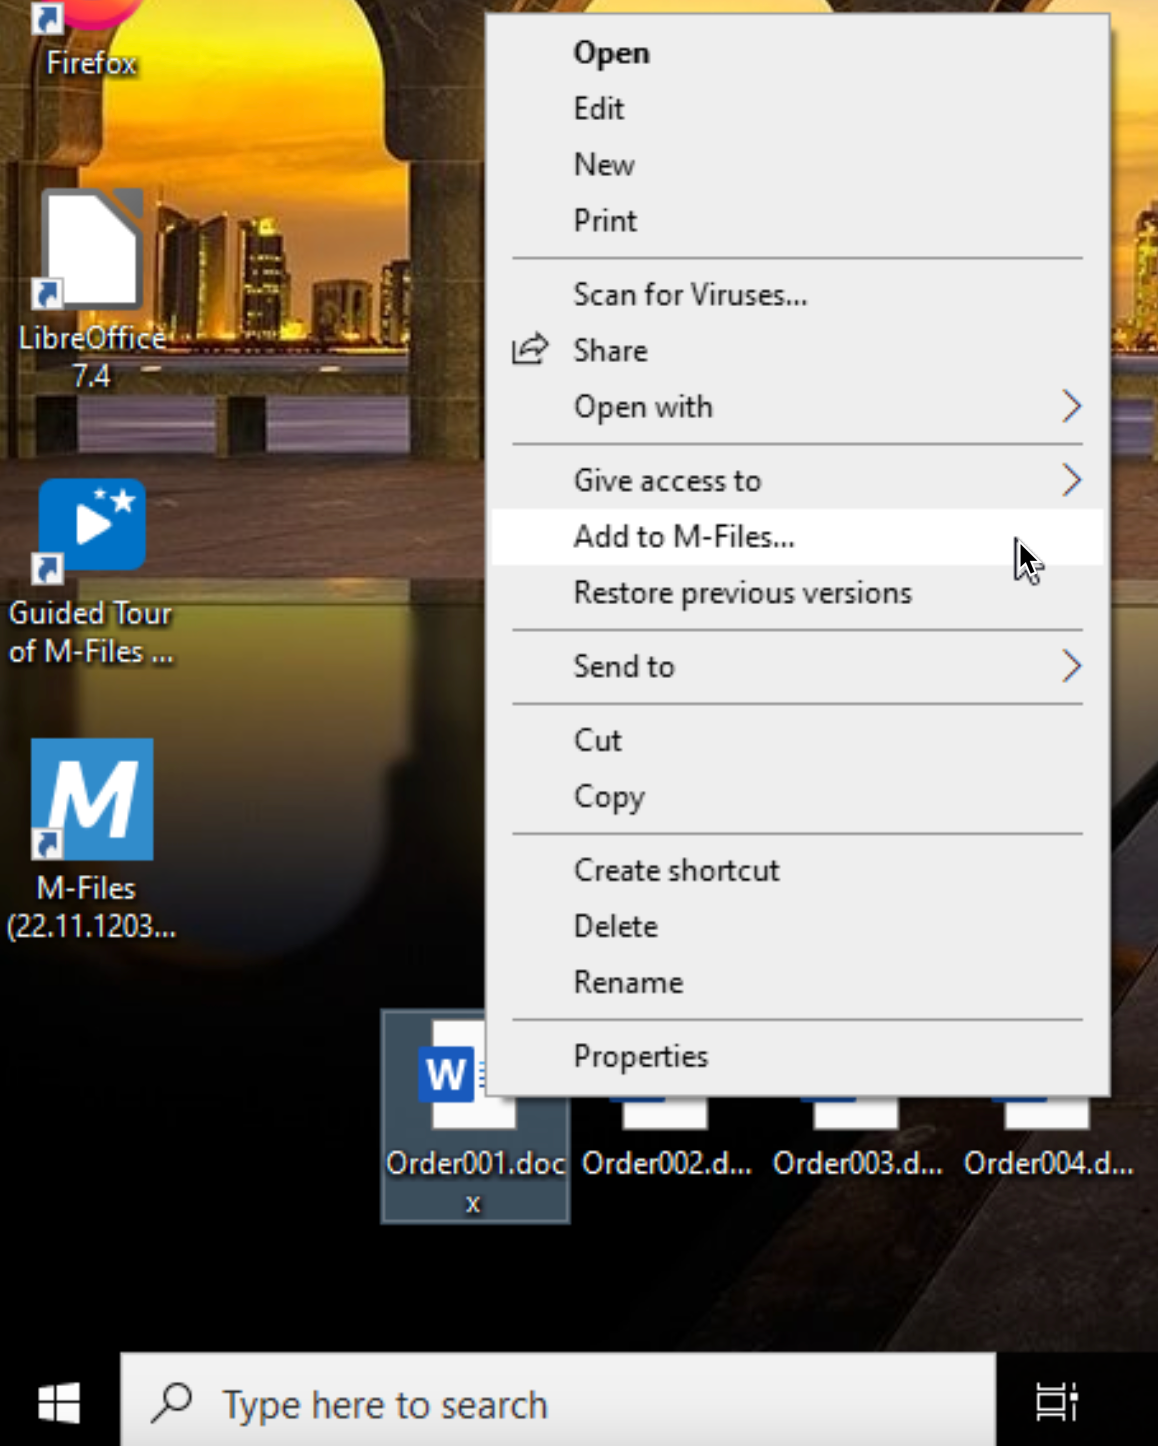
or you can just drag and drop it into M-Files… Result is the same…
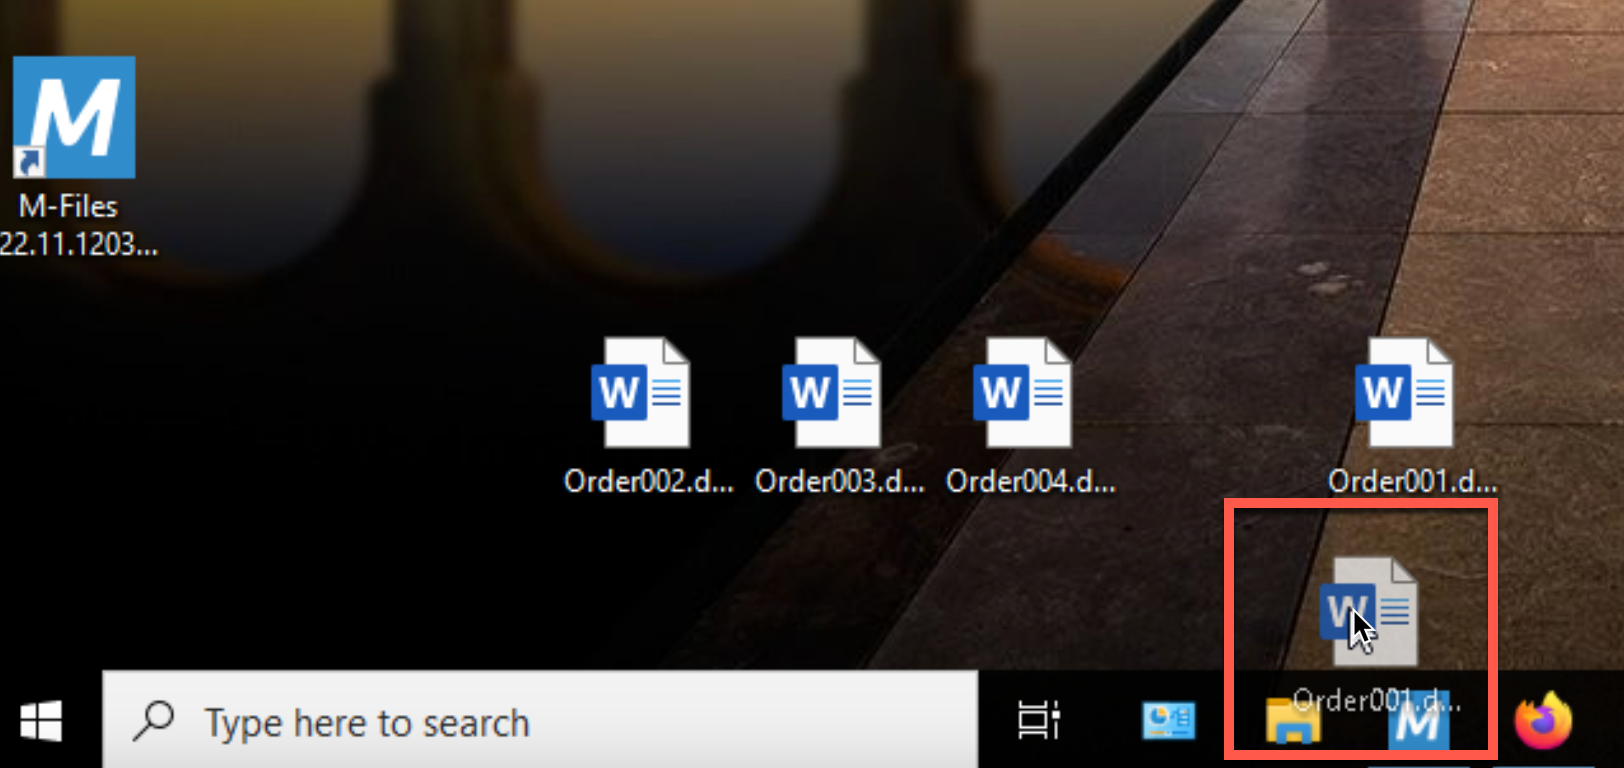
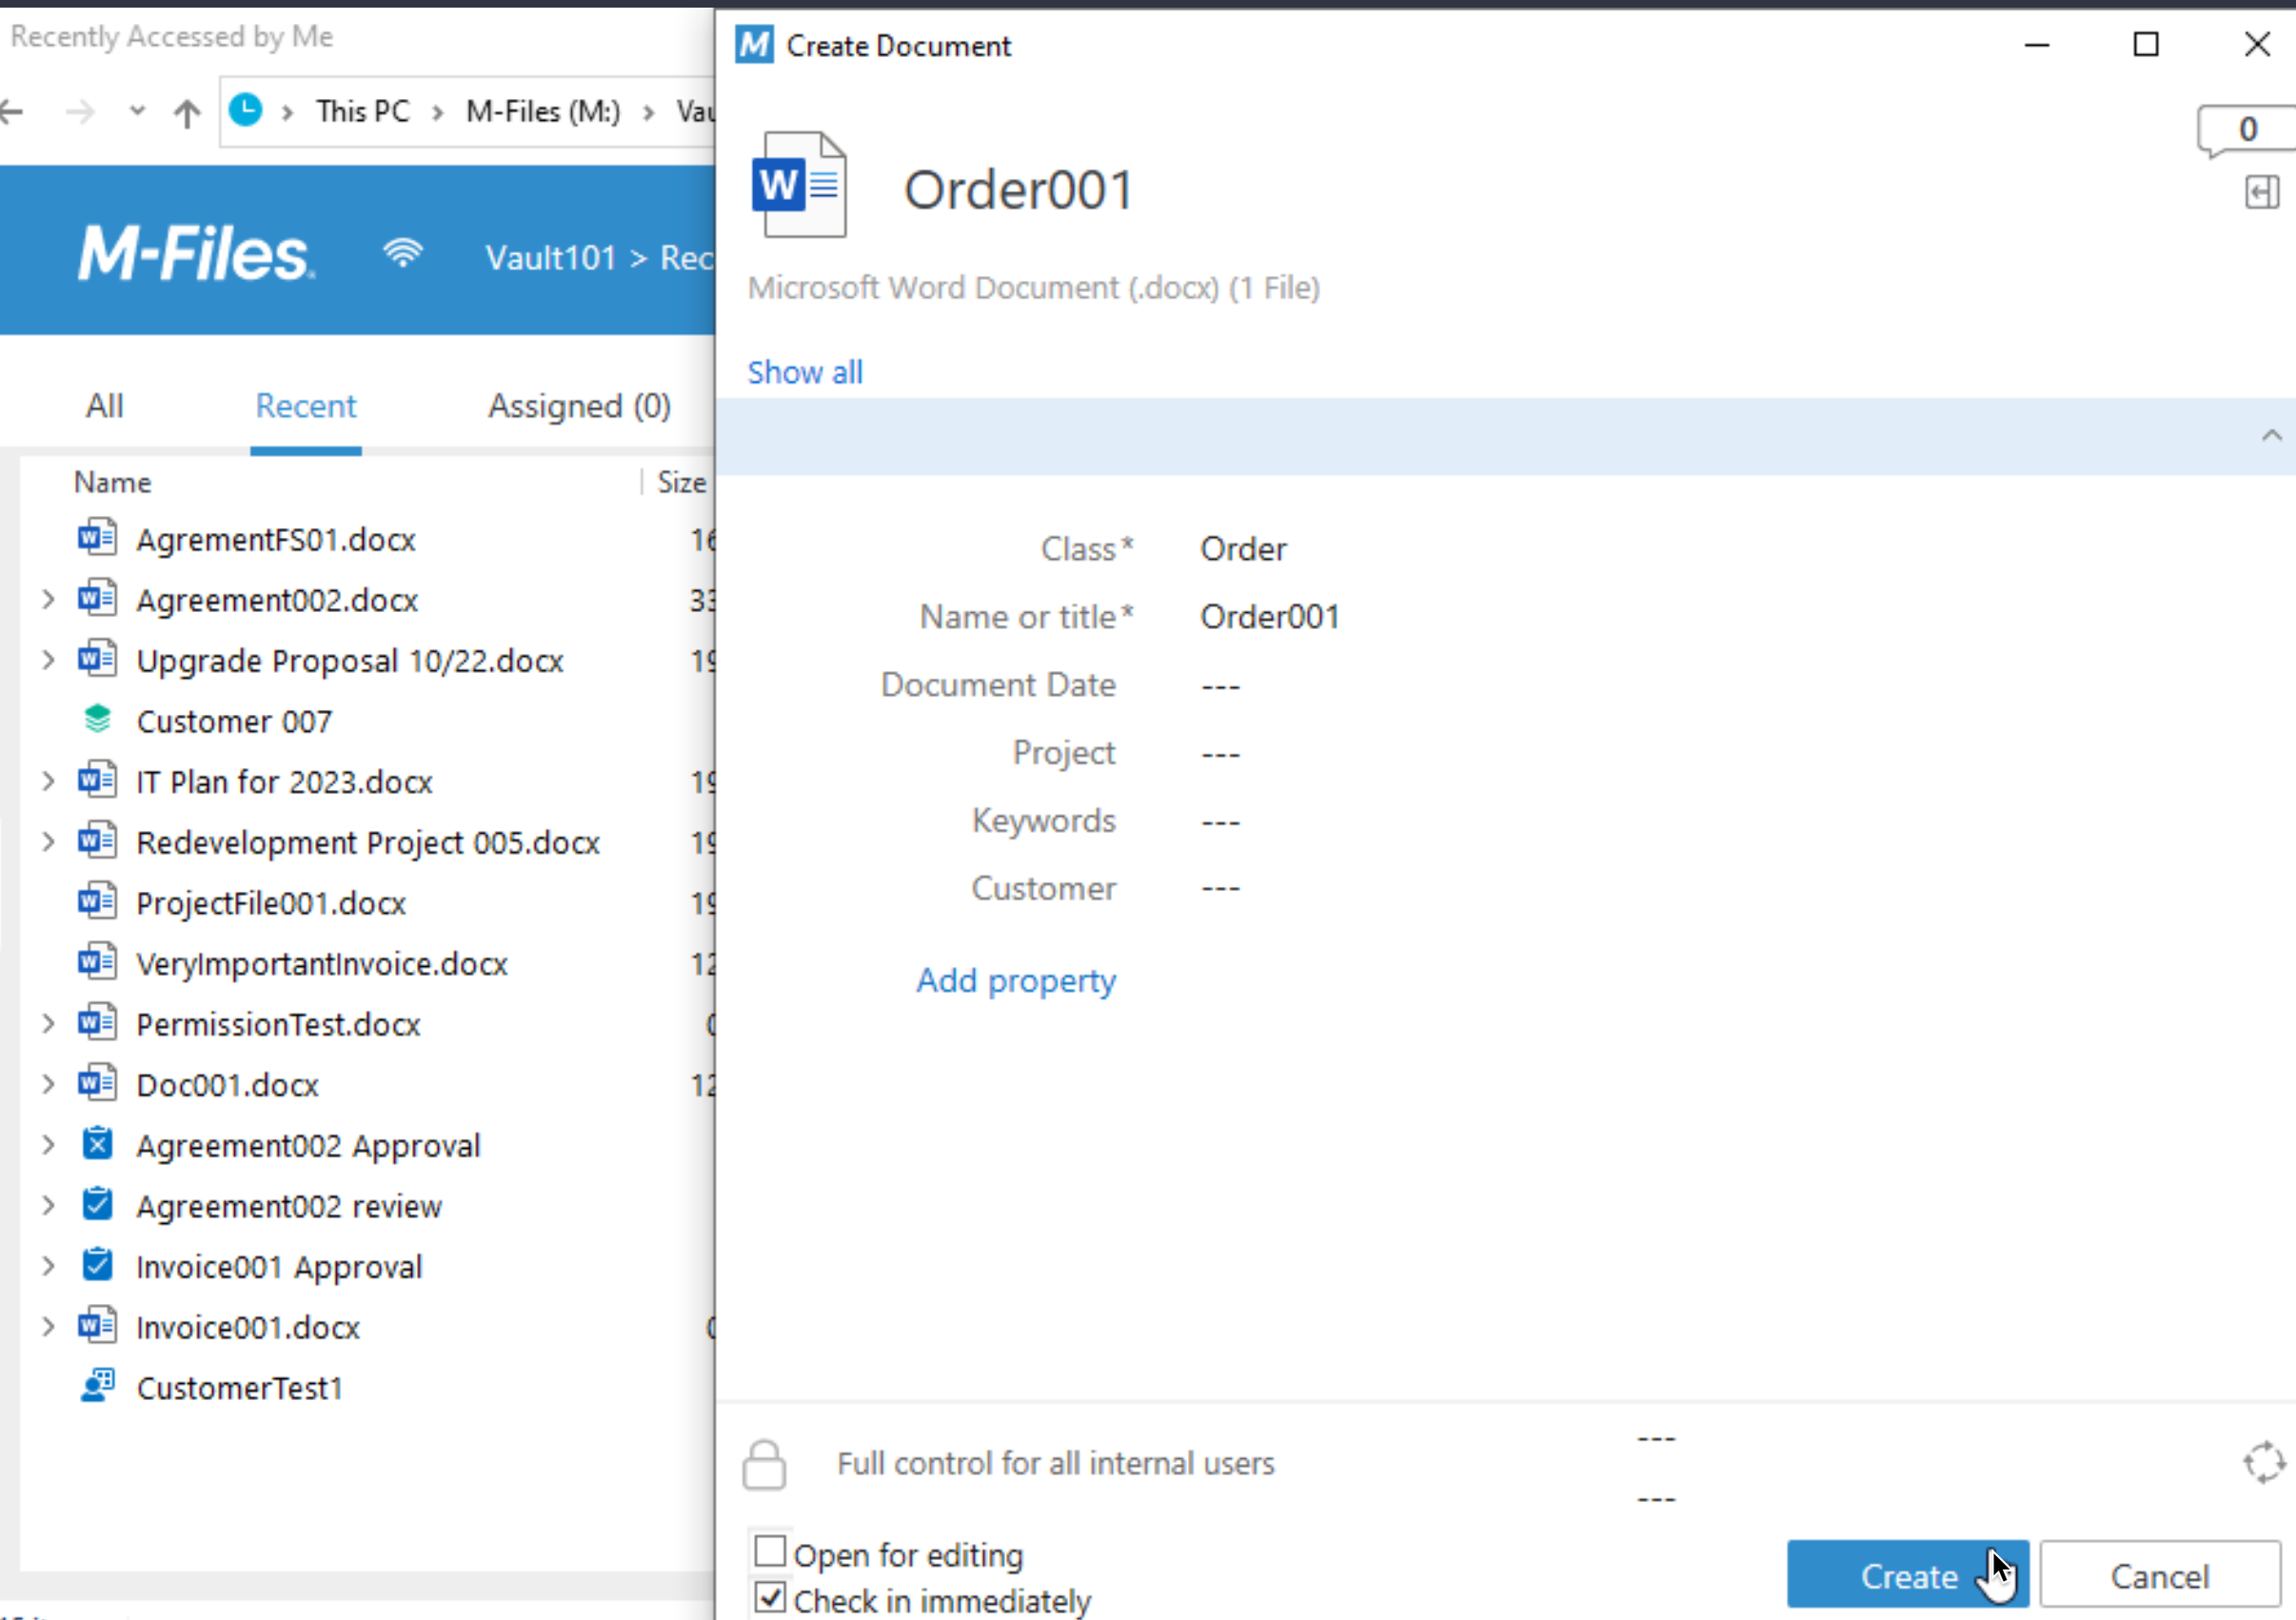
M-Files will then pop-up and ask you to fill metadata
Process is the same as above – select multiple files and right click and select Add to M-Files… or just drag them to M-Files
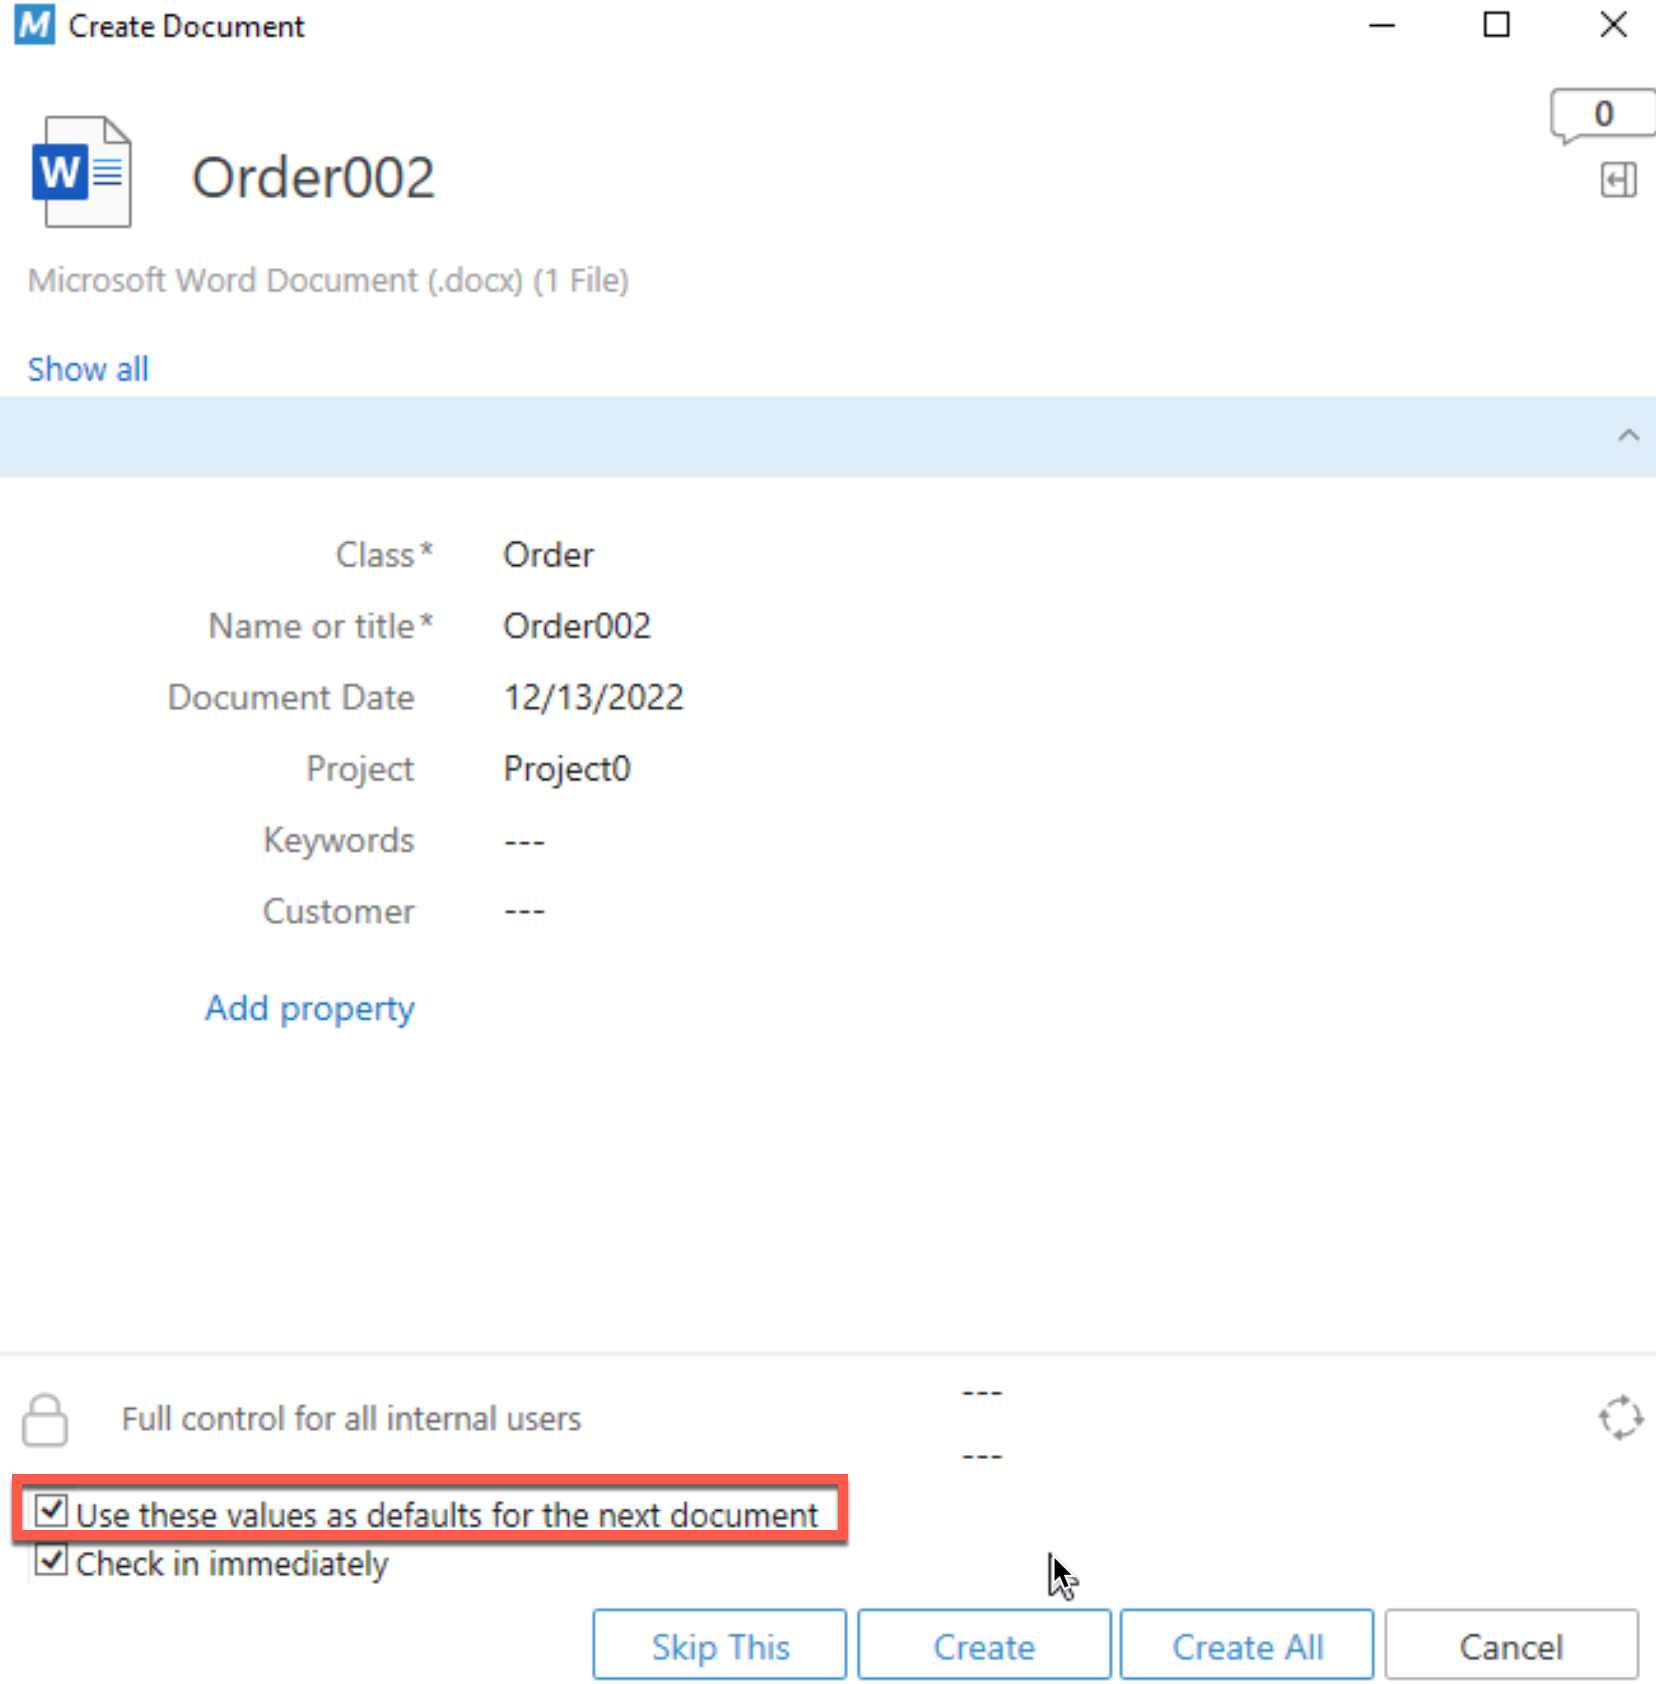
Slightly different is process when you have to enter Metadata.
You can check them in one by one, or select “Use these values as defaults for the next document” and then Create all
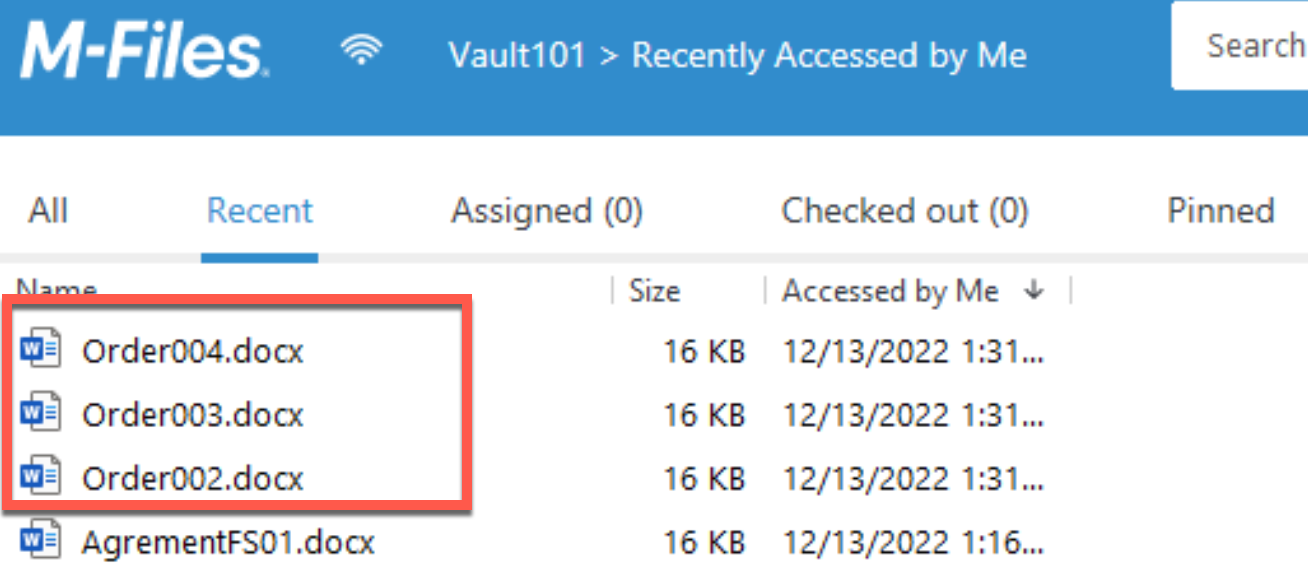
and they are all in
From M-Files Desktop
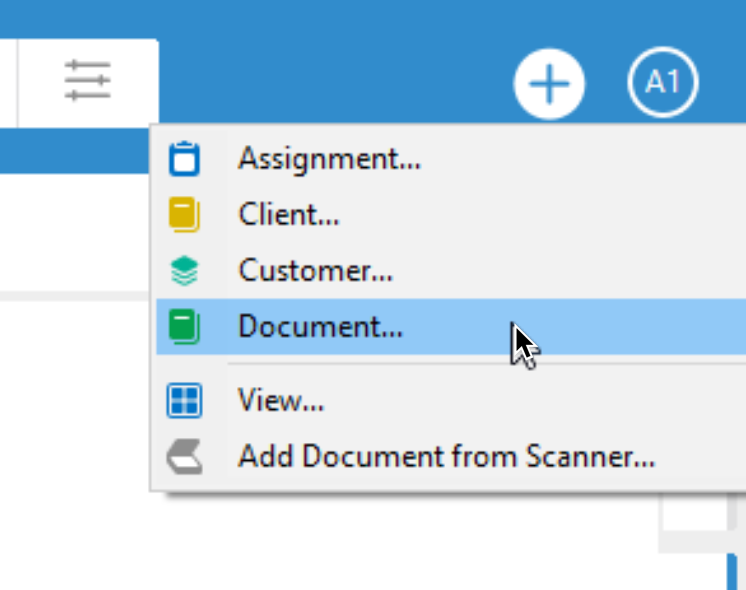
By selecting Plus (+) from top right part of the screen. Select Object you wish to enter – I will select document.
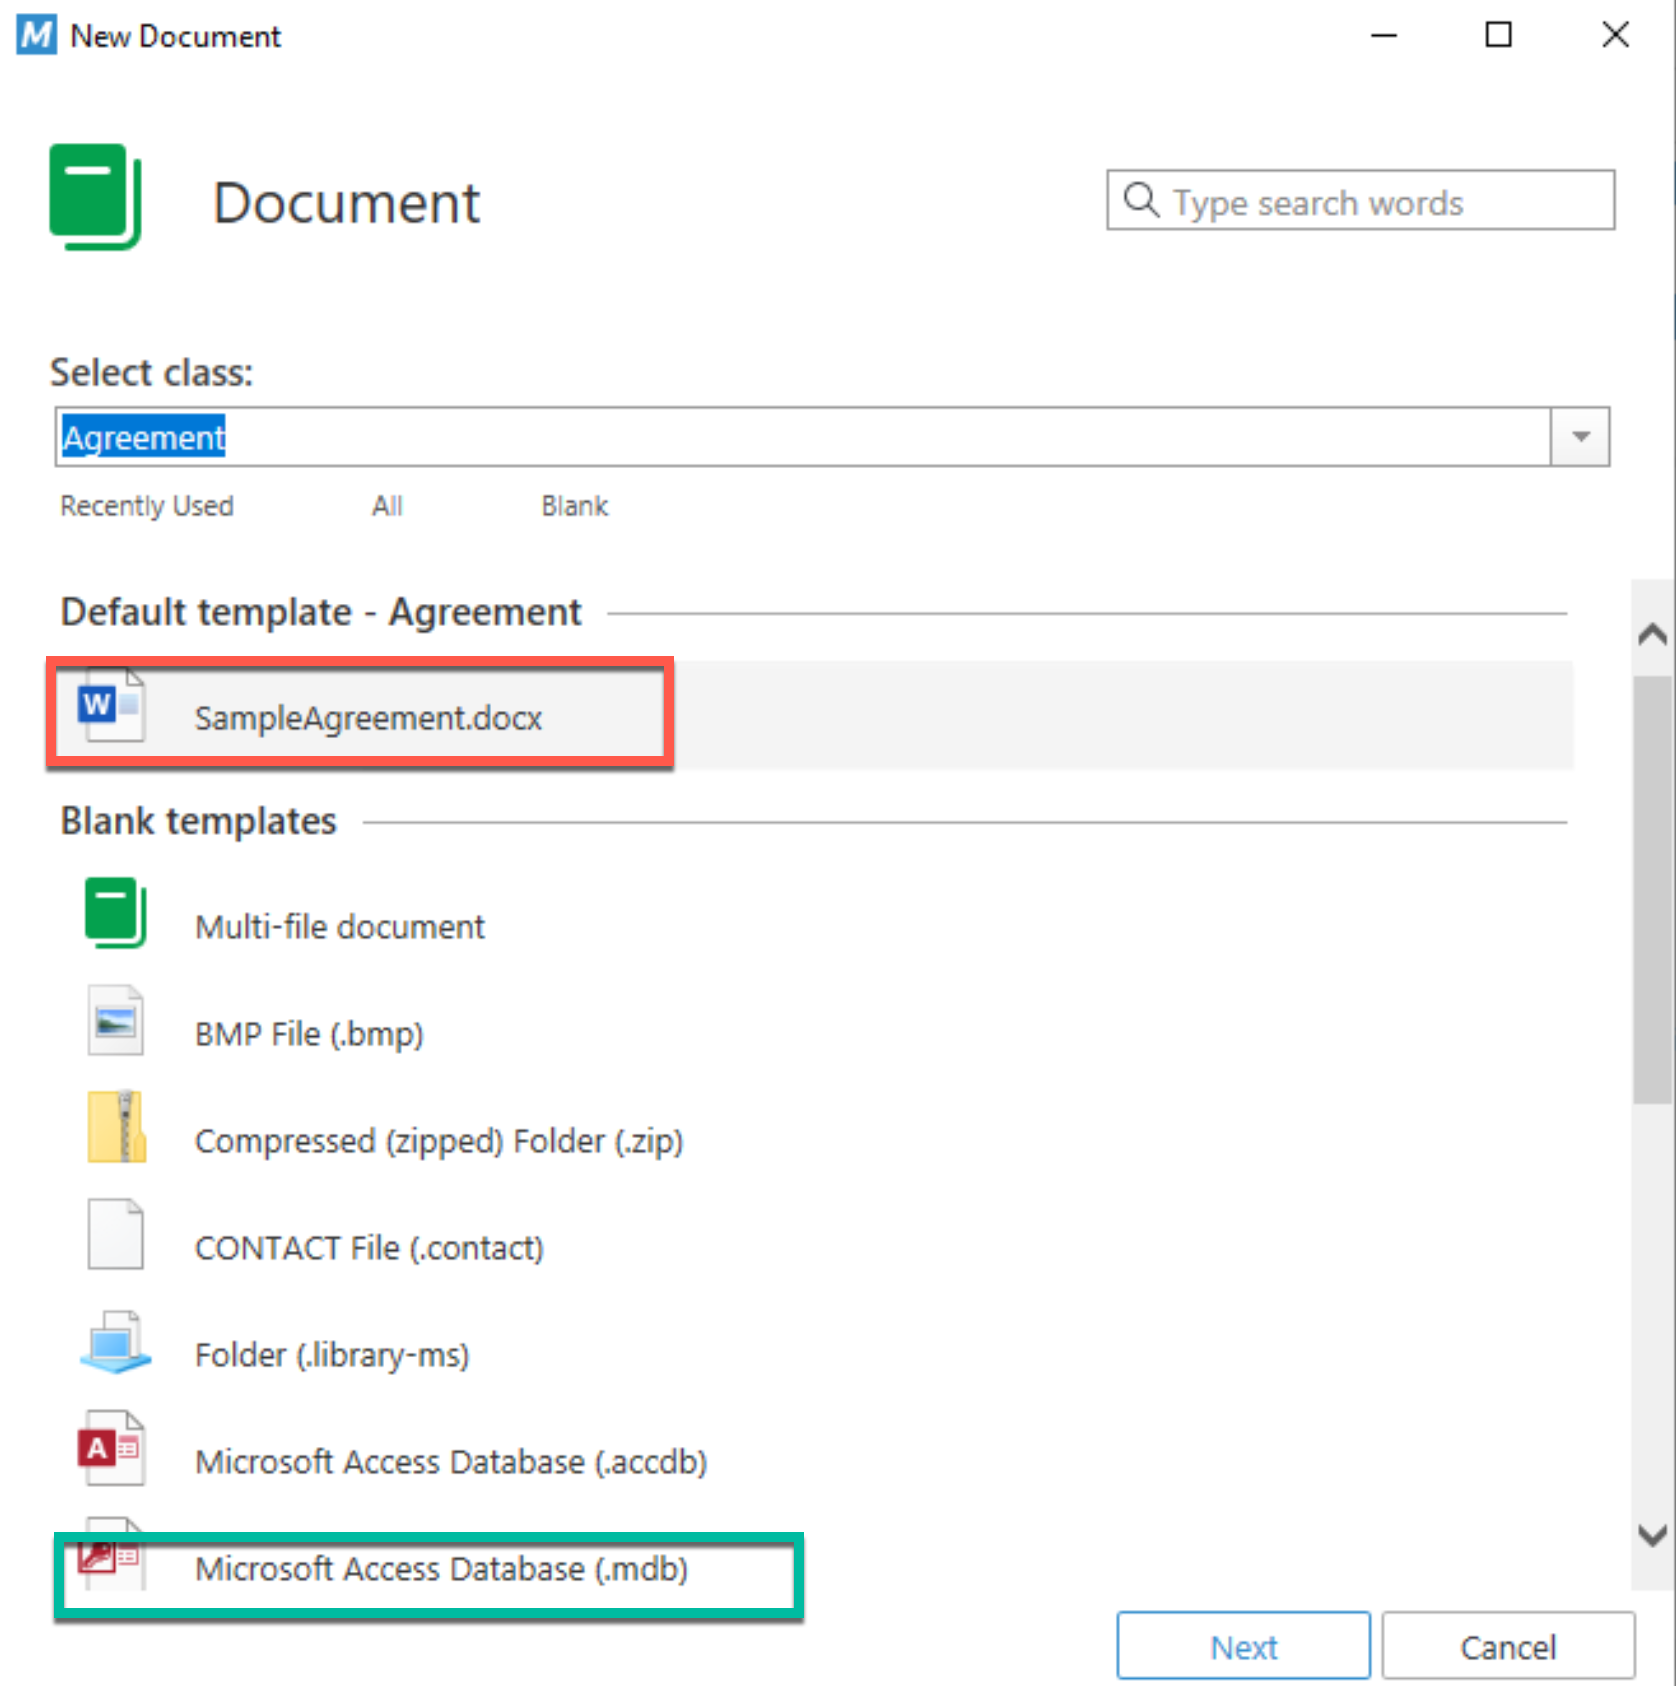
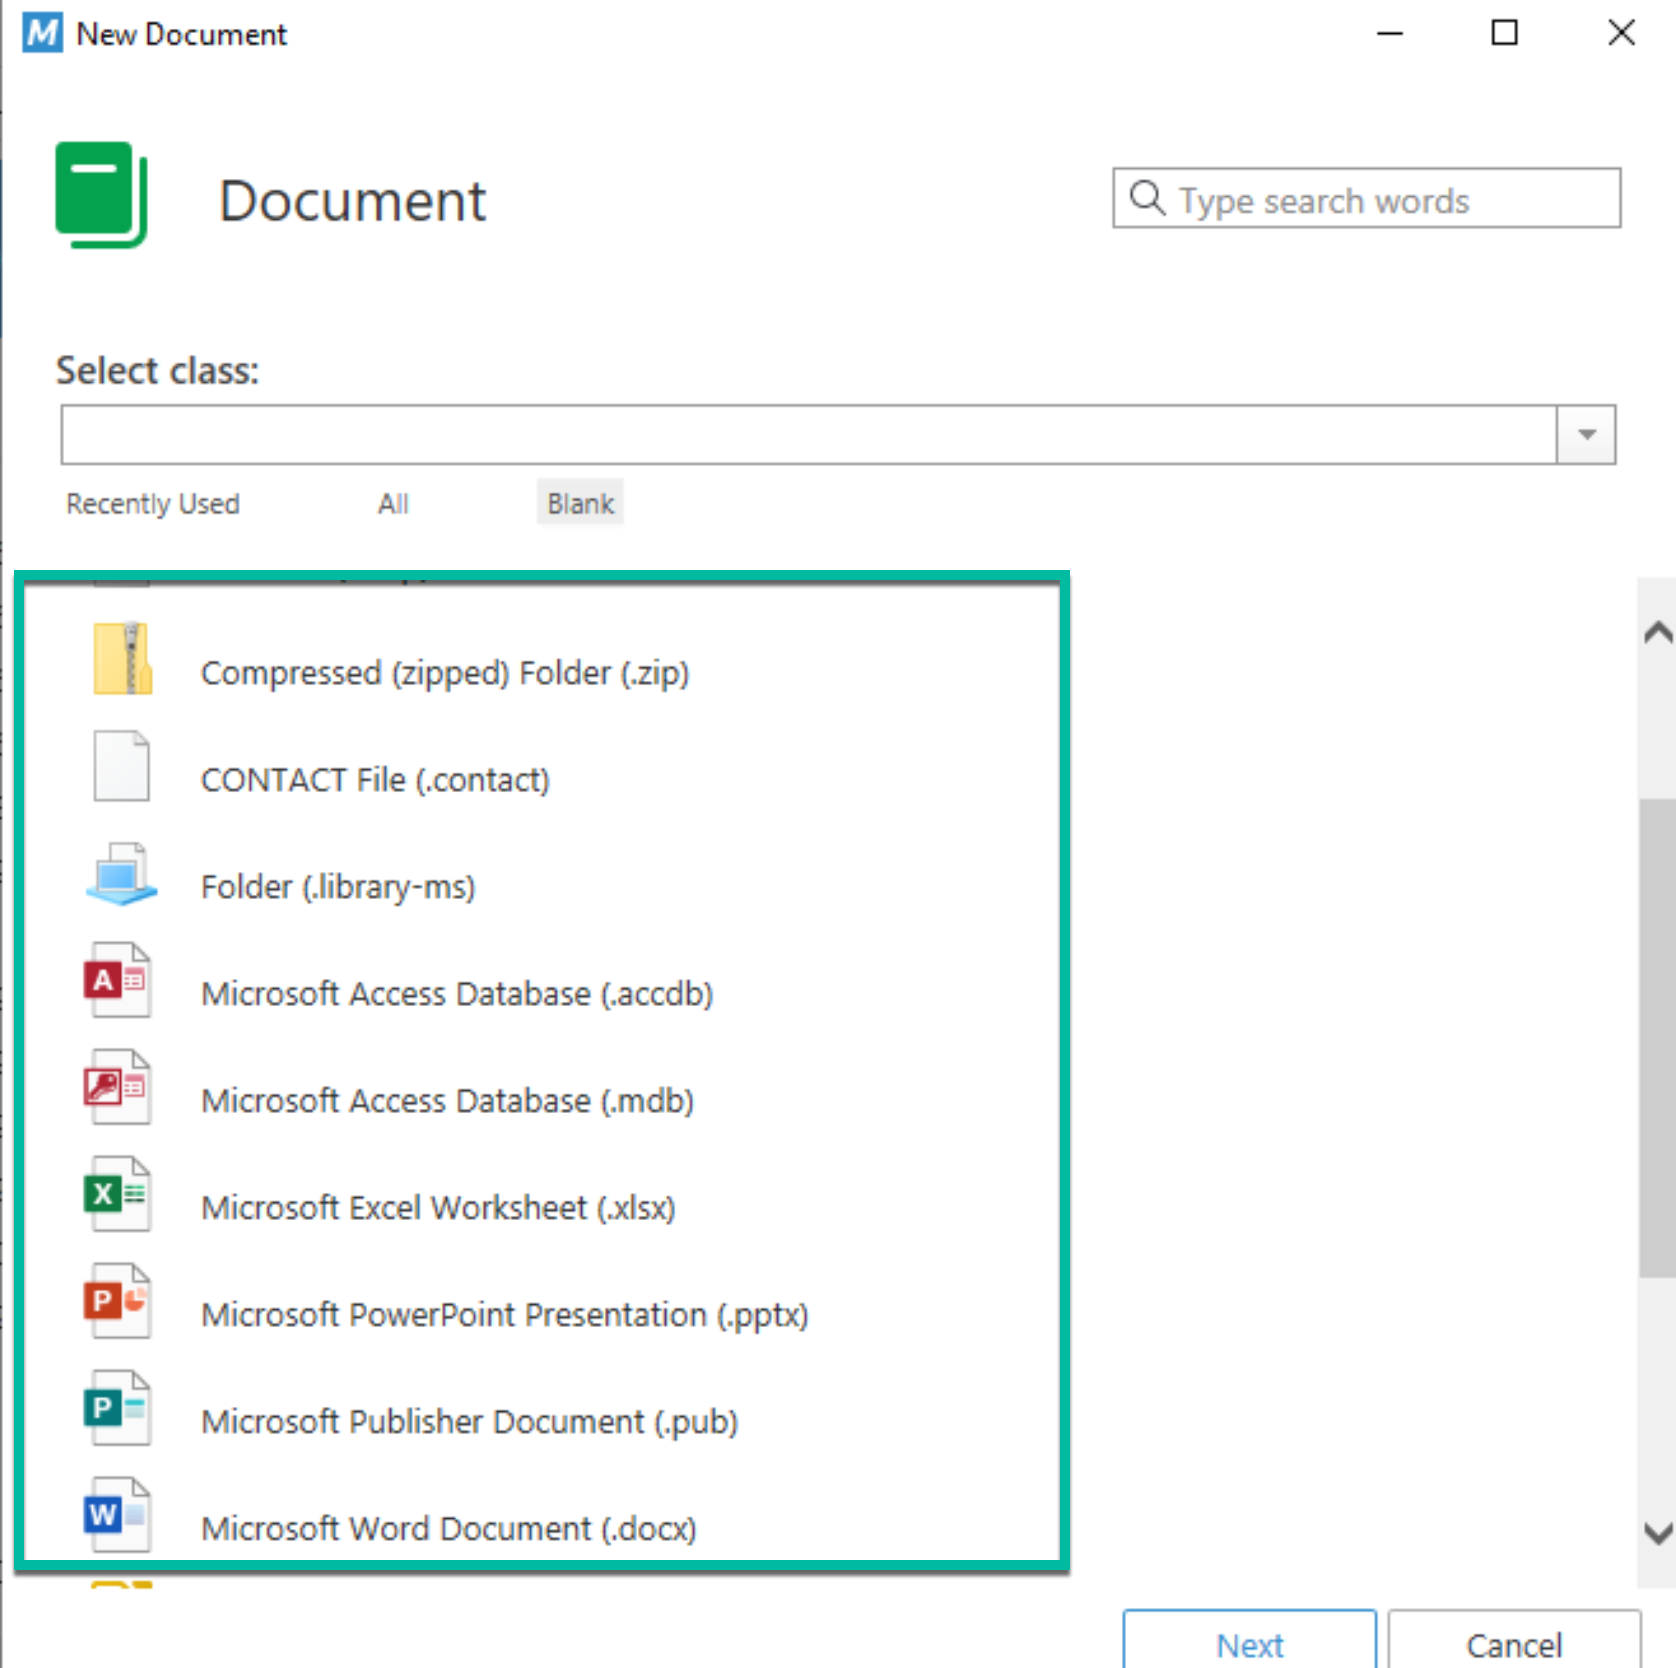
Depending on the class you select, you may have in it already predefined template you can use (red) or you can create blank document (green)
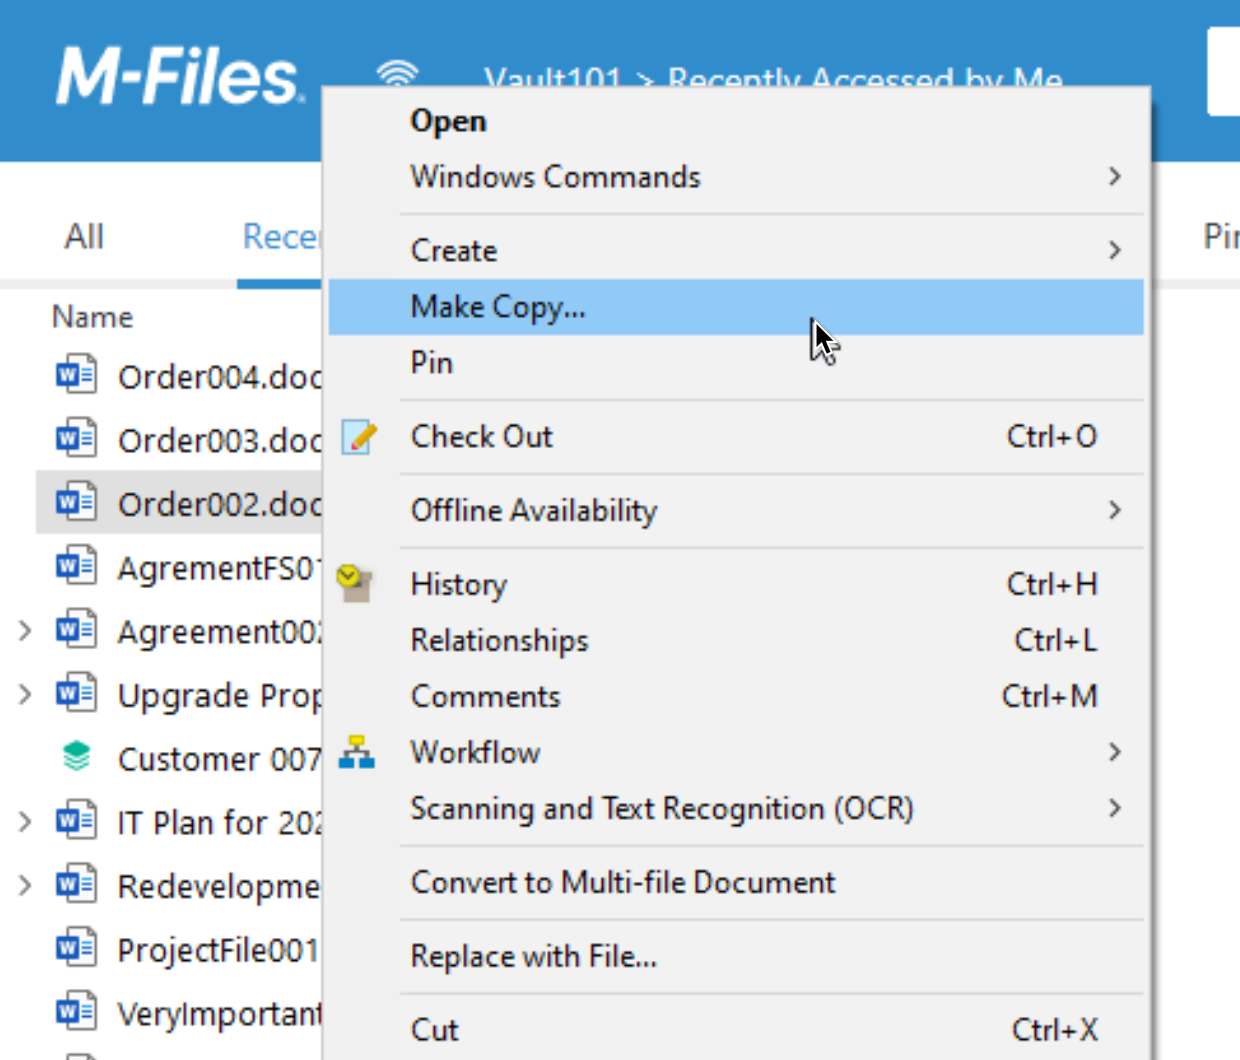
Inside M-Files you can also create new document by clicking on existing one and selecting “Make a copy”
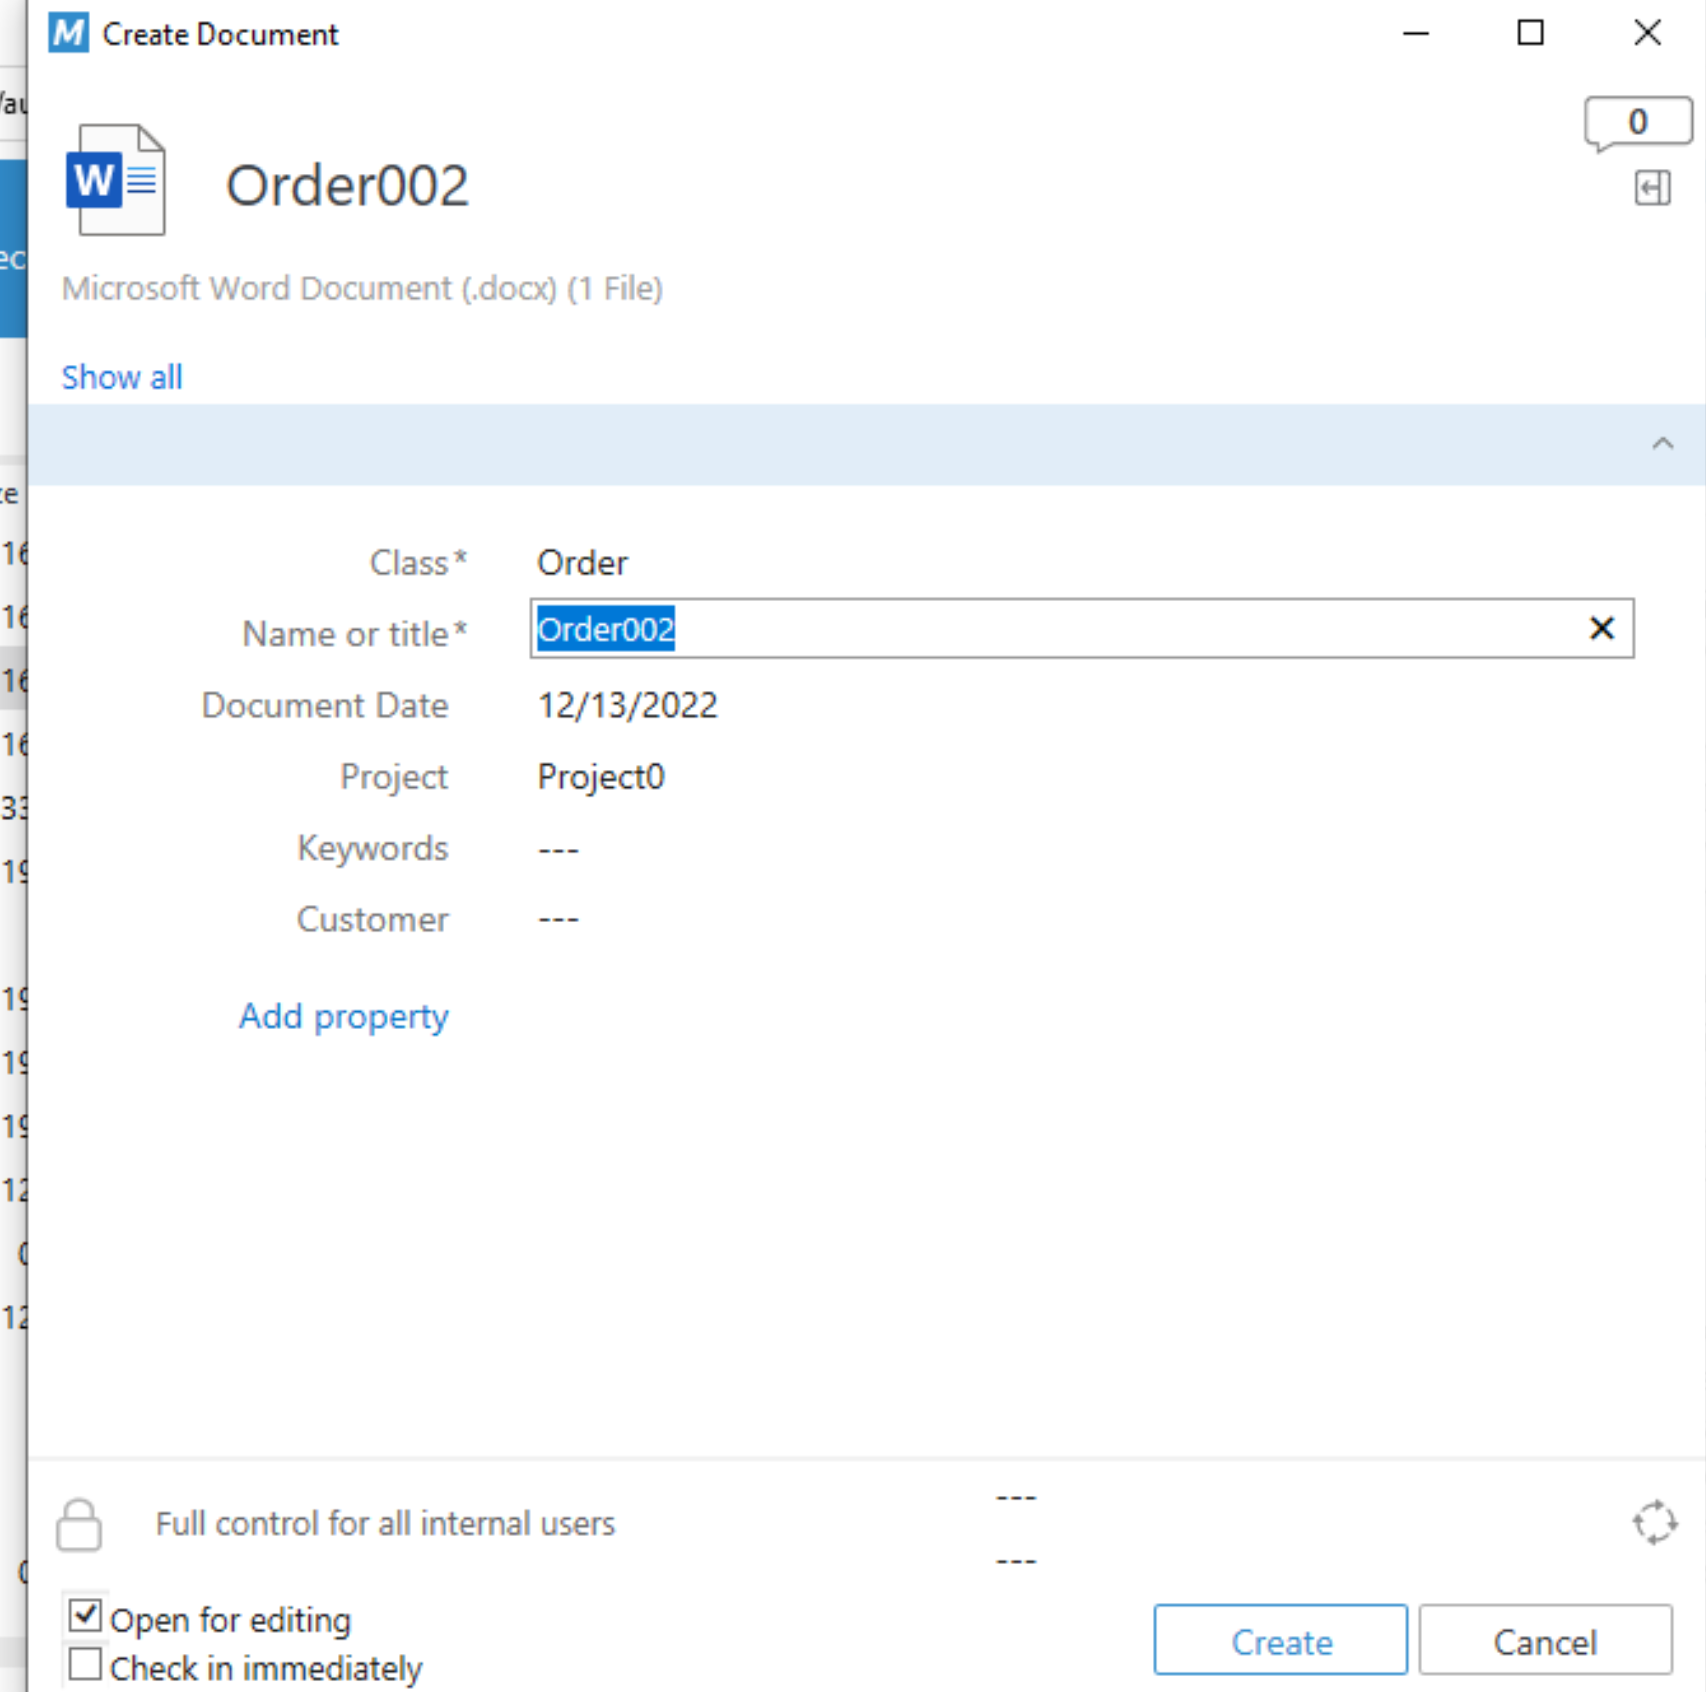
What is same for every way we tried it is this screen you get after every method you select to Save – Metadata. You need to select right metadata and make sure you have right one. If you build your document library with metadata – you will find it very useful in the future when you need your information.
Modify Documents
Another piece of the puzzle is how to edit documents once you save them into M-Files. How do you manage your documents? Because, once they are saved, doesn’t mean the documents are in final state.
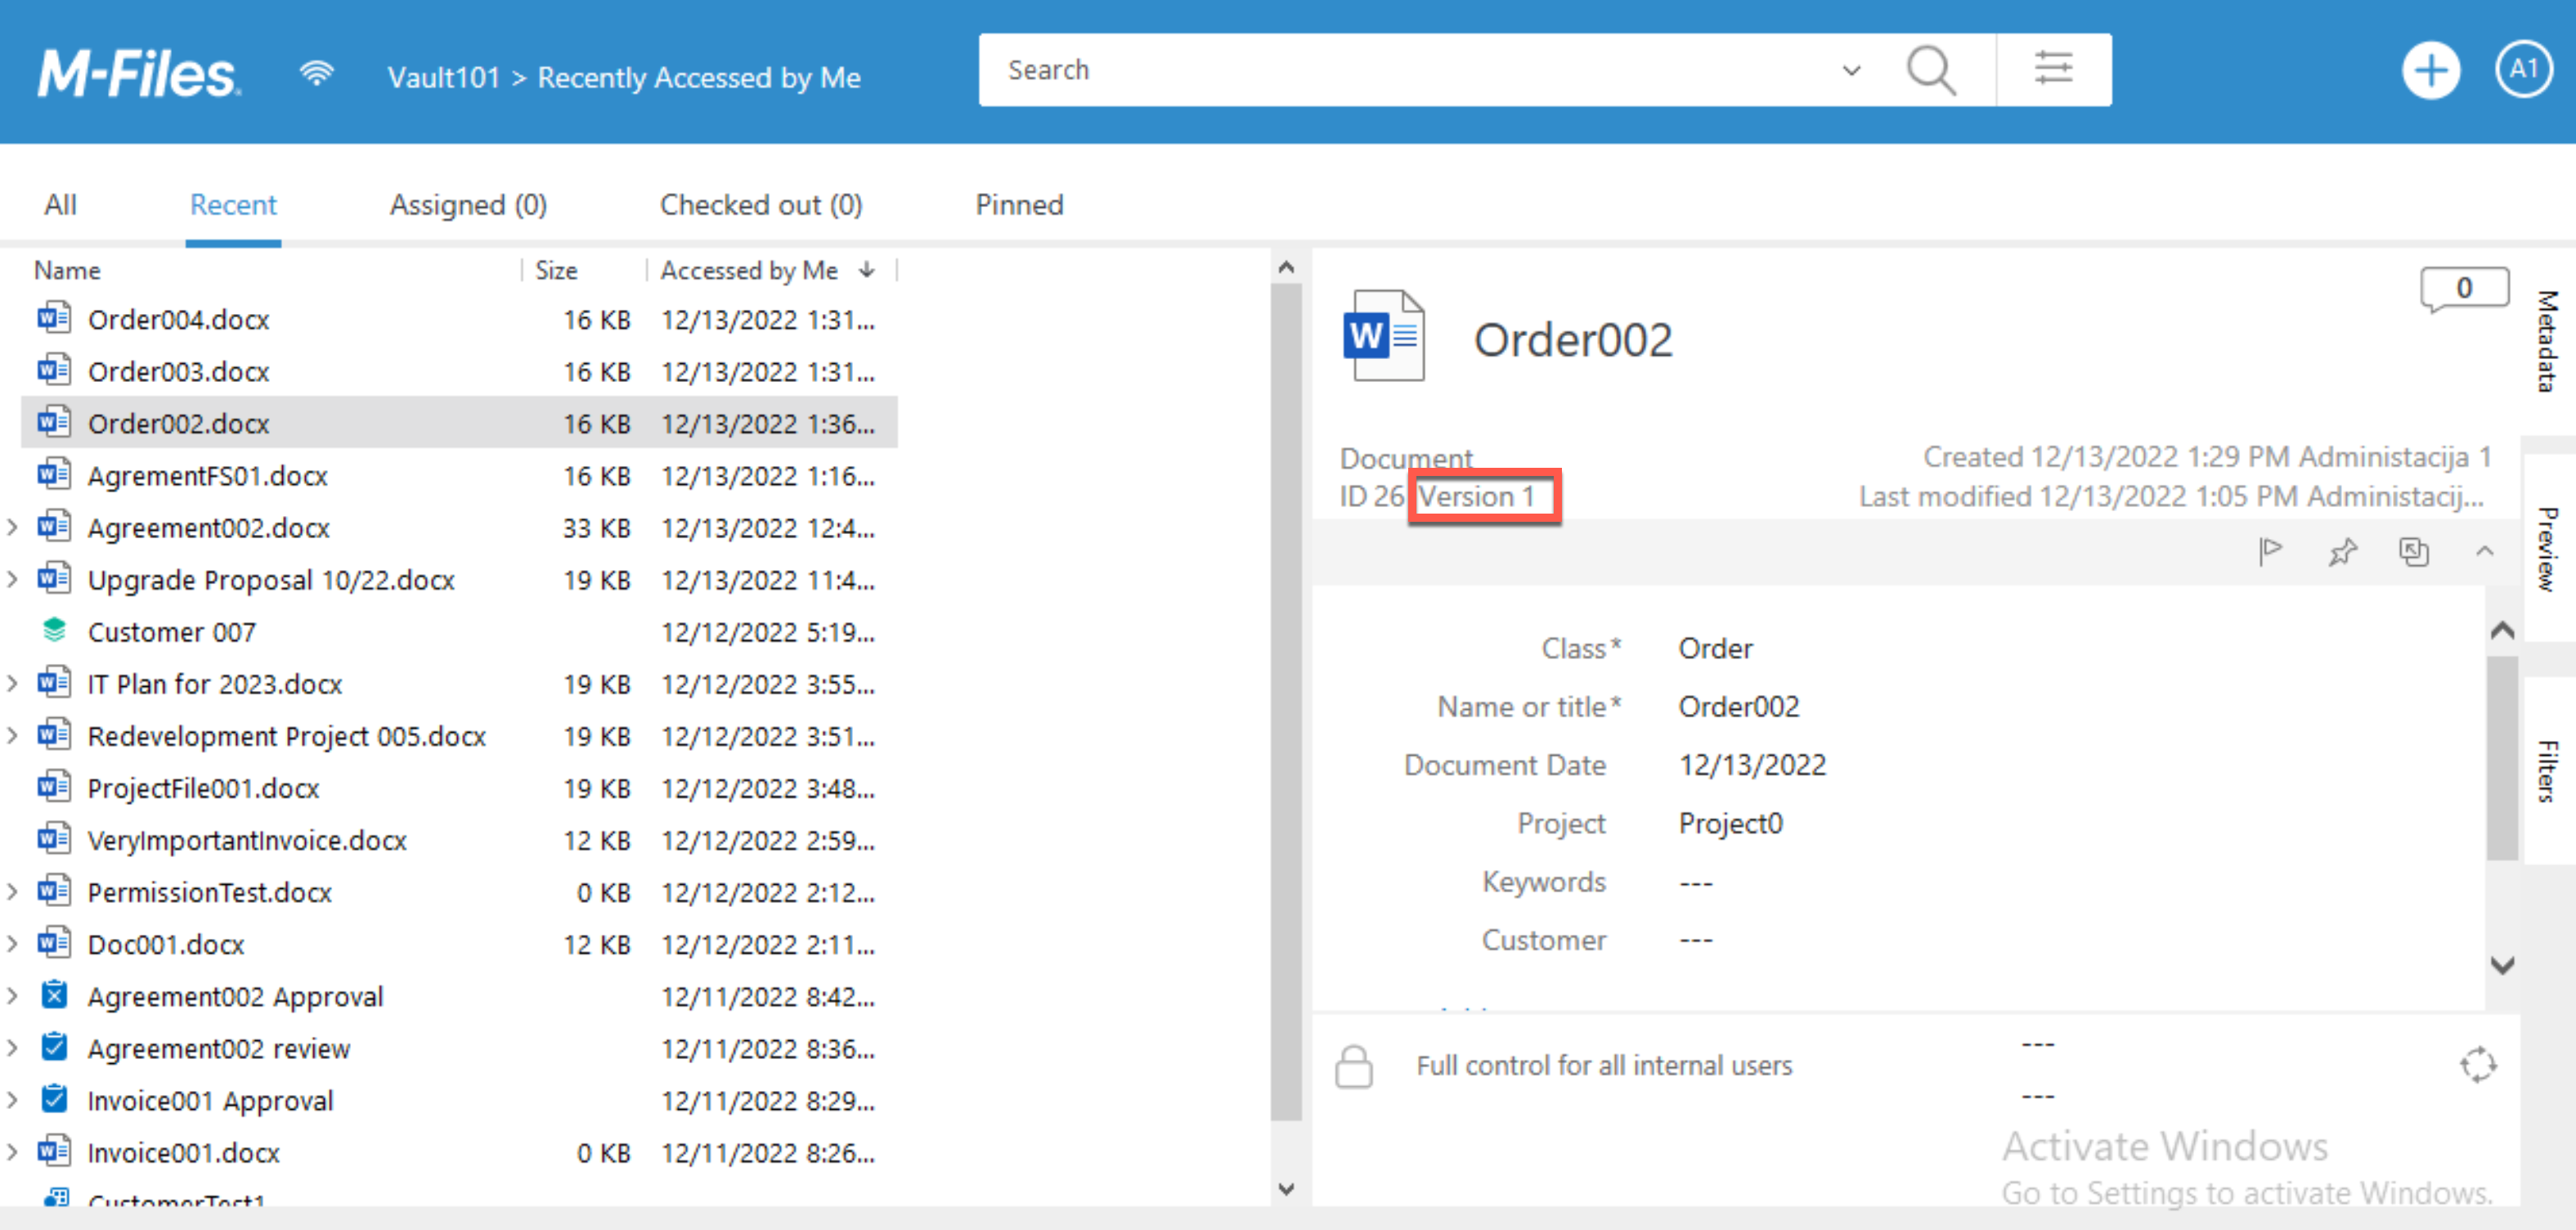
We will select our Order002.docx for this experiment. Important thing to remember is that this is Version 1 – we saved the document into M-Files in step above. Now we need to edit it.
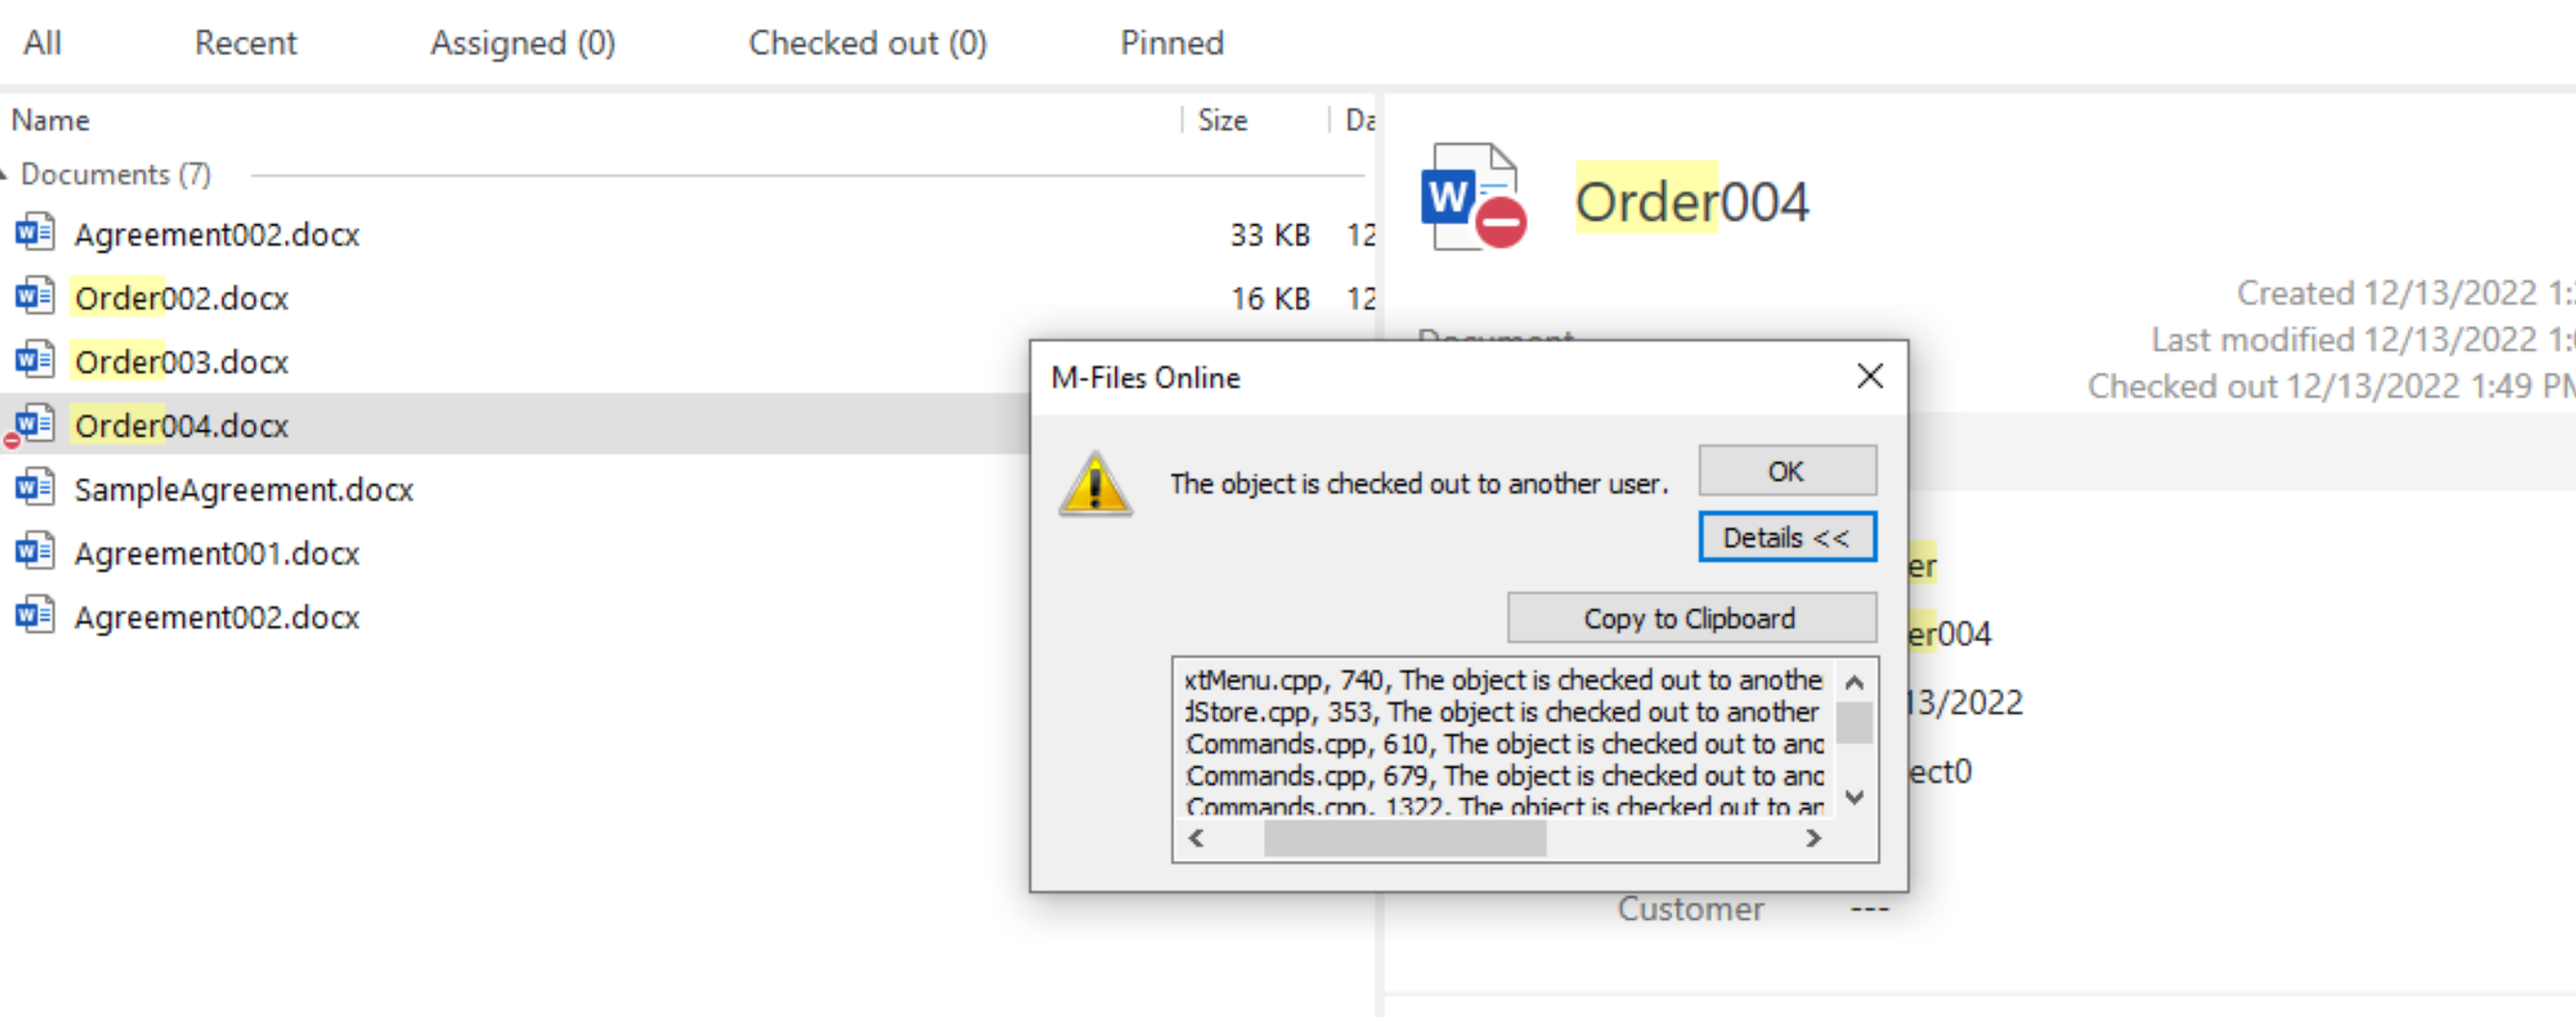
Two things also to remember about M-Files and editing documents – when you start editing documents – they go to Checked Out mode in M-Files – other people can only read, not edit documents that are in Checked Out mode.
When you Check the document in, it goes out of Checked out mode and is again available to everyone (who has rights) to edit.
So, it is important to remember these two states in M-Files.
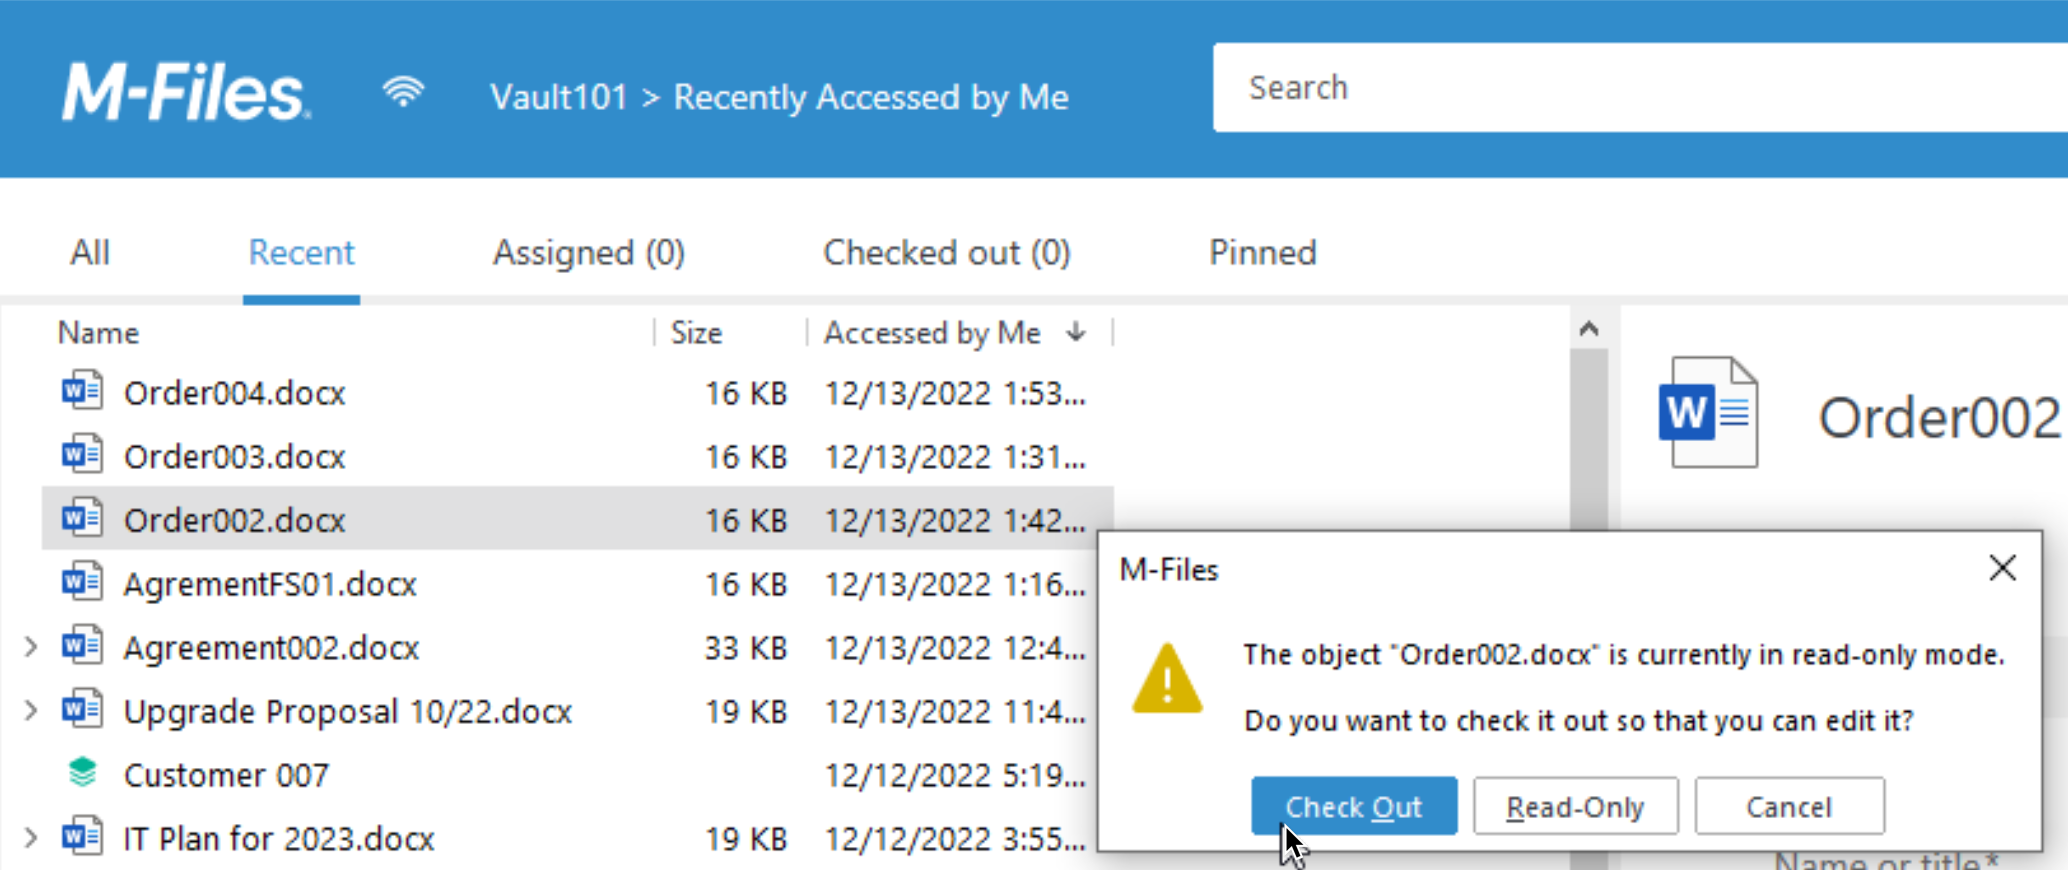
Ok, back on topic, we will now double click on Order002.docx inside M-Files Desktop.
Pop-up will appear and we will select Check Out
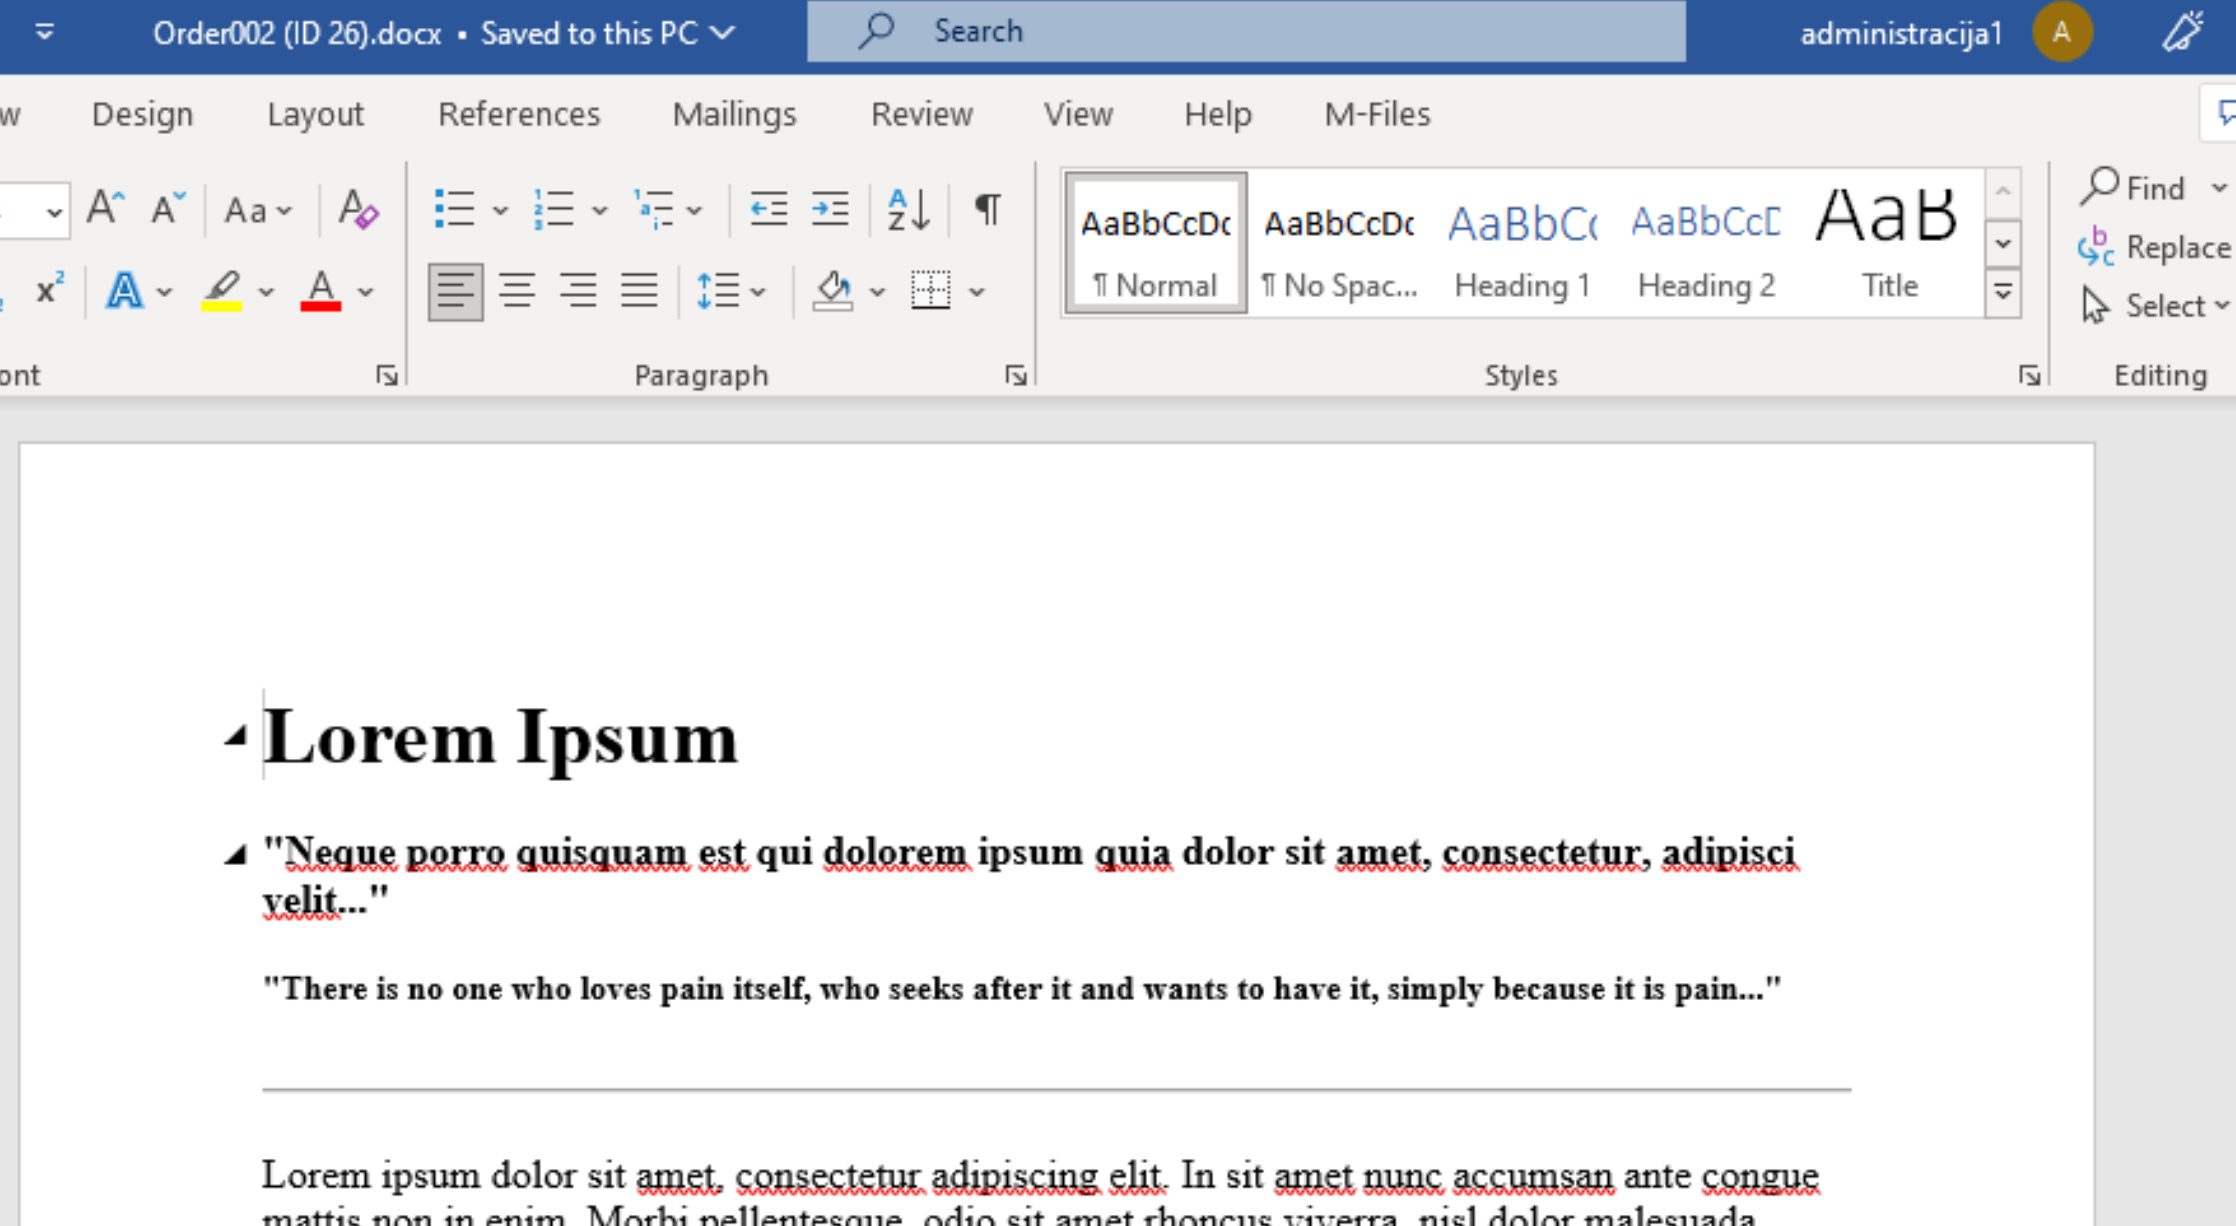
After that Word will open and we can edit out document
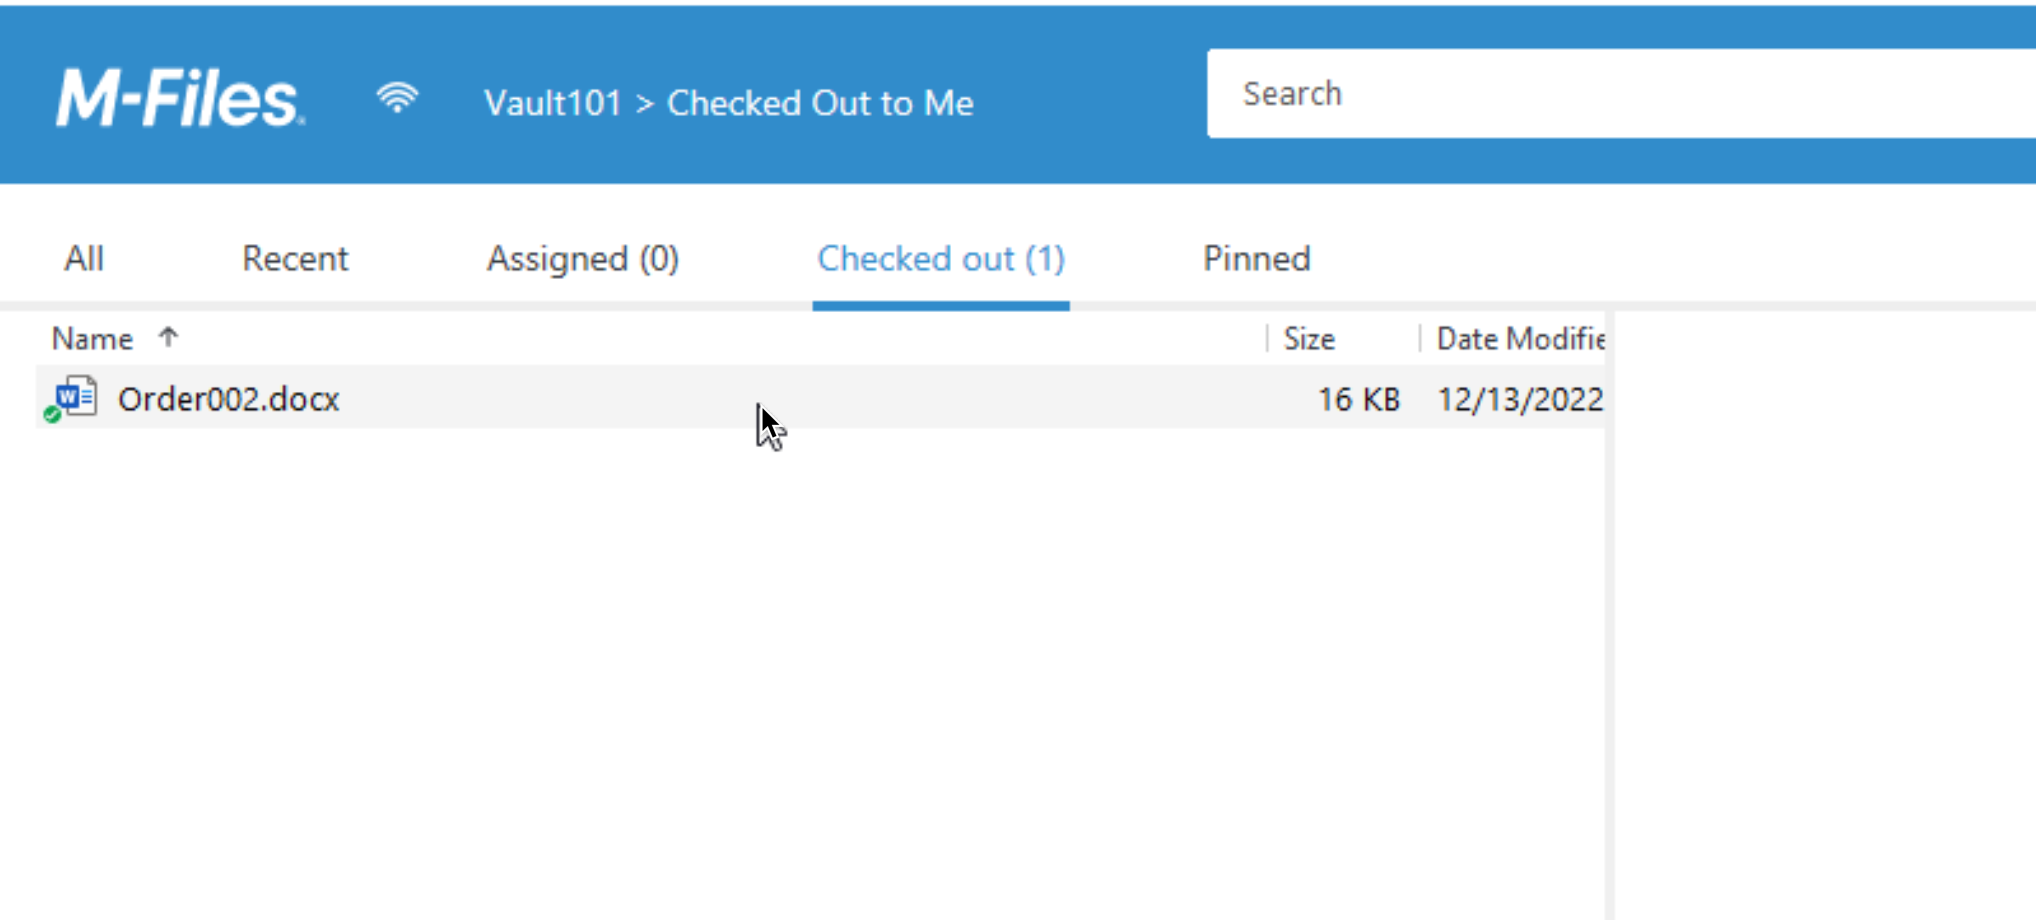
Just a quick look back to M-Files Desktop (leave Order002 open in Word!!)
We can now see that our Order002 is in Checked Out mode
Ok, back to Word
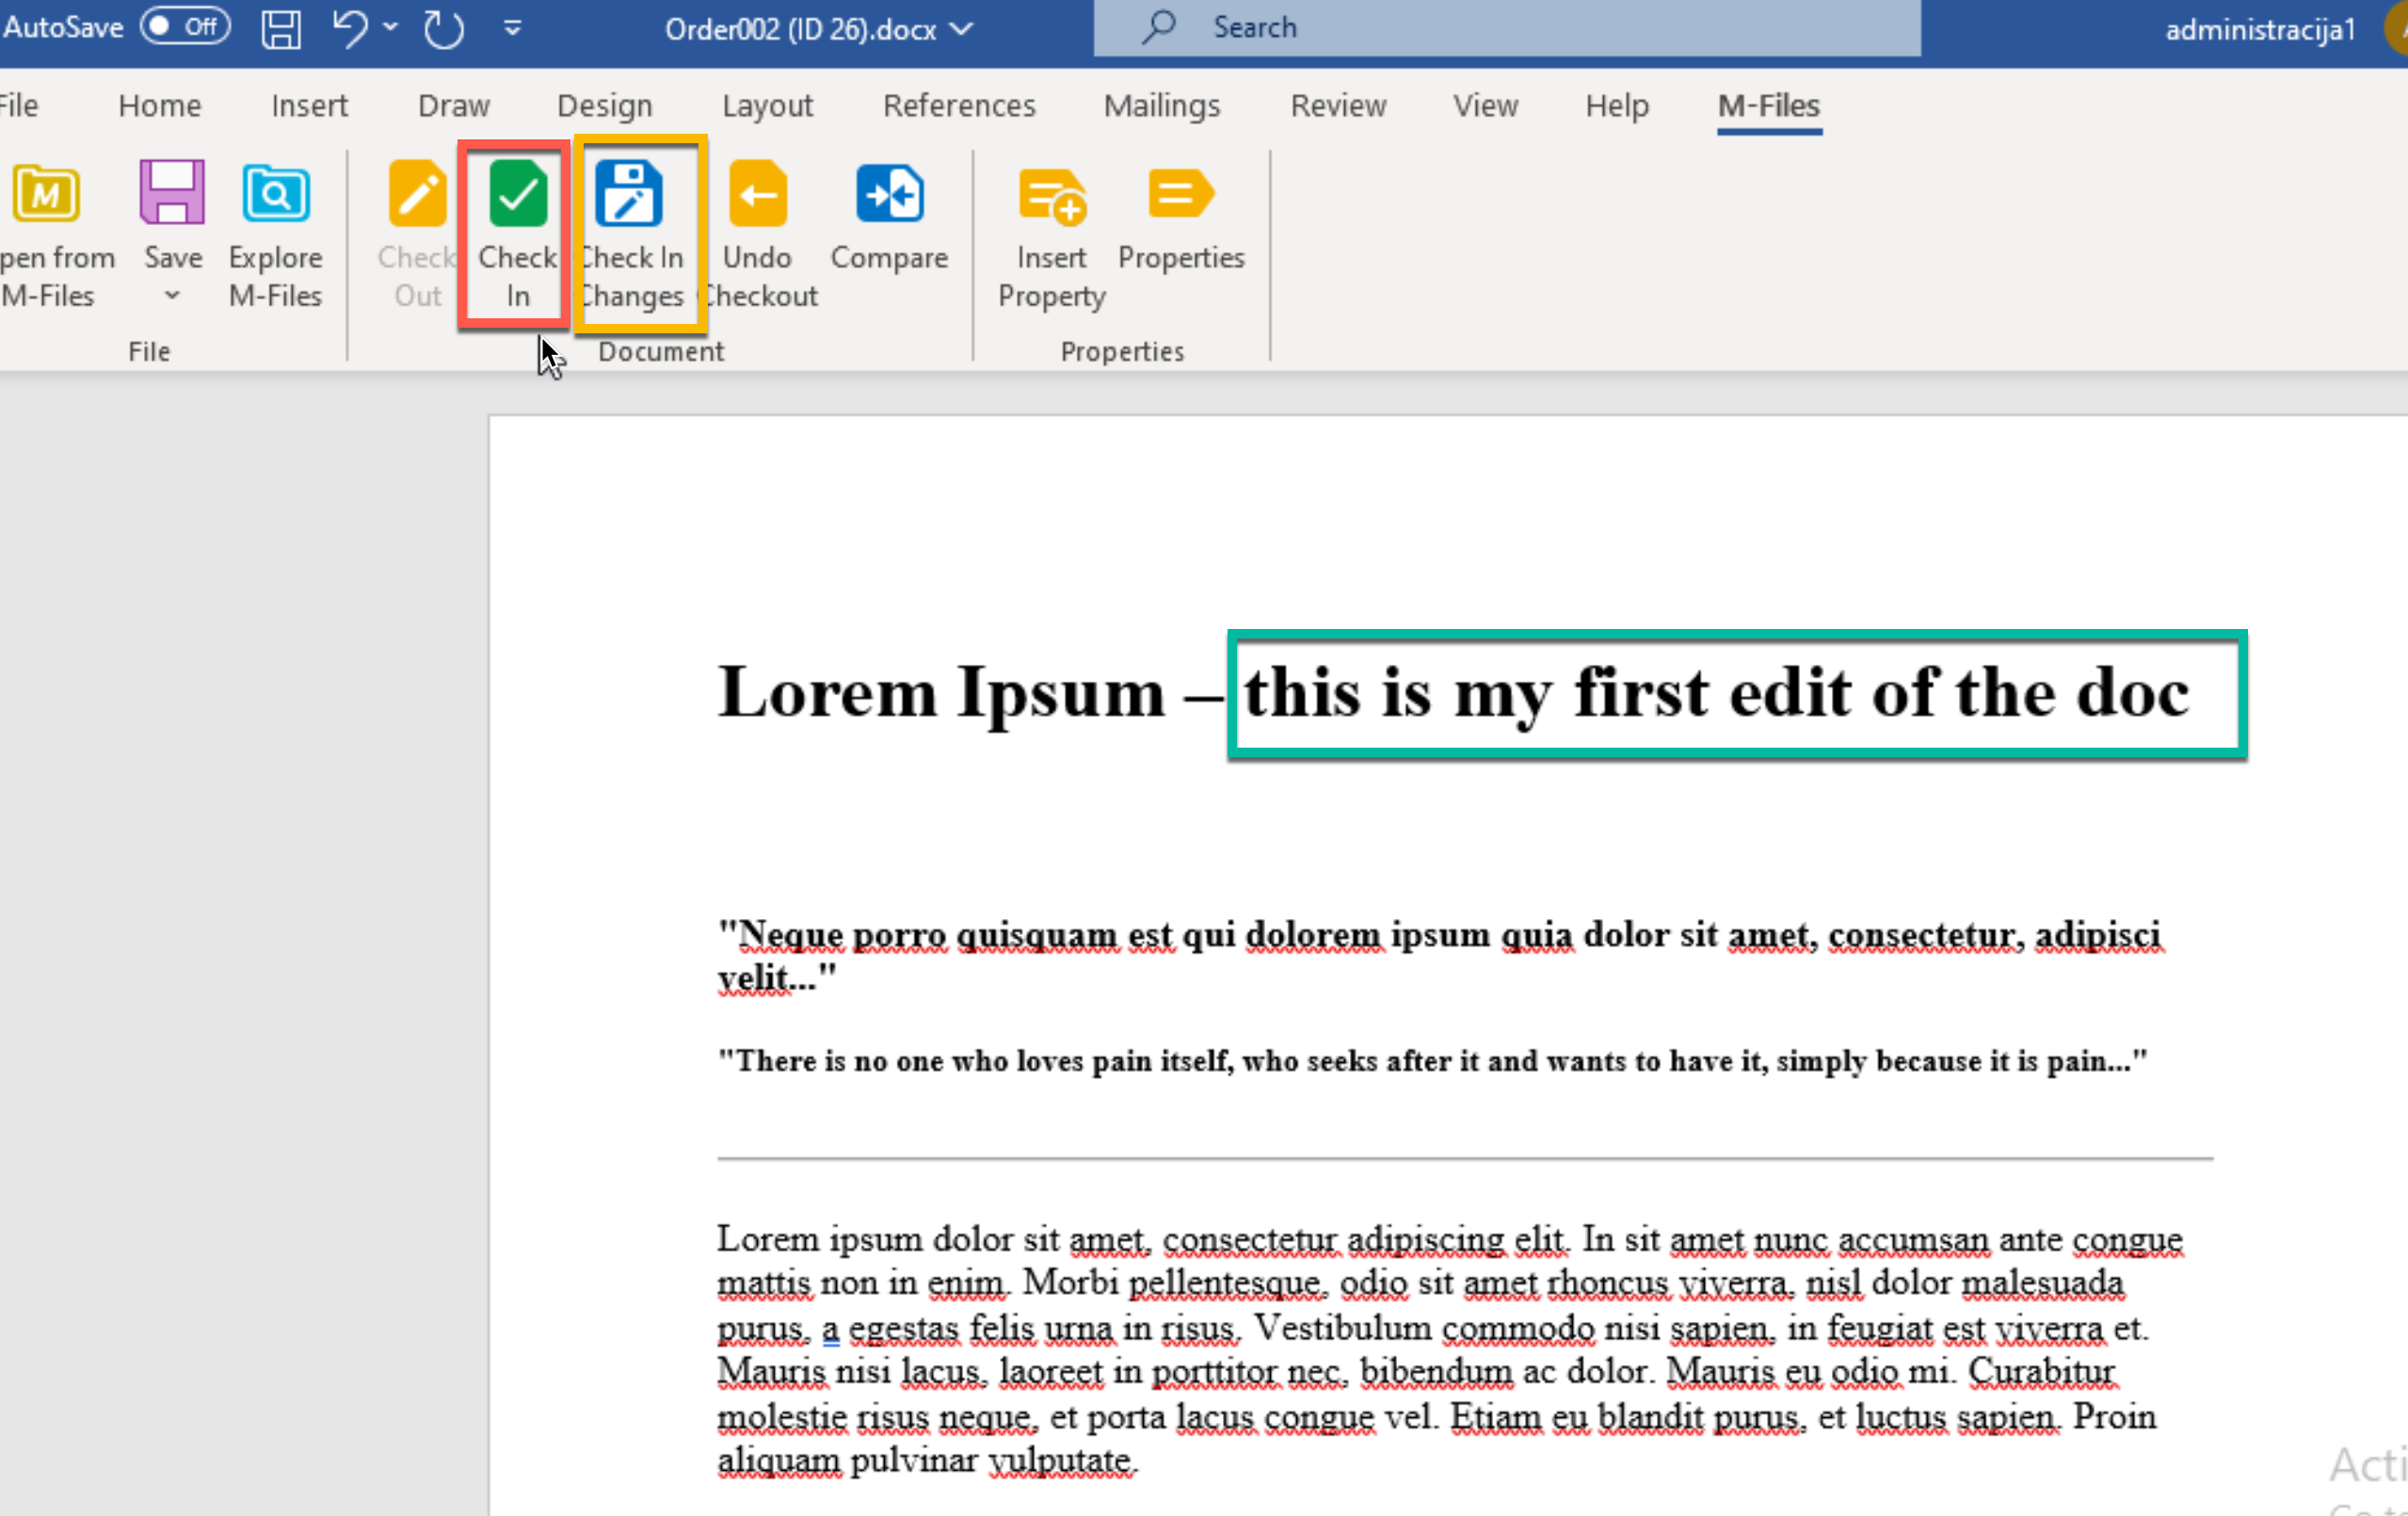
I entered some new text in the document (in green frame). We will now check in our changes, and under M-Files menu click on Check in (in red frame). We can also select Check in changes (in yellow frame). Check in Changes will add changes to the document so others can see/read them, and we can continue working on our document.
We will select check in – to save, check in and close. (You can also just close the document and then will be asked to save and check in)
You can also check in document through M-Files by going into Checked Out section, right clicking on the document and selecting Check in
Yes, we want to save
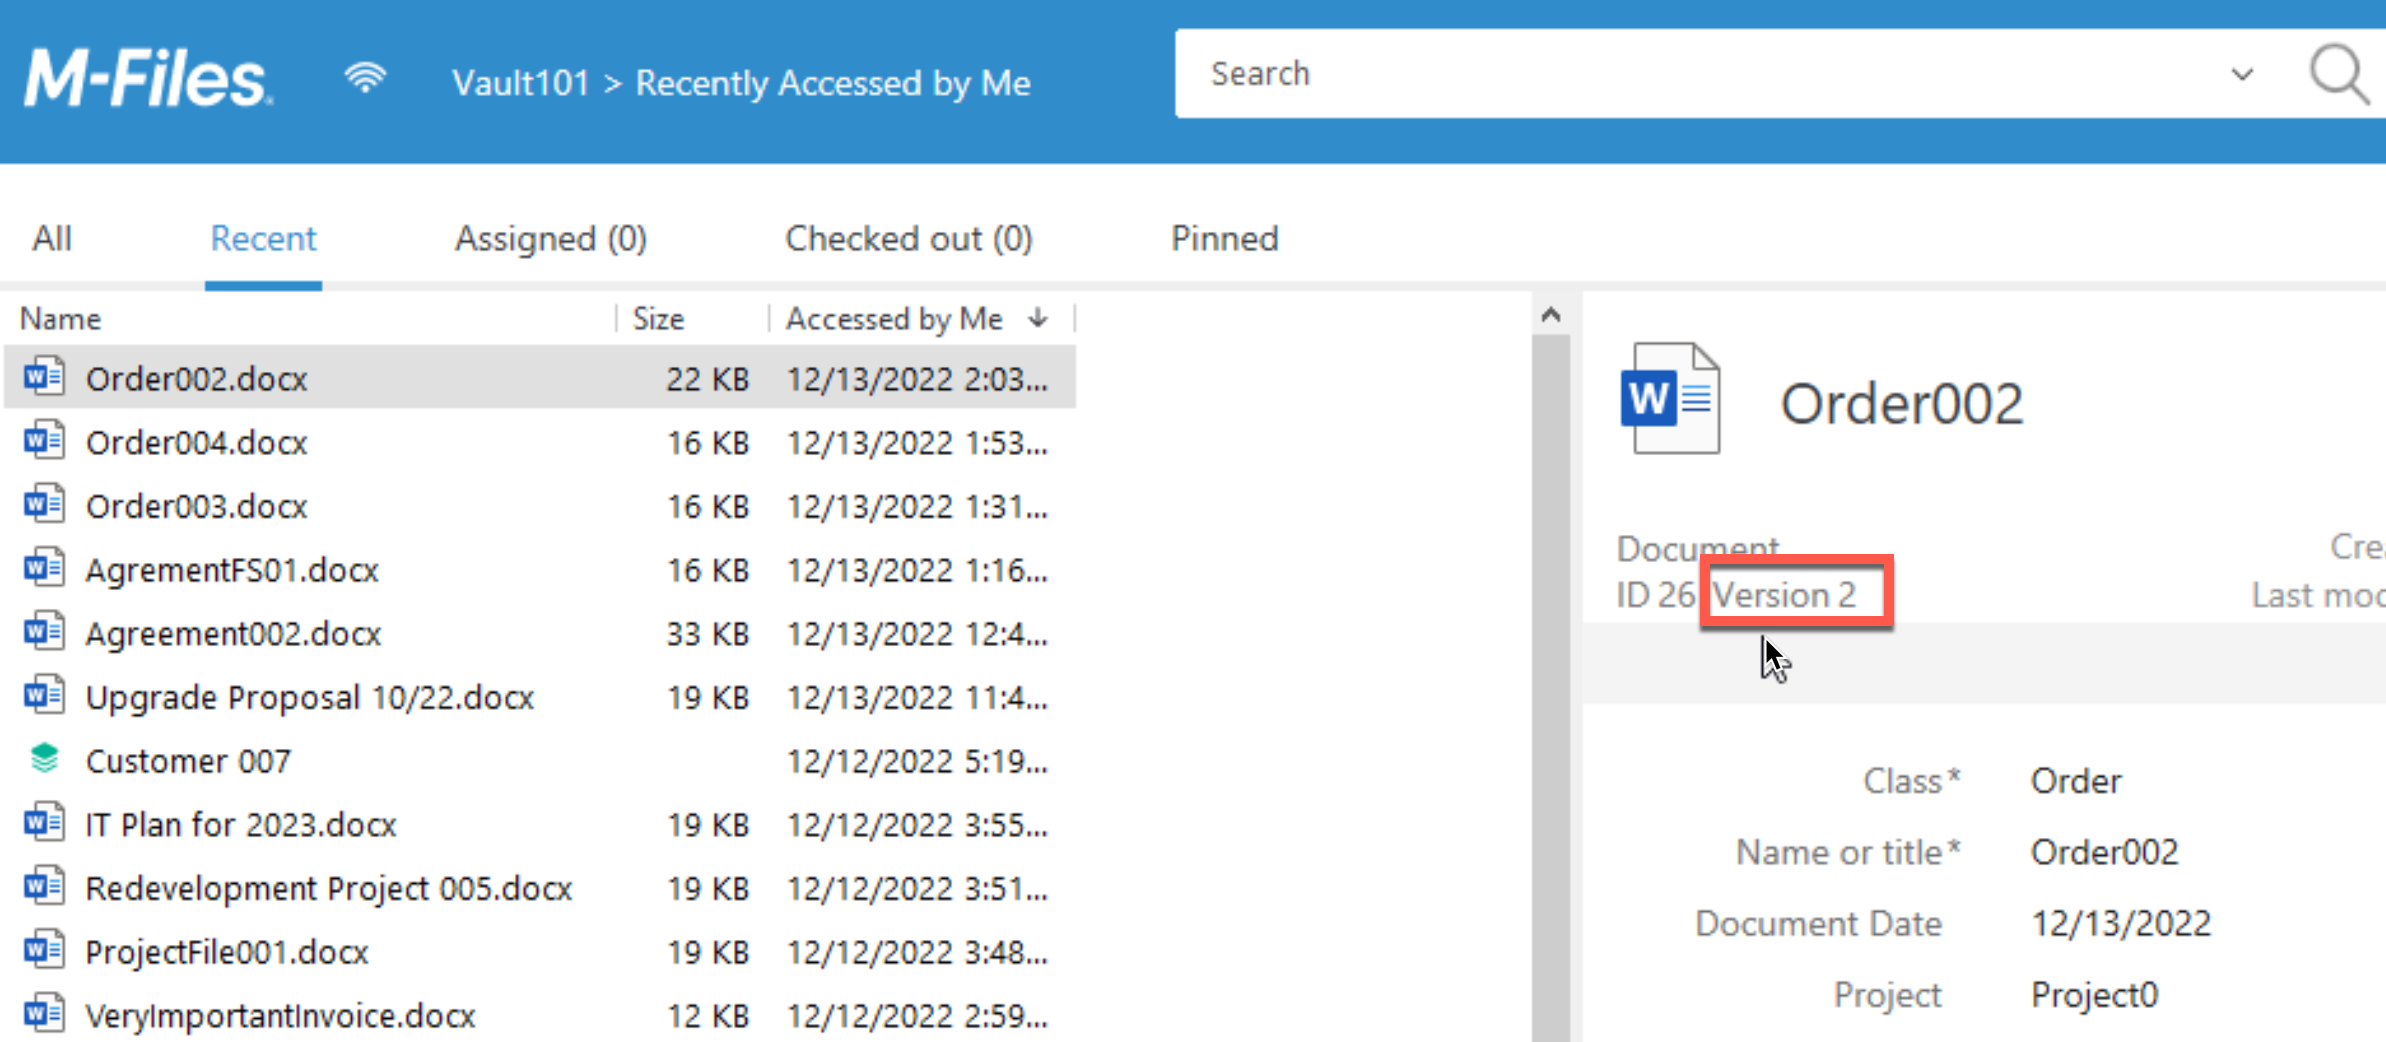
Ok, document is now back in M-Files, and on Metadata screen we can se that now it is Version 2.
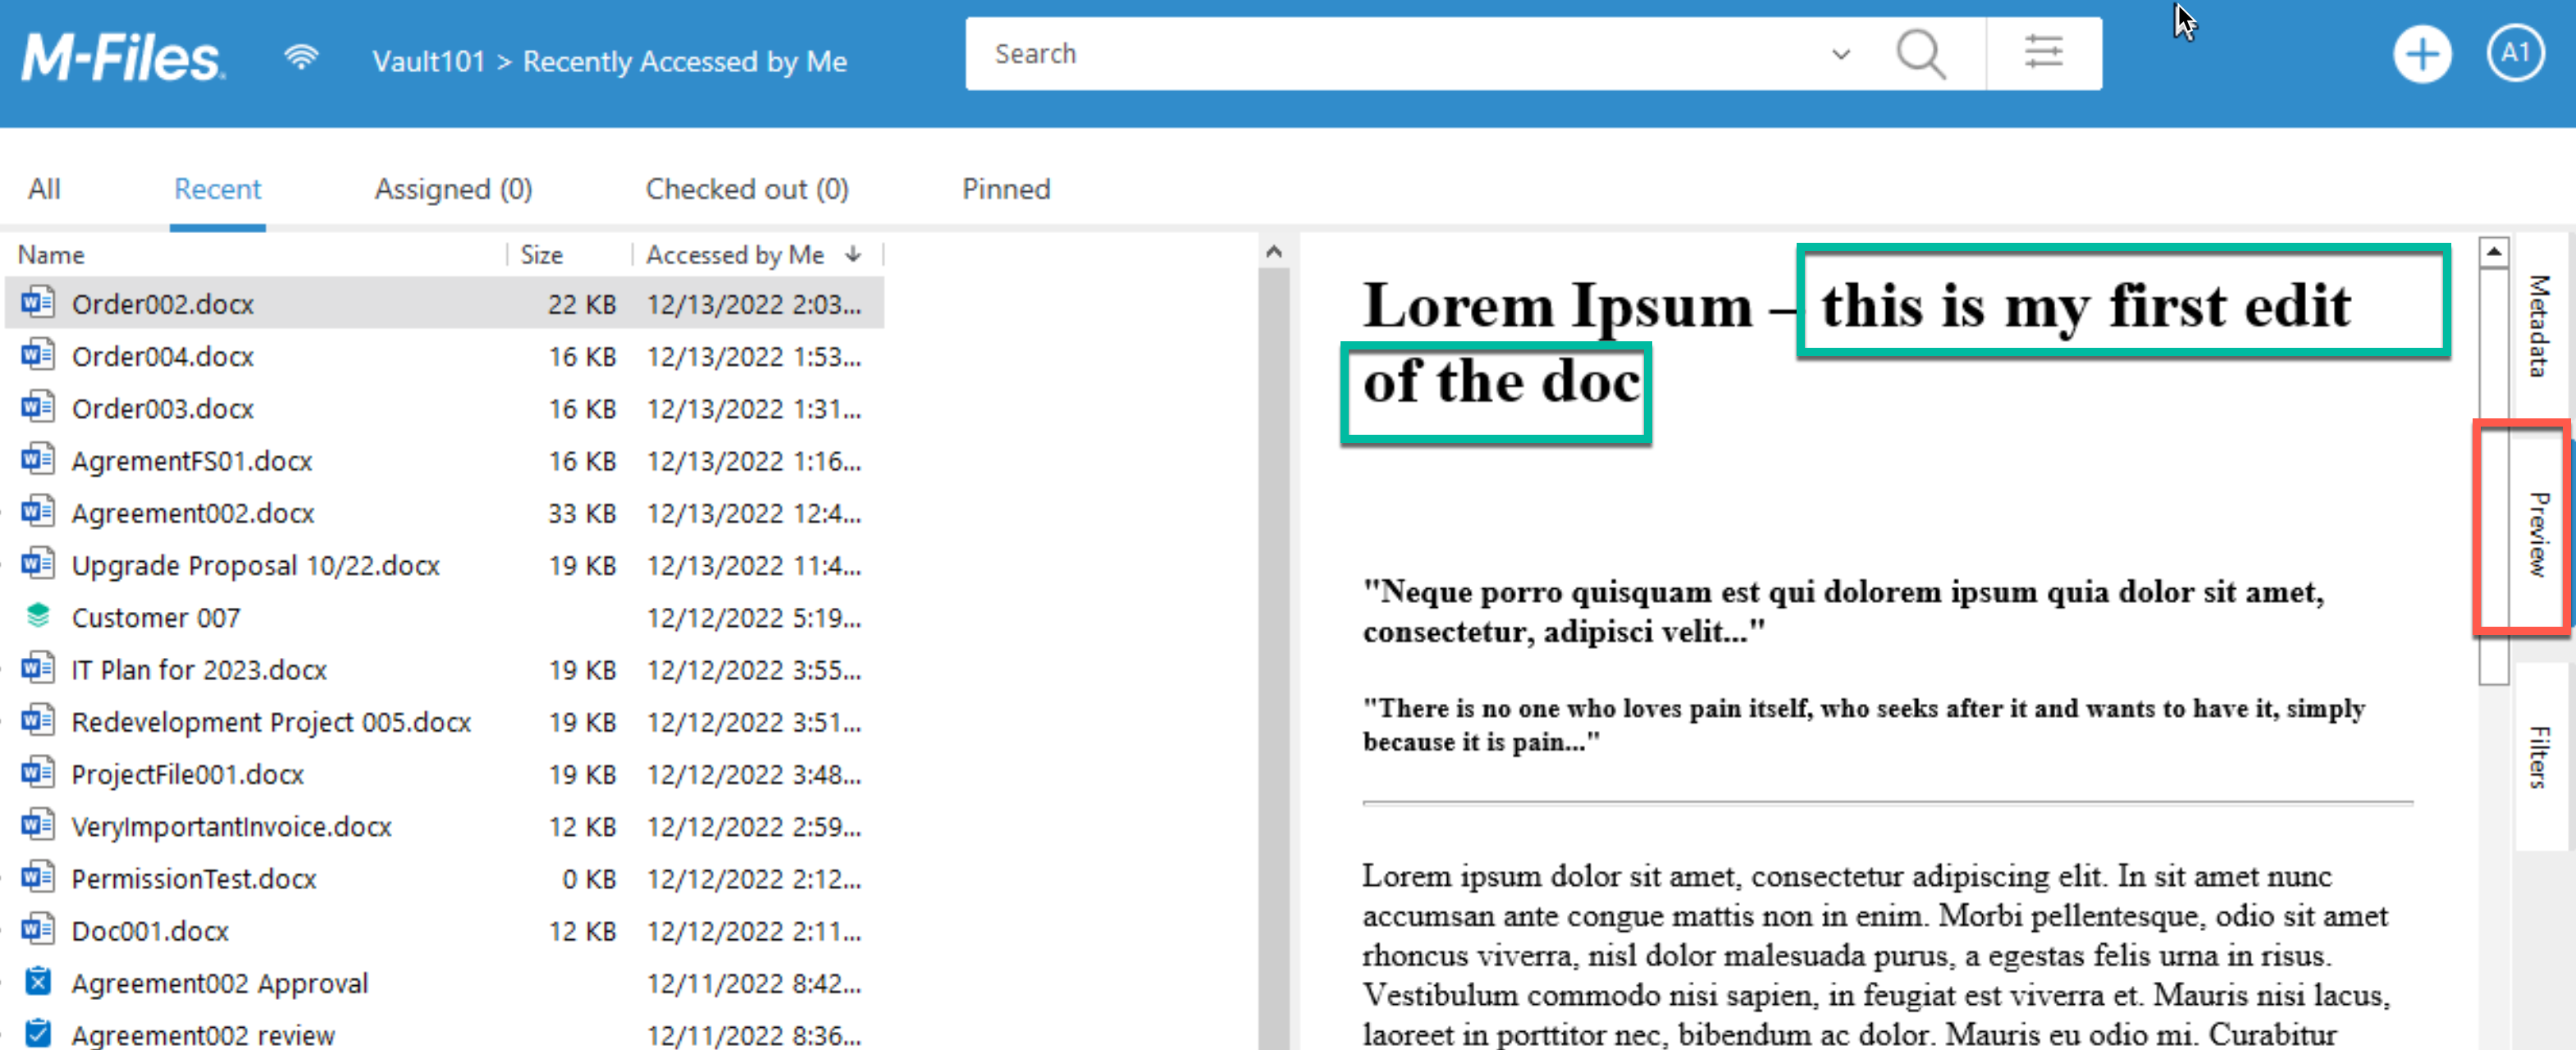
If we select preview mode, we can now see the text we added in the document.
You can also modify Metadata of the order002.docx.
We will now go back to the Metadata screen of order002.docx
I will add Client City property and select Save
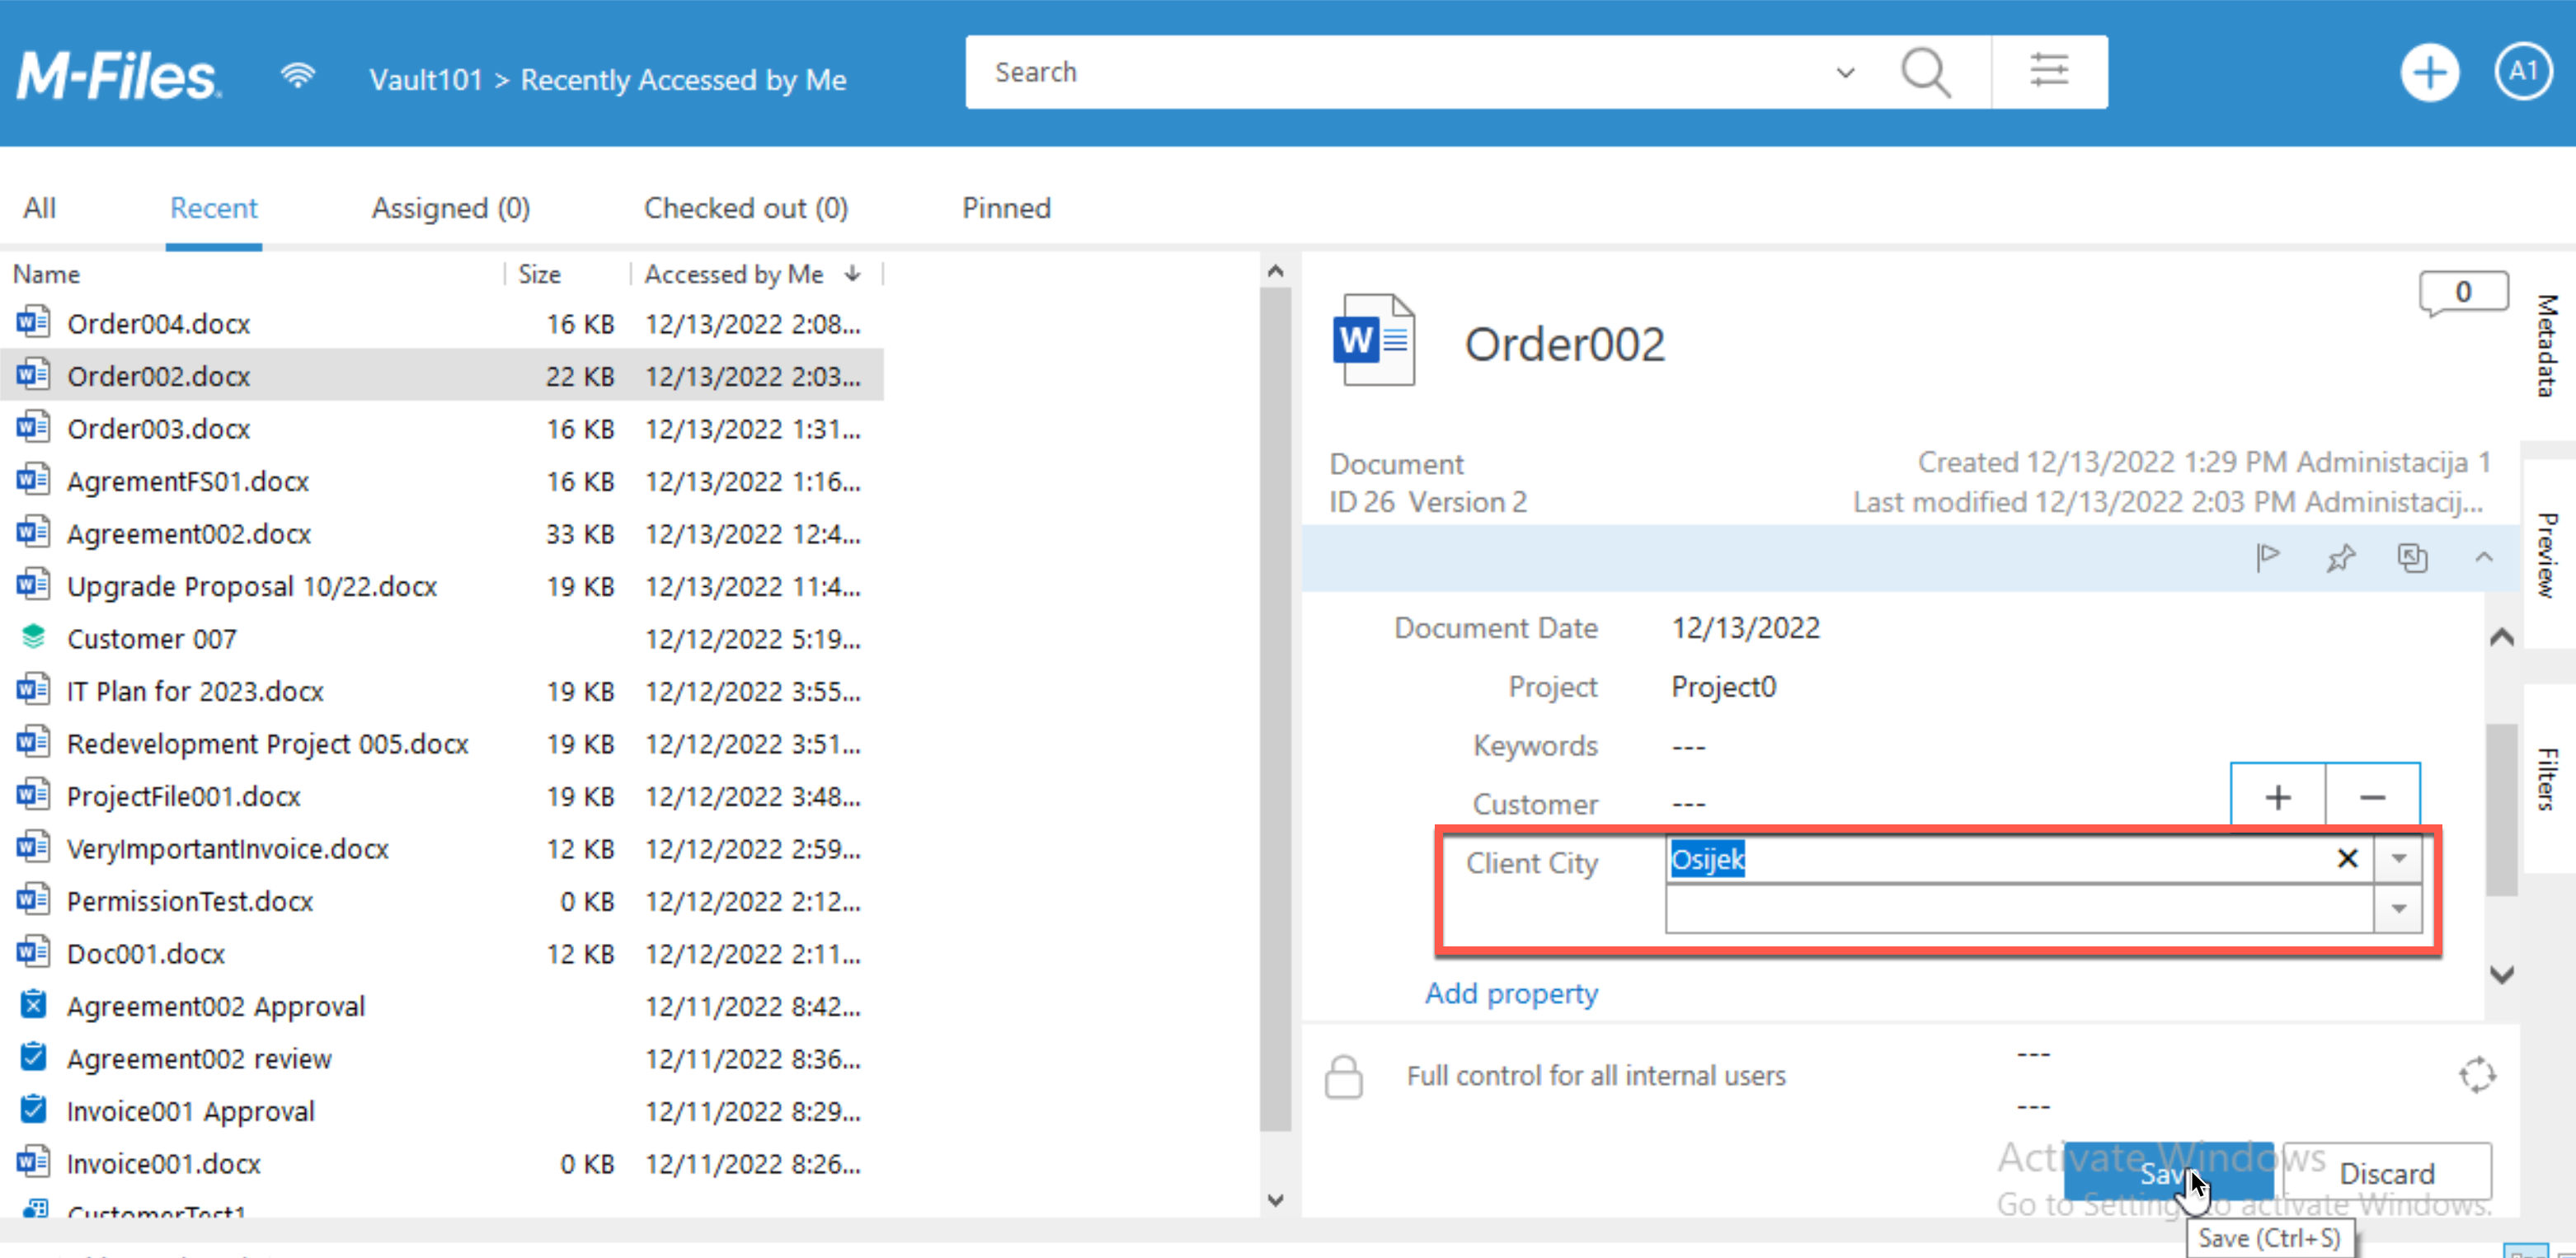
Now, version of the document also changed after we added Metadata to it.
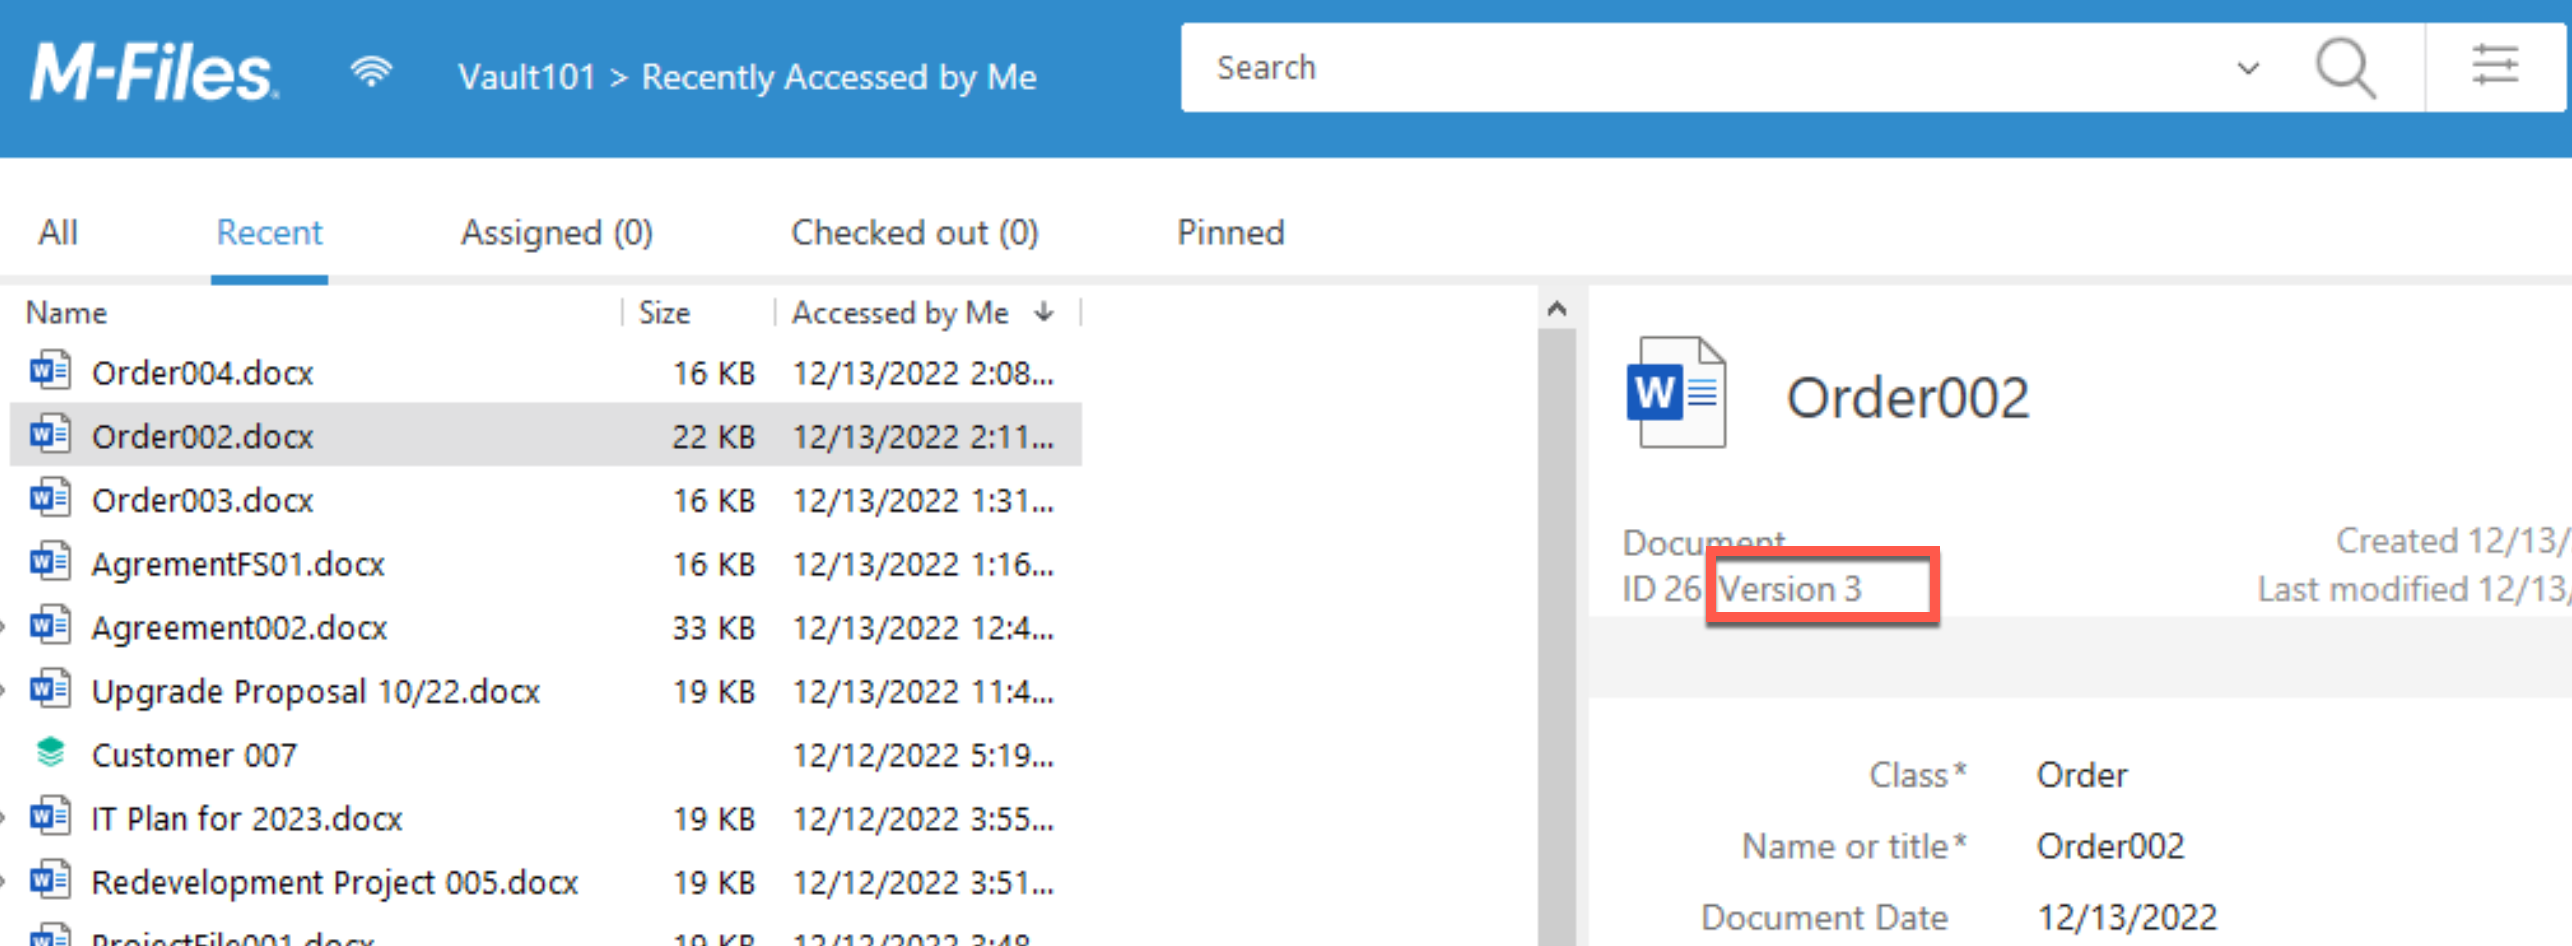
Now, we have all these new versions… But what can we do with them? Versioning is very helpful, especially when few people work on the same file. You can check the changes, roll back mistakes… Most important, everything is neatly organized.
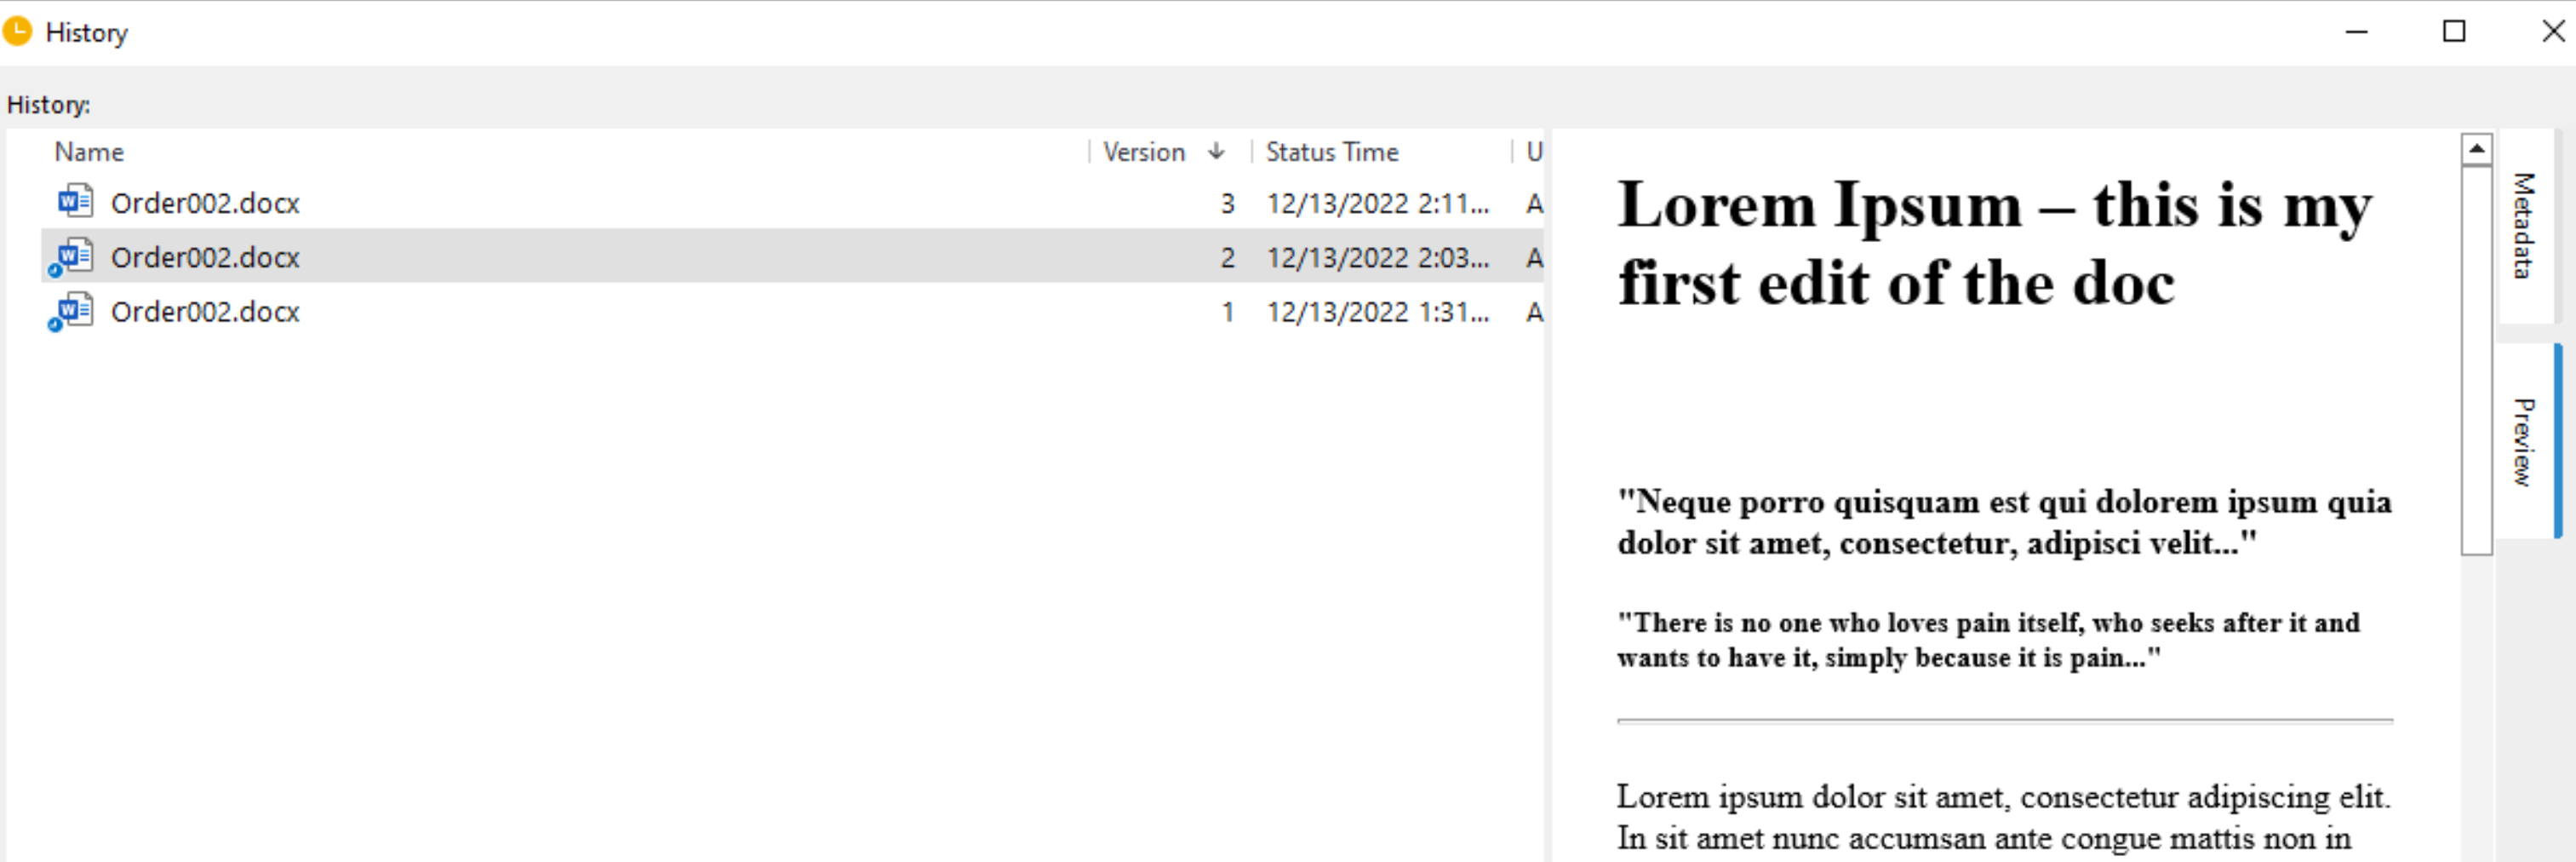
Let’s right click on Order002.docx and select history
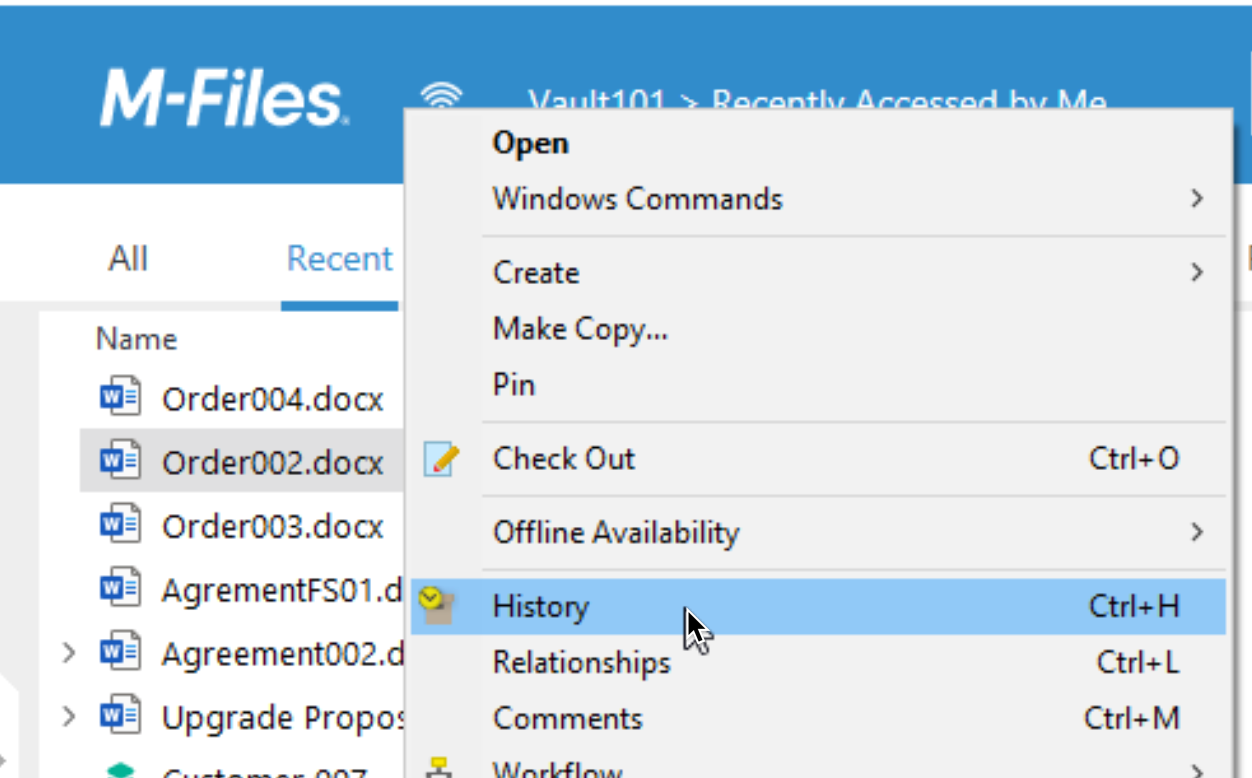
You can now see all three versions of order002.docx.
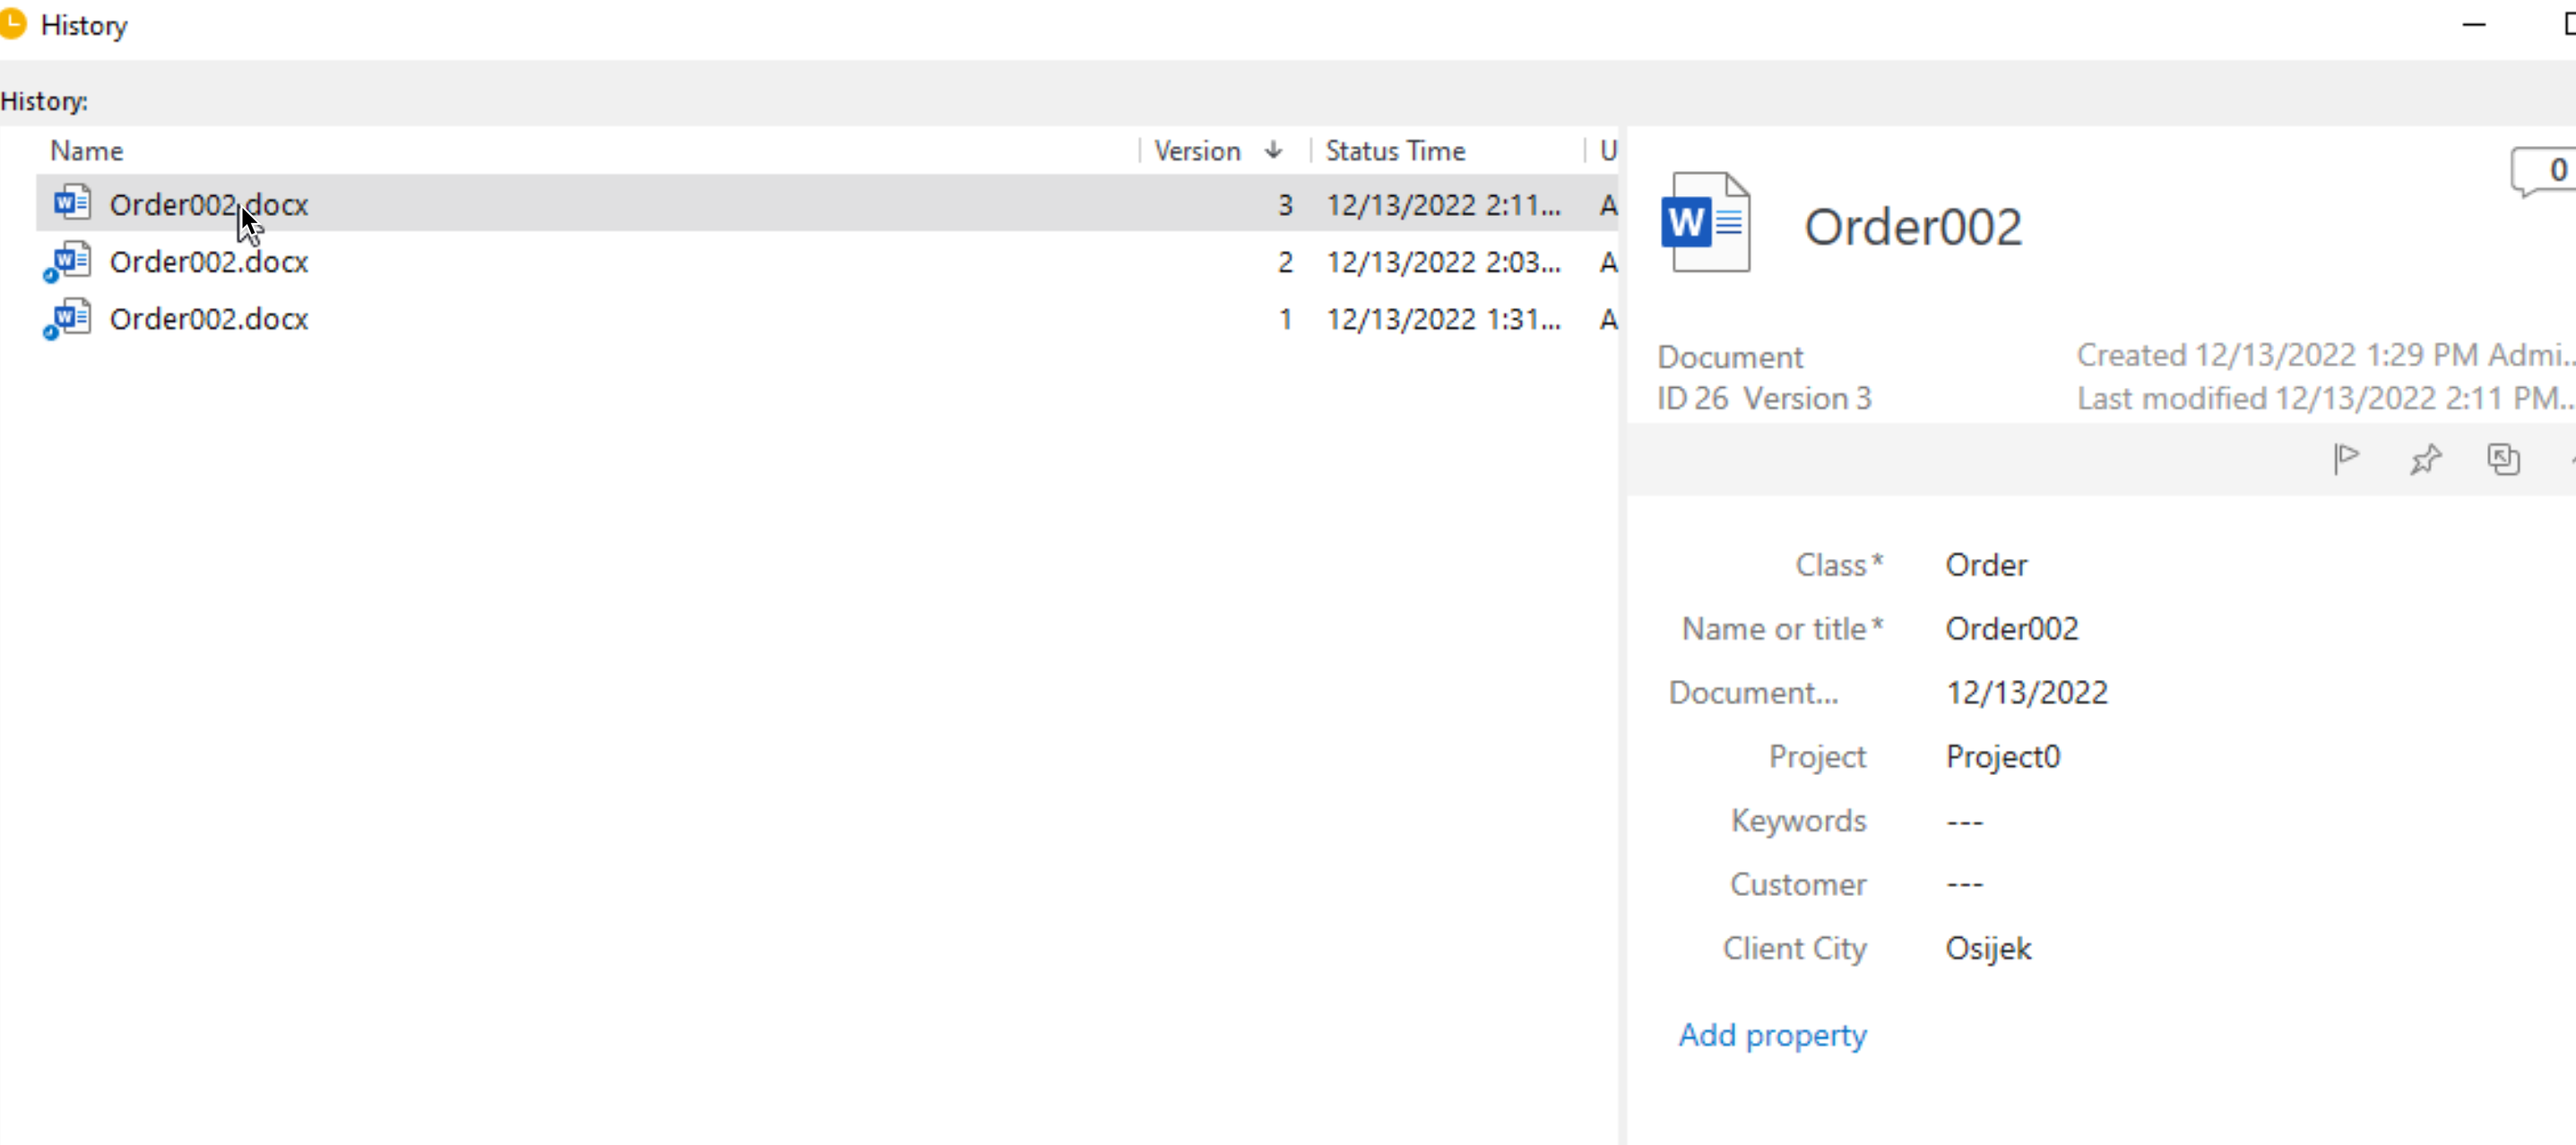
Let’s first check metadata
Version1
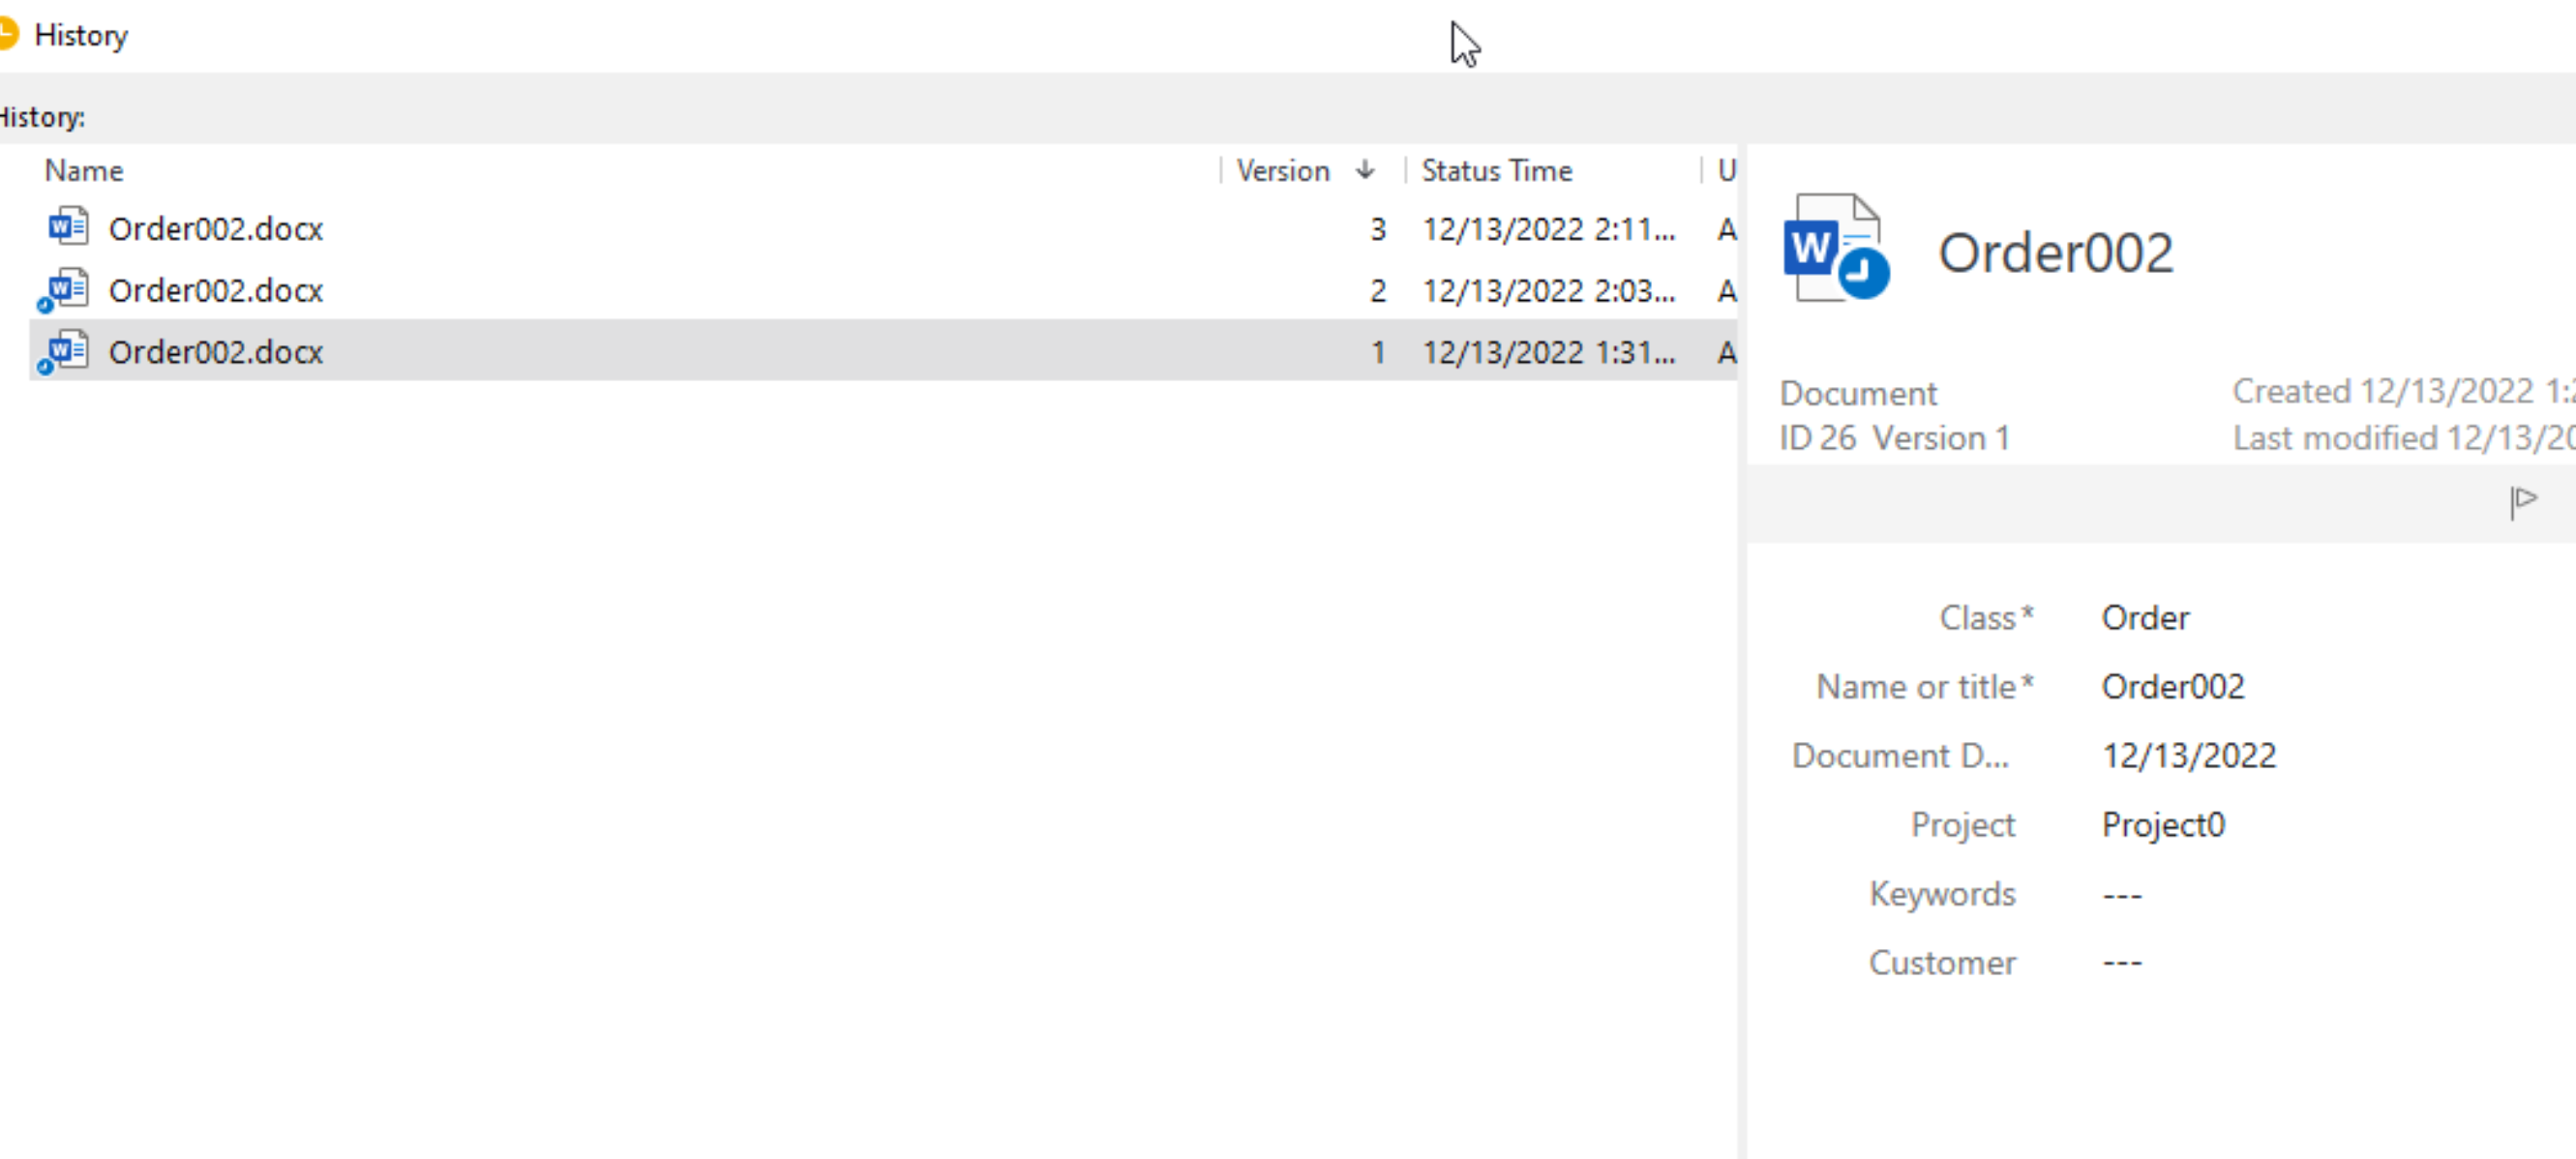
vs Version3
We can see the change – Client City is added.
Preview of the document tells same story
Version1

Version2
Addition of text “this is my first edit of the doc” can be seen.
I don’t want that text addition, so I will roll back to version 1. Click on Roll back
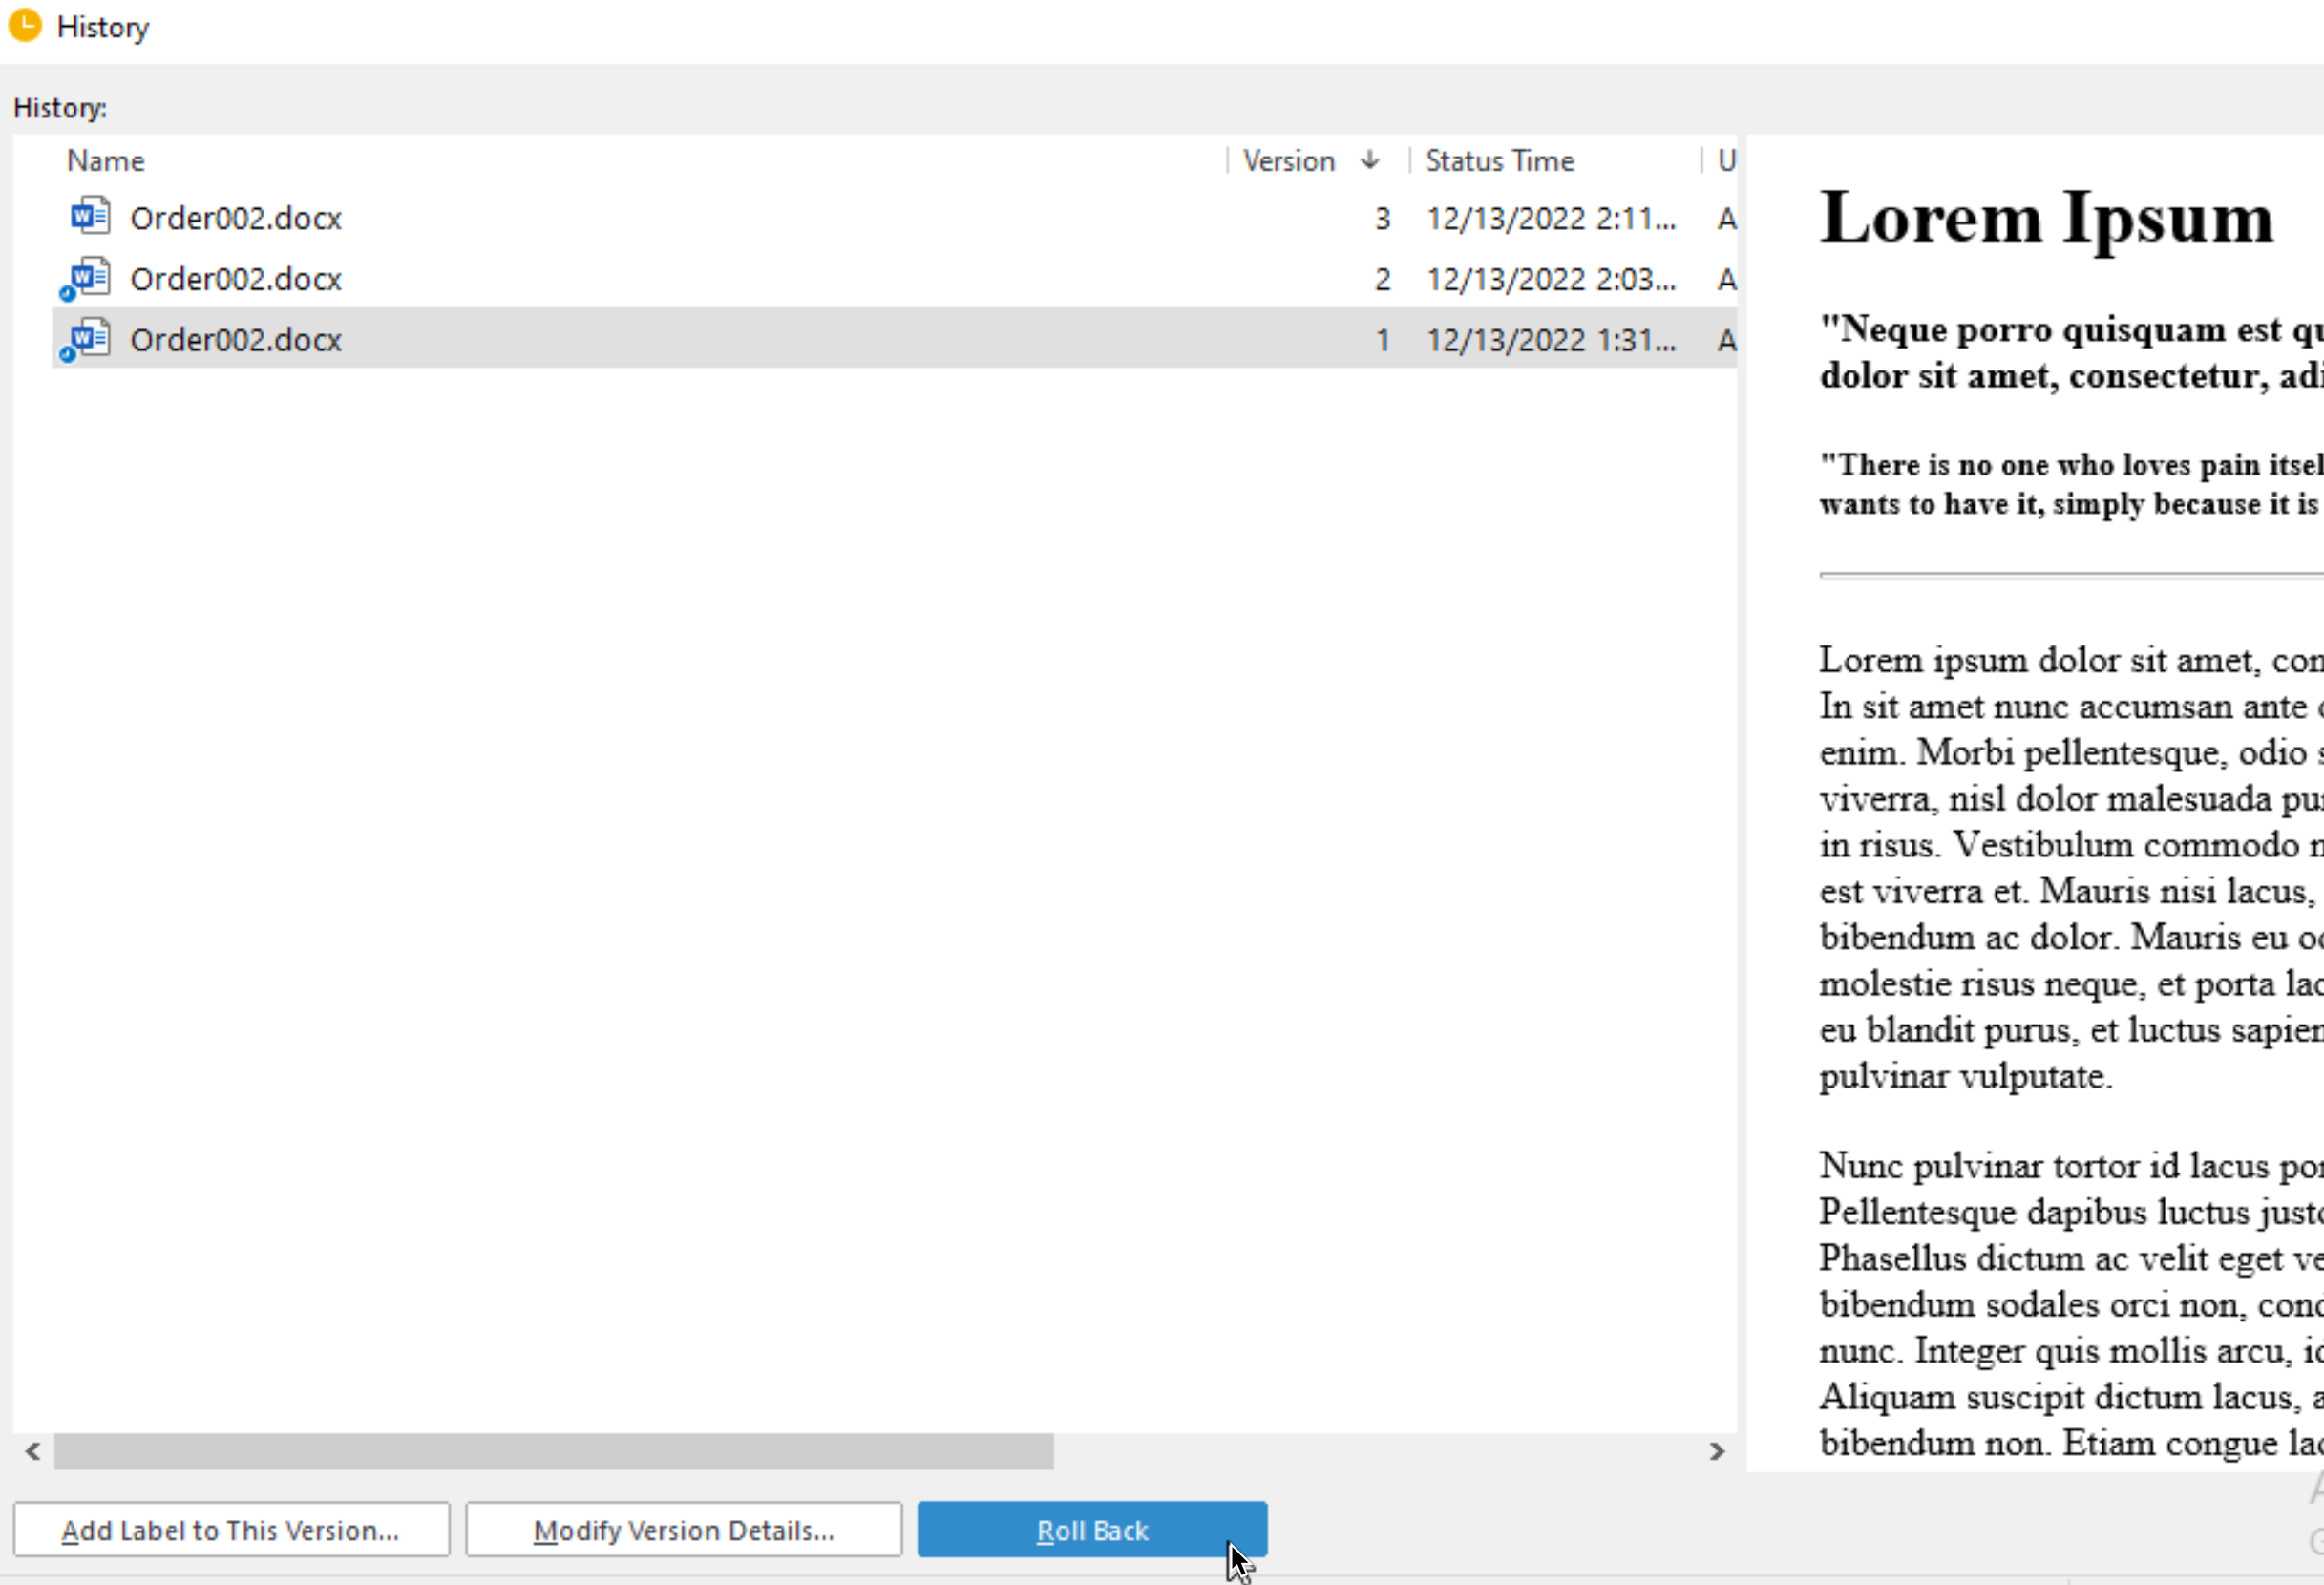
Yes

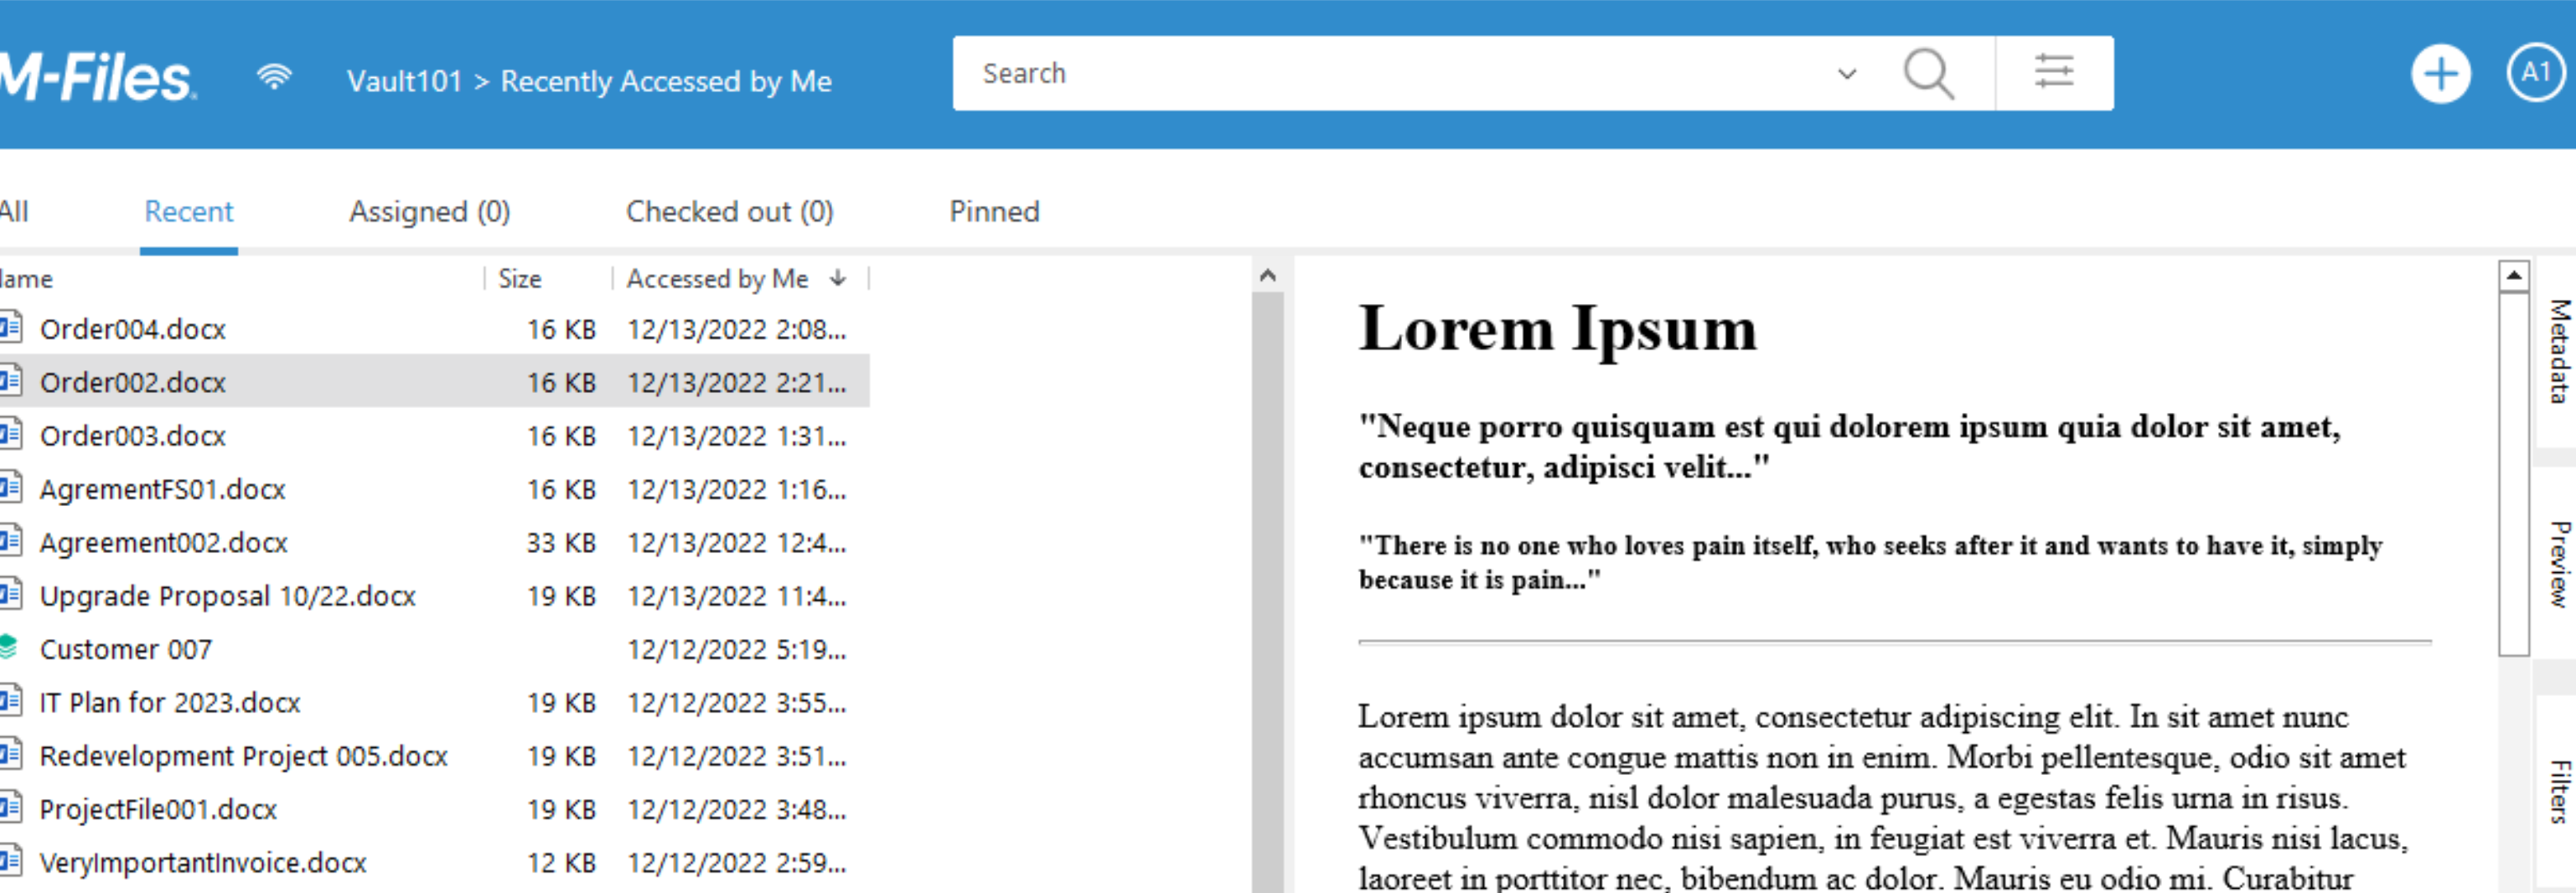
After Roll back is done, we will close the window. We can see that we are now at Version 4 (this is also noted as change). And if we select Preview screen
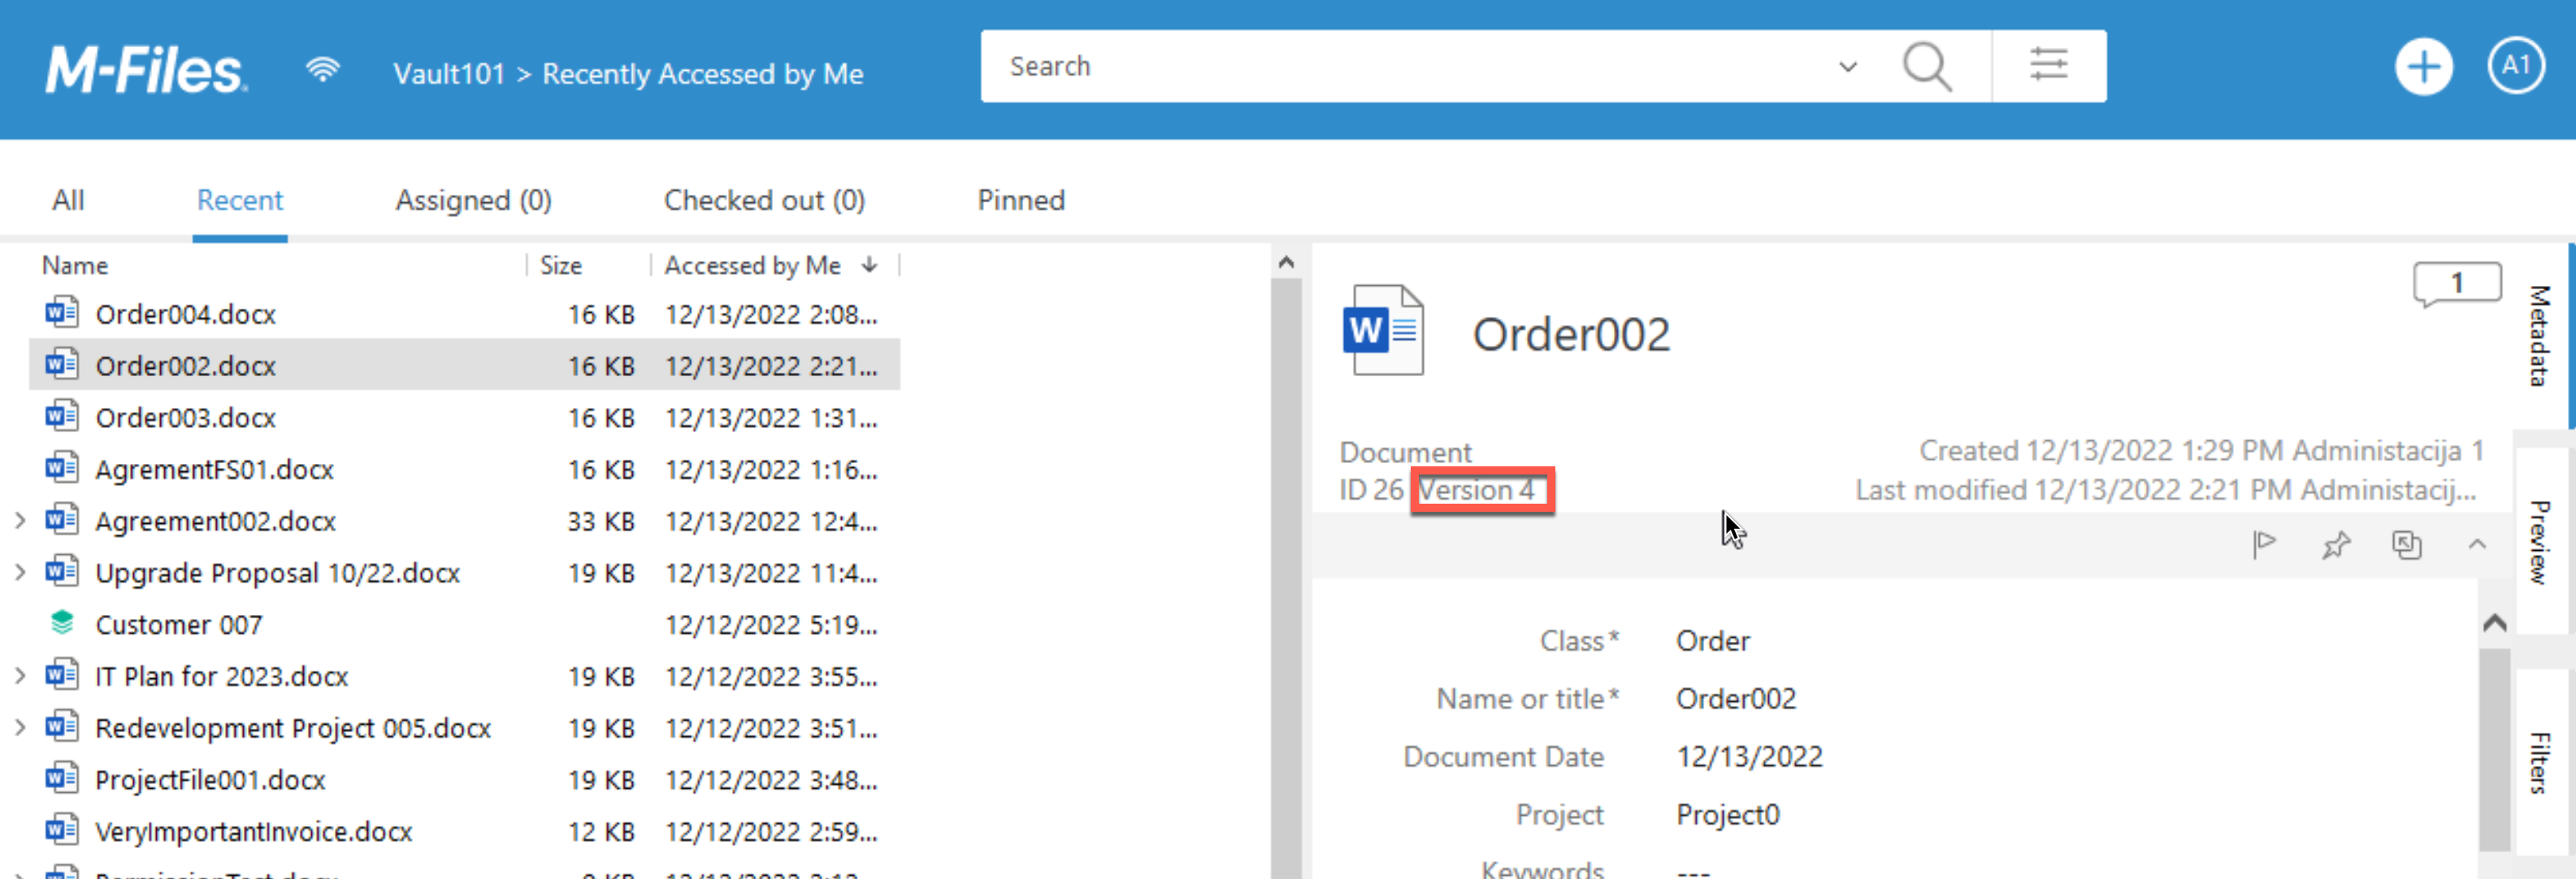
“this is my first edit of the doc” can no longer be seen.
That is it, we mastered saving and editing documents in M-Files Desktop.
My series of articles about M-Files
Server
M-Files how to configure Metadata
M-Files – users and user groups
M-Files – Create and manage simple workflow
M-Files – Create Workflow with assignments
M-Files – Create Workflow with Approvals
M-Files – Manage permissions for Workflows
M-Files – how to create and use document templates
How to backup and restore M-Files Vault
M-Files – How to enable access to M-Files through website
M-Files how to secure connection between server and clients (HTTPS)
M-Files Migrate from Firebird DB to Microsoft SQL DB
Desktop
Understanding M-Files logic + Overview of M-Files desktop
M-Files Creating Views for M-Files Desktop
M-Files how to save or modify documents?
M-Files How to share documents? How to save eMails to M-Files?