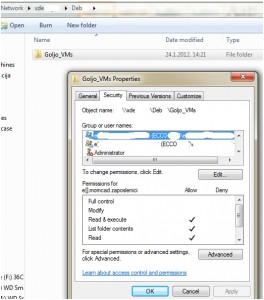
You successfully added FreeNAS to your local Windows based domain and created your first FreeNAS CIFS share. Now you want to assign your Microsoft AD users and groups to your newly created FreeNAS CIFS share, but you keep getting errors.
Here is a short tutorial on how to add Microsoft AD permissions to your FreeNAS CIFS share.
It`s pretty simple.
Log on to your FreeNAS installation through web browser.
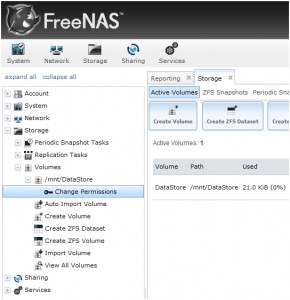
Choose Storage from menu on the left | Choose Volumes | Click on the Volume you created for your CIFS share (in my case /mnt/datastore) | Click on Change Permissions
New window opens and you can see permissions for your share. Default permissions are probably FreeNAS defined and have nothing to do with Microsoft Windows AD.
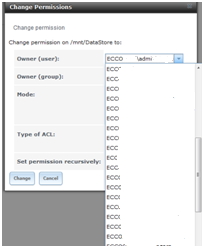
Under Owner (User) field choose AD user that you want to define as owner of your CIFS share. If you added FreeNAS properly to your AD, you should see all your AD users under this field.
In my case, I want my domain administrator to be the owner of volume.
(I `m using screens from my work environment so part of the domain name and most of the users are blanked)
If you don`t see your domain users please refer to my previous article -> How to add FreeNAS 8 to Active Directory?
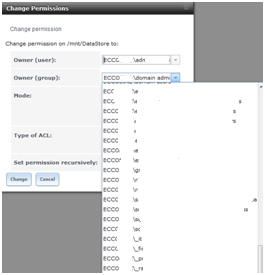
Under Owners (Group) field define your AD group that you want to own CIFS share. I have chosen default group – domain admins to be owner of my CIFS share.
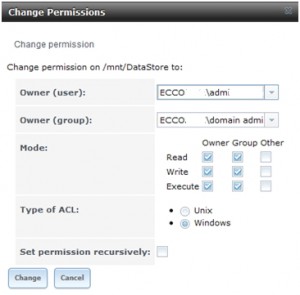
After defining owner user and group you have to define permissions for them. I gave them all permissions ( as pictured below). For Type of ACL I chosen Windows. After you defined all these settings, click on Change at the bottom of the window.
And that’s all. After setting this up, you`ll be able to define additional groups or user on your CIFS shares, define subfolders, change permissions on the, and all that through standard Windows interface…
